-Supersprynt+Aug 9, 2005 - 5:25 PM
QUOTE(Supersprynt @ Aug 9, 2005 - 5:25 PM)
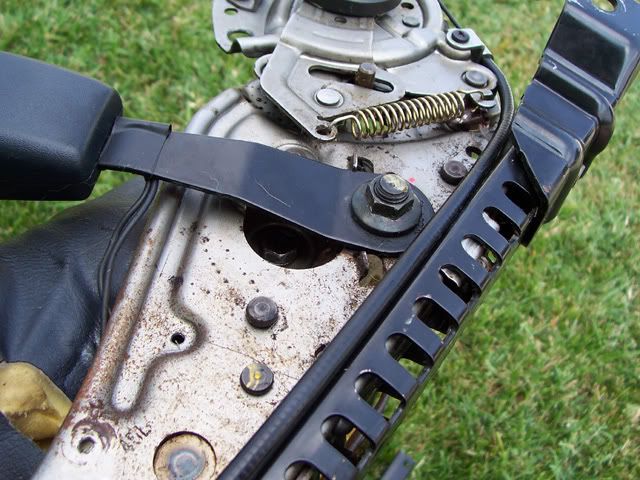
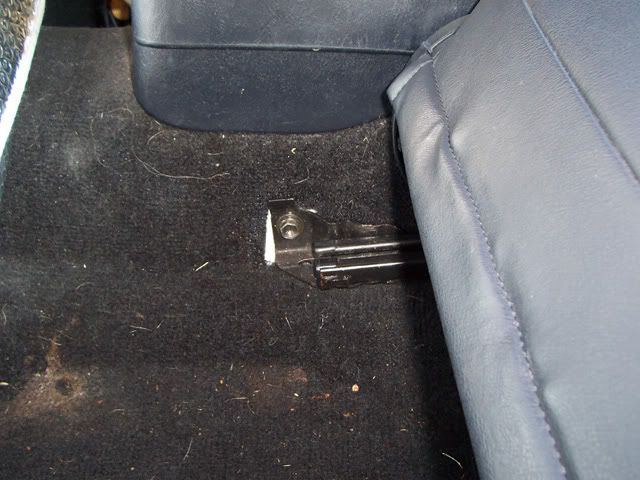
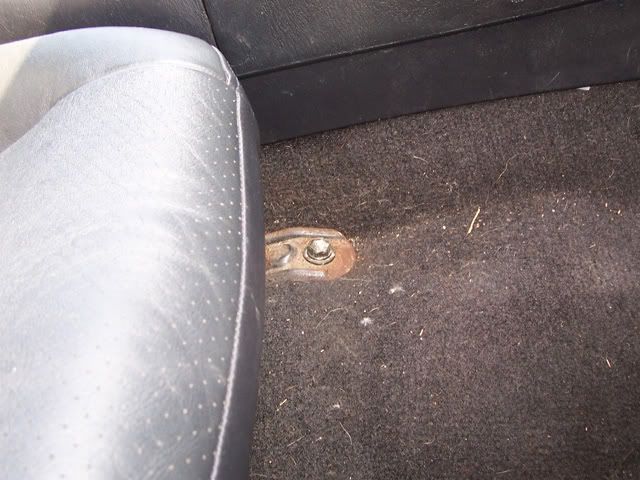
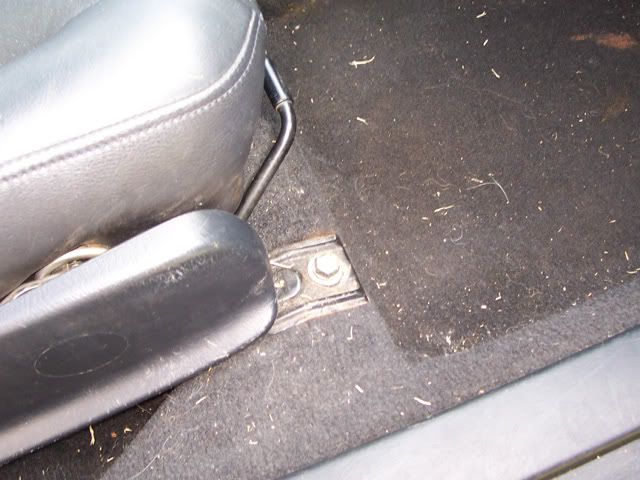
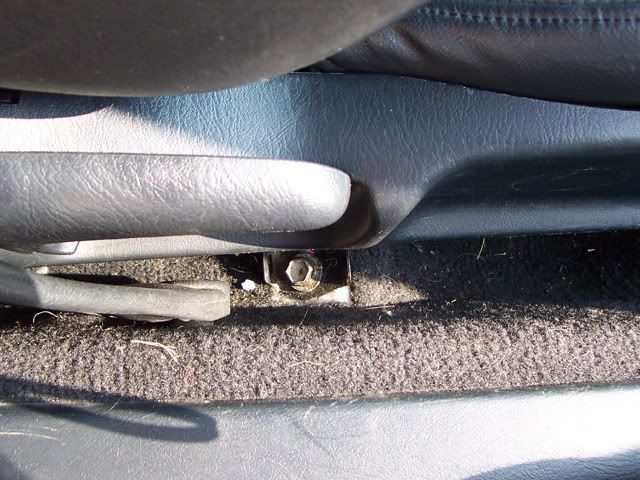
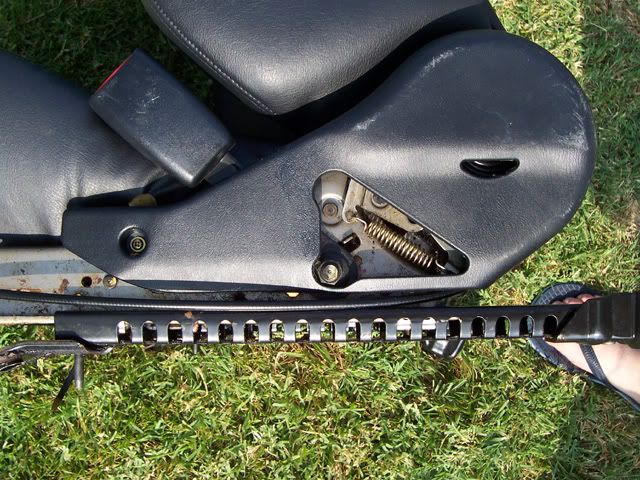
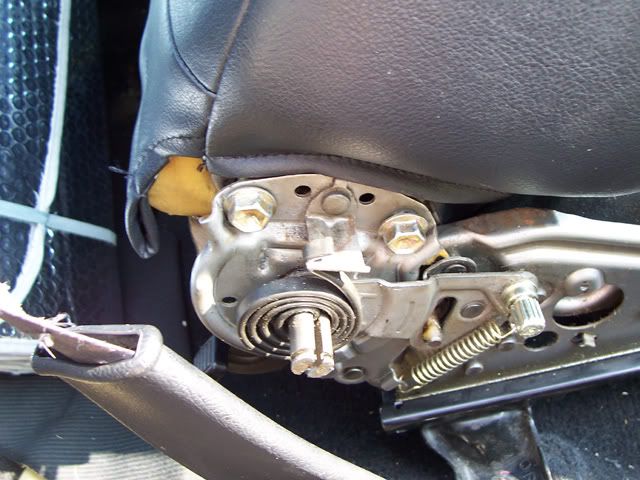
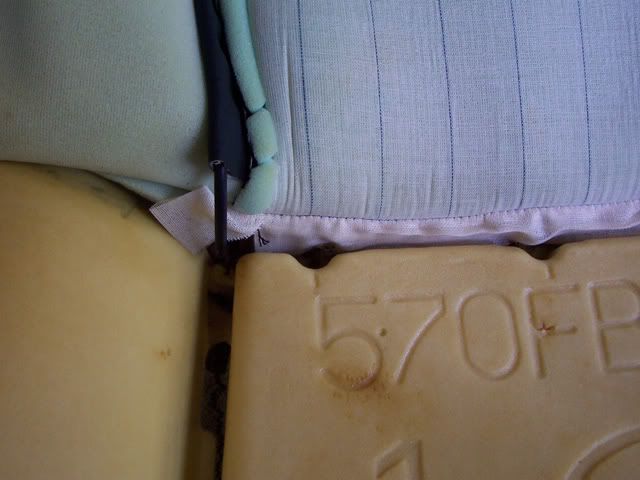
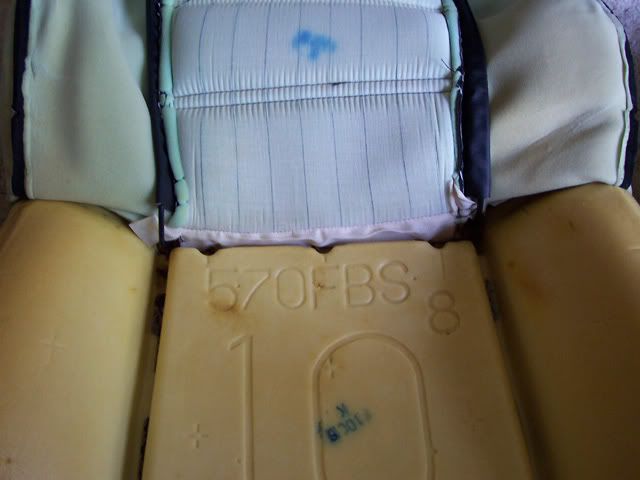
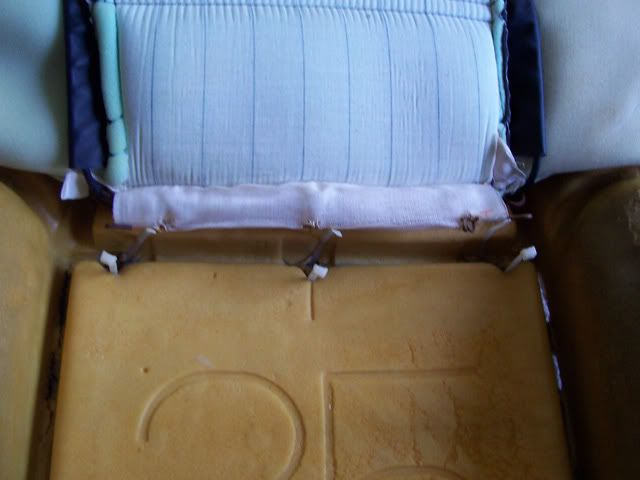
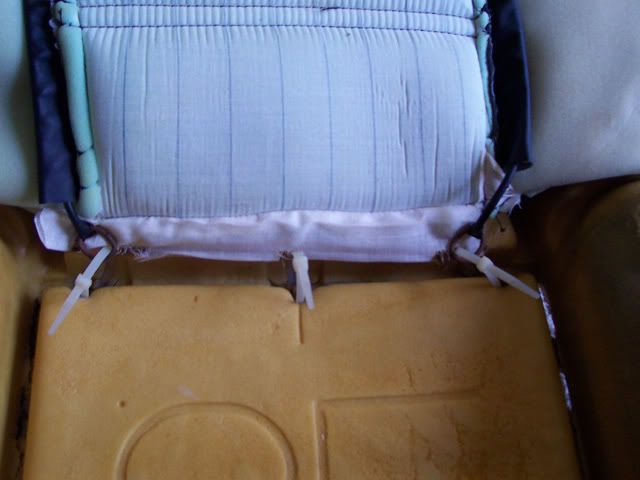
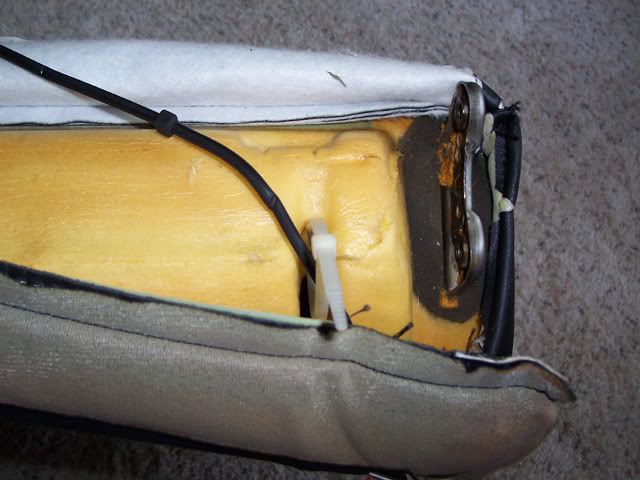
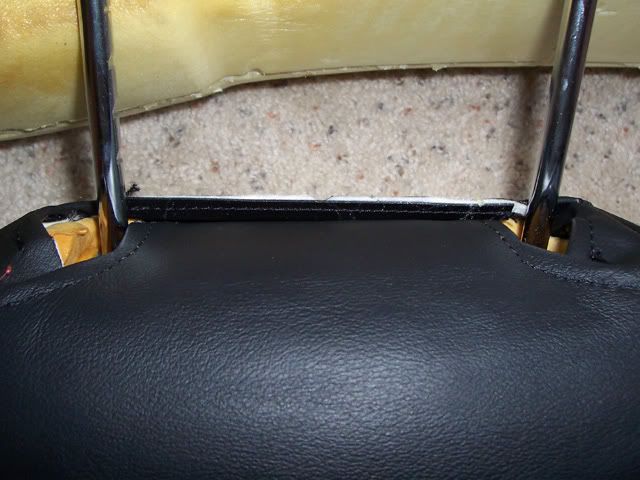
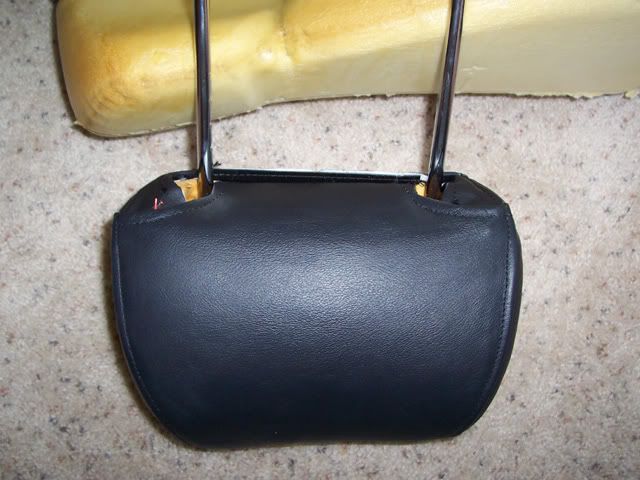
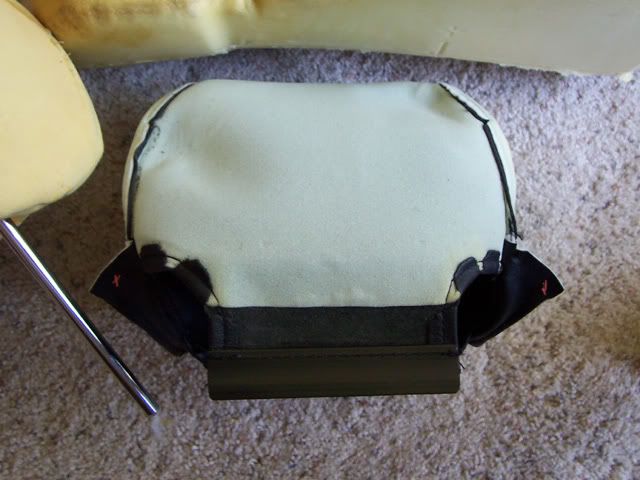
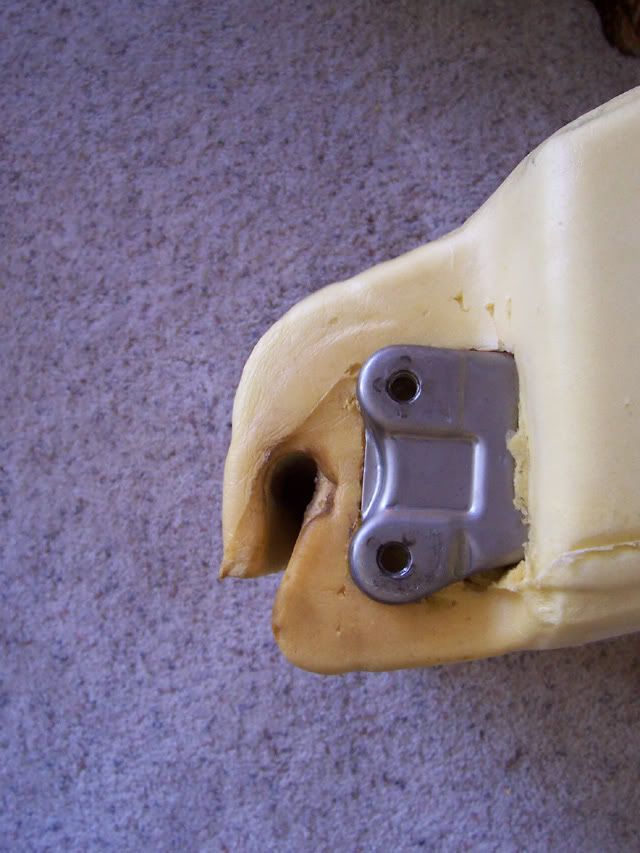
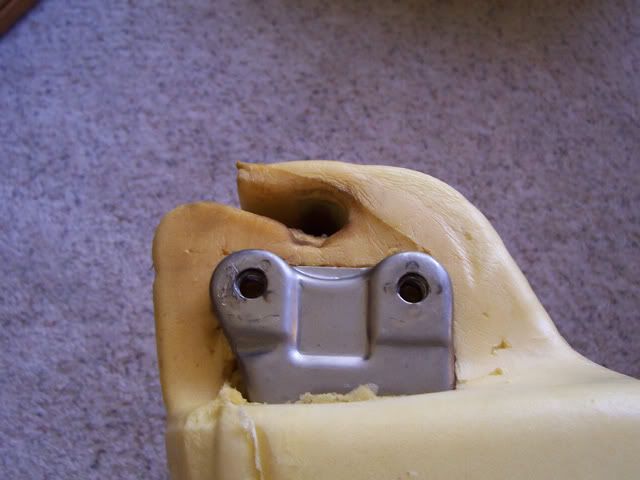
Yeah I just started taking mine off. Another tough area is the removing of the bolt for the bottom of the seat that hides behind the seat belt buckle. There are 2 metal edges which prevent it from getting out of the way. What I did was push one of these metal clips down and then it was easy. How did you do it?
[right][snapback]322385[/snapback][/right]
Same way as you. Or you could just remove the nut holding the buckle to the seat frame.
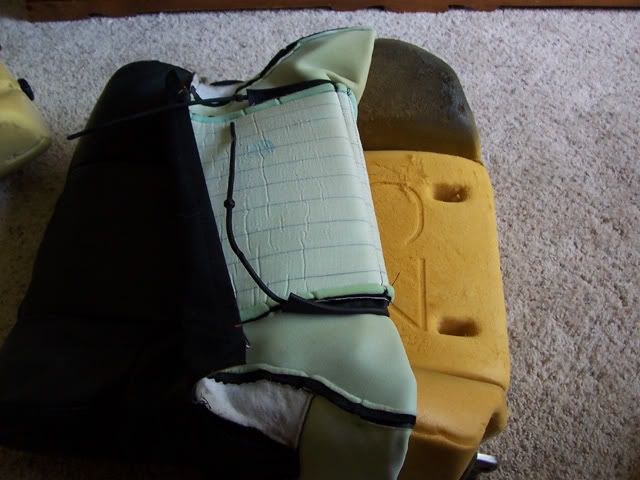
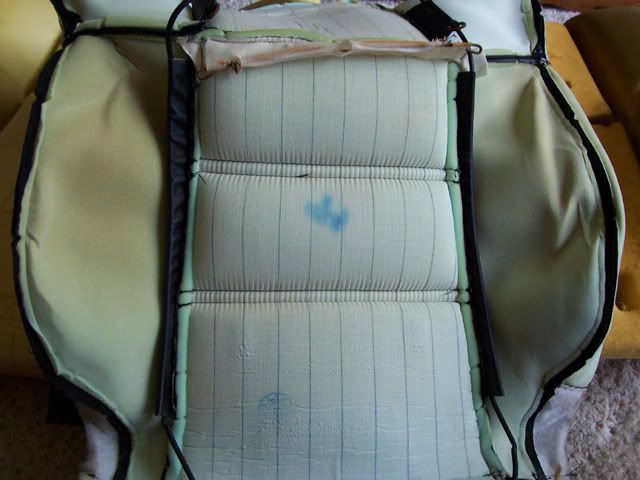
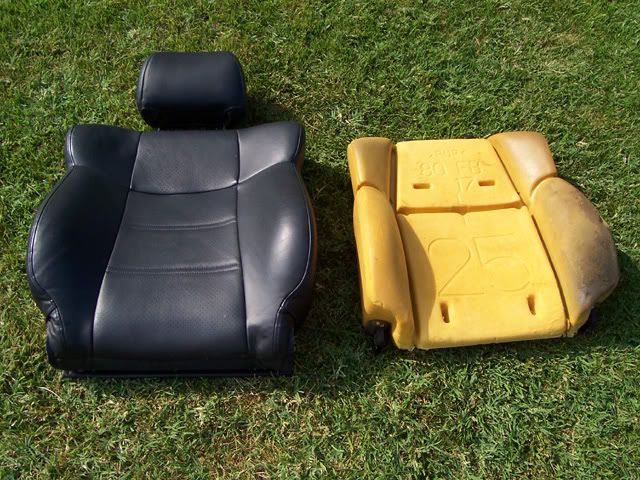
This is what you're talking about right?:
-Supersprynt+Aug 9, 2005 - 5:25 PM
QUOTE(Supersprynt @ Aug 9, 2005 - 5:25 PM)
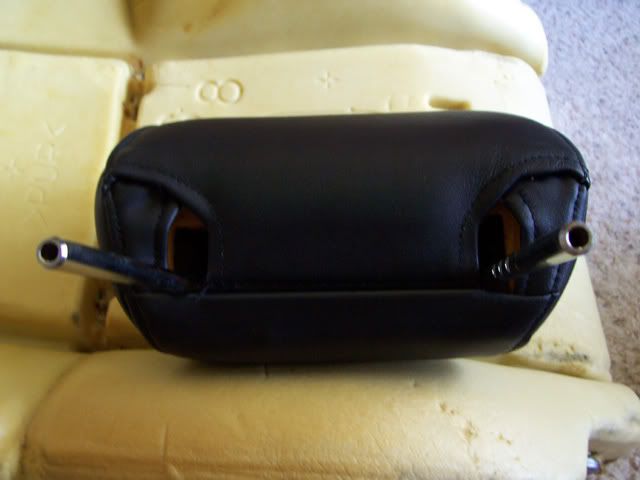
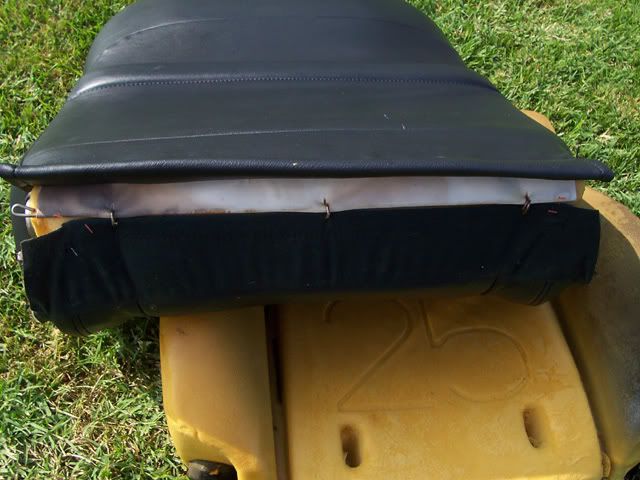
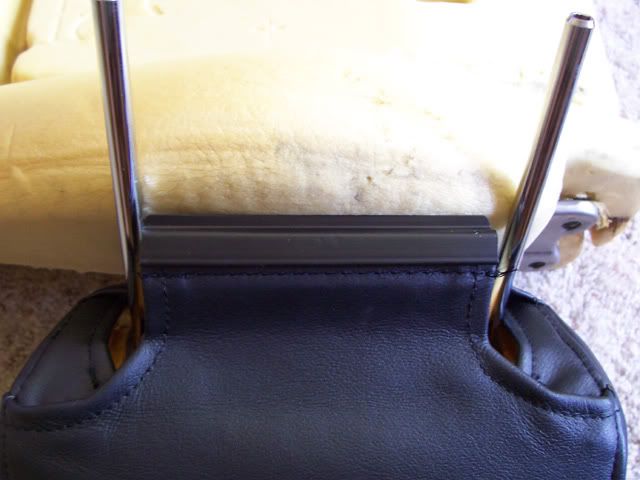
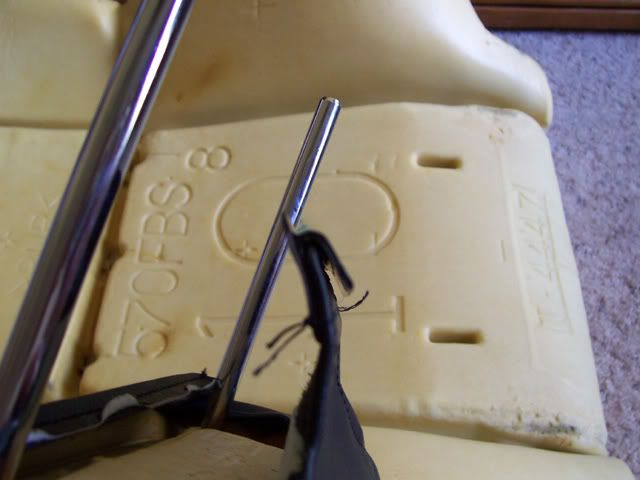
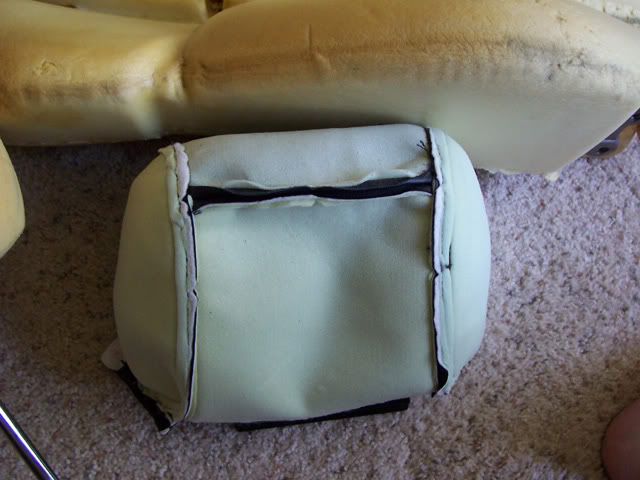
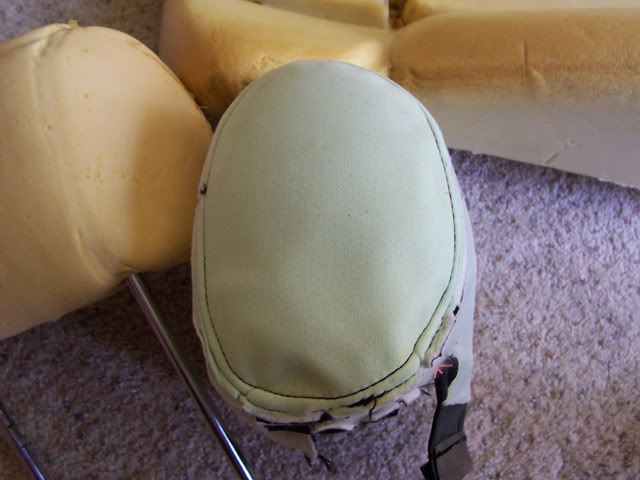
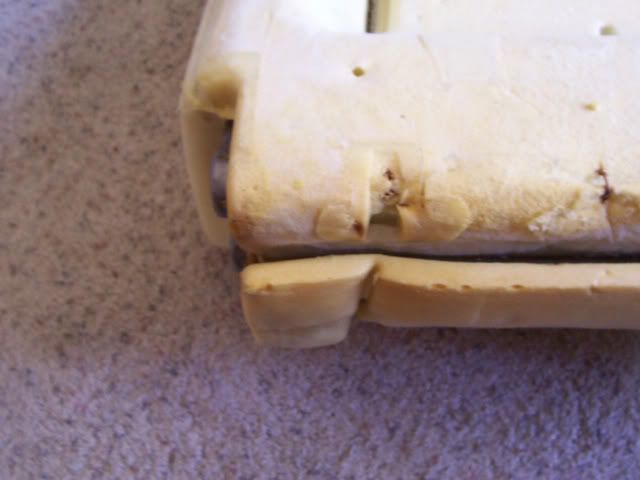
Also, what exactly did you transfer? I'm looking to transfer my leather seats' leather to the fabric foam. However I'm having second thoughts because the leather seats do look better (shoulder foams). But my leather seats have metal sticking out the back and a lil uncomfortable.
[right][snapback]322385[/snapback][/right]
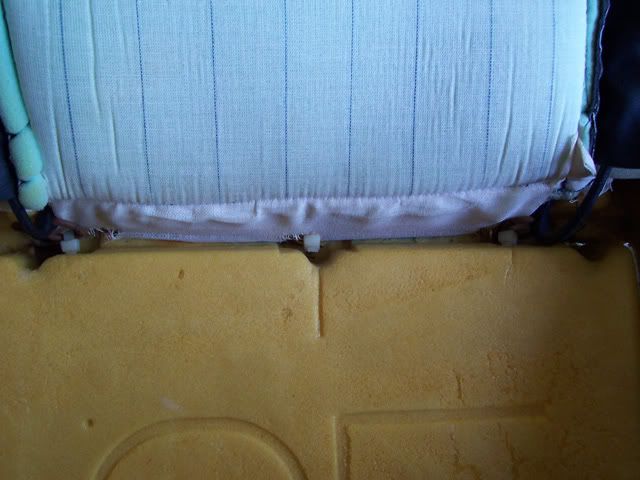
Same thing you're planning. Leather cover to fabric foam. It's not a huge difference and you can't even tell unless you push the shoulders in. If it bothers you, you can fill the shoulders with polyfill, the stuff in pillows and sub boxes, or you can shape some more High density foam to make up the difference. Also since the bottom portion of foam on the leather seat is about an inch longer you'll probably have a bit of slack left in the covering that you may want to sew up. I pesonally just stuffed it in between the seat back and bottom... seems to work good for me and you can't even tell it's there. The only reason I used the foam from a fabric style seat is because the previous owner stripped all the threads on the seat back for the leather style. If the only reason you're switching to fabric style is because of the metal poking out of the back I'd try and fix that and continue to use the leather style foam.
This post has been edited by WannabeGT4: Aug 9, 2005 - 5:49 PM

 >
>
 >
>
 >
> 


 > >
> > >
>