>> >> *THIS IS FOR INSTRUCTIONAL USE*>>>>
>>READ THIS BEFORE ASKING A QUESTION>>
90% of the time the answer is here.
Hey guys,
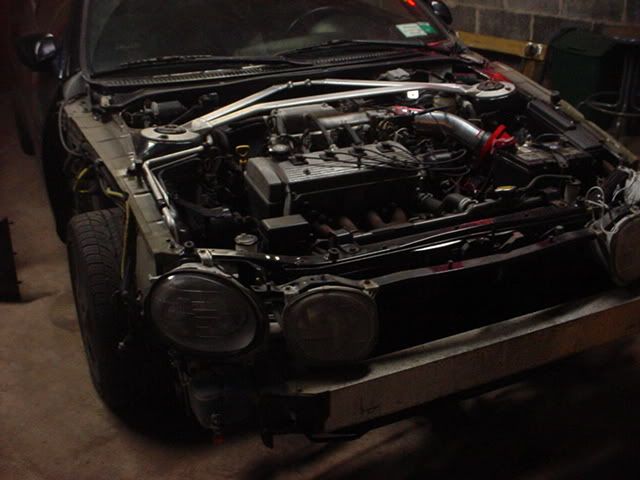
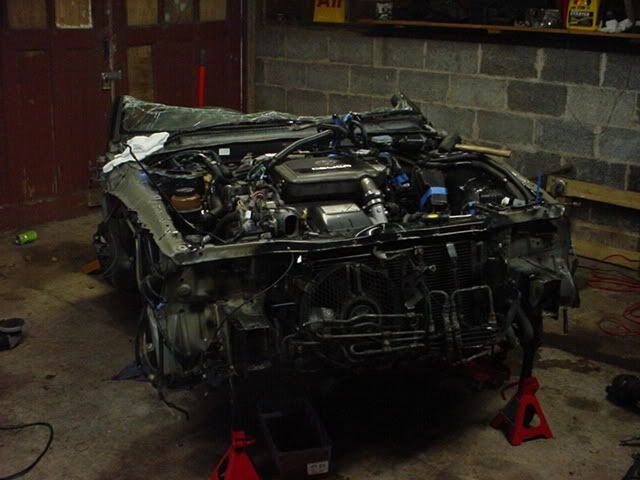
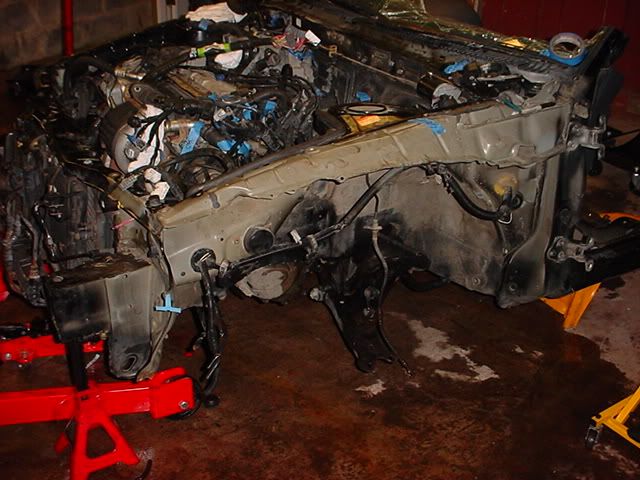
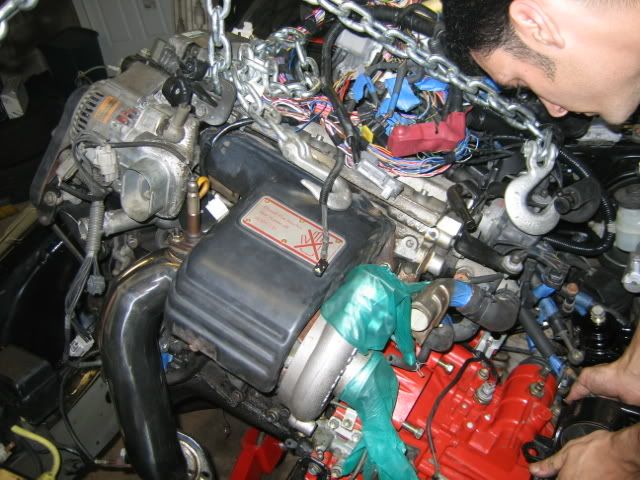
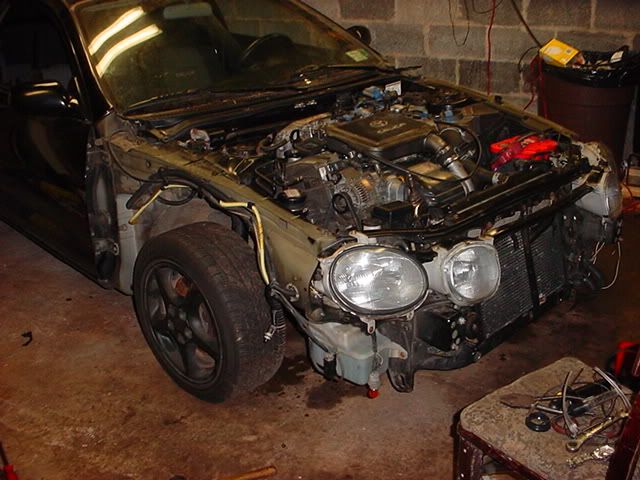
I figured I'd do a write up while I was doing my swap. Later on we can edit everything and have a nice FAQ & how-to for the 3sgte swap.
Ok, I dont know everything about cars. I took on this project to learn and further enjoy the car I love. There will be times where I dont know what a part is or how to explain it, but with everyone's help we'll get through it.
If you guys have anything to add, please feel free to reply. Please do not flame me or post negative remarks about the parts I install, or anything thats involved in this thread. Post your opinions not your attitudes.
First Step: The thought. Should I do it. Well its up to you, use this as a guide to help you along the way.
Its recommended that you have somewhere around 4000 dollars saved for the swap.
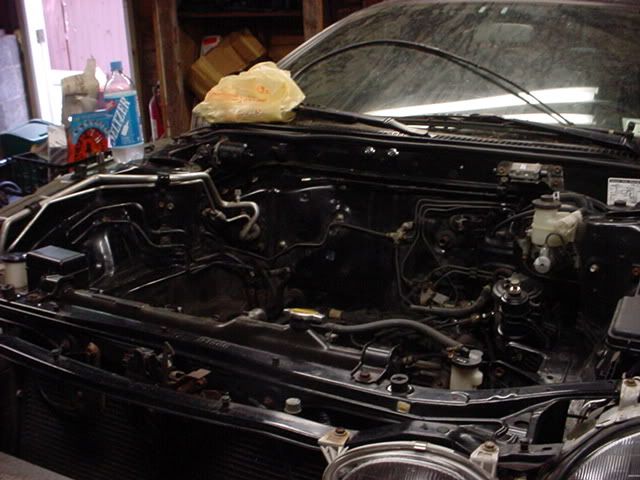
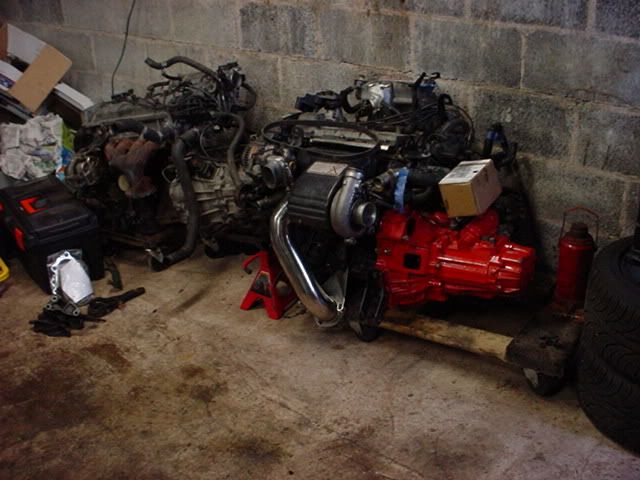
Before you ask: Engine or Clip. Get the clip, it will have all the parts you need for the swap. (for the most part). If you purchase only an engine you would have to hunt down so many hard to find parts it would be rediculous.
>
Second Step : What model do you have ST(like me) or a GT.
IF you have a GT its a little easier for you guys. The 5sfe Tranny bolts right up to the 3sgte engine. Most people will bash the 5s tranny saying it wont hold the power. We have a few guys running the 5s tranny with no problems.
Other options: E-153 MR2 turbo tranny with LSD
1mzfe tranny found on Solaras, Camrys, and ES300s
3sge tranny found on a number of Toyotas
NOTE: The MR2 turbo tranny, and 1MZFE need the ST205 rear mount and bracket. Do not drive around with three mounts. DO NOT have one custom made for you, ORDER the ST205 rear transmission bracket
GT guys unless you dont want to use the 5sfe tranny, move on you dont need this section.
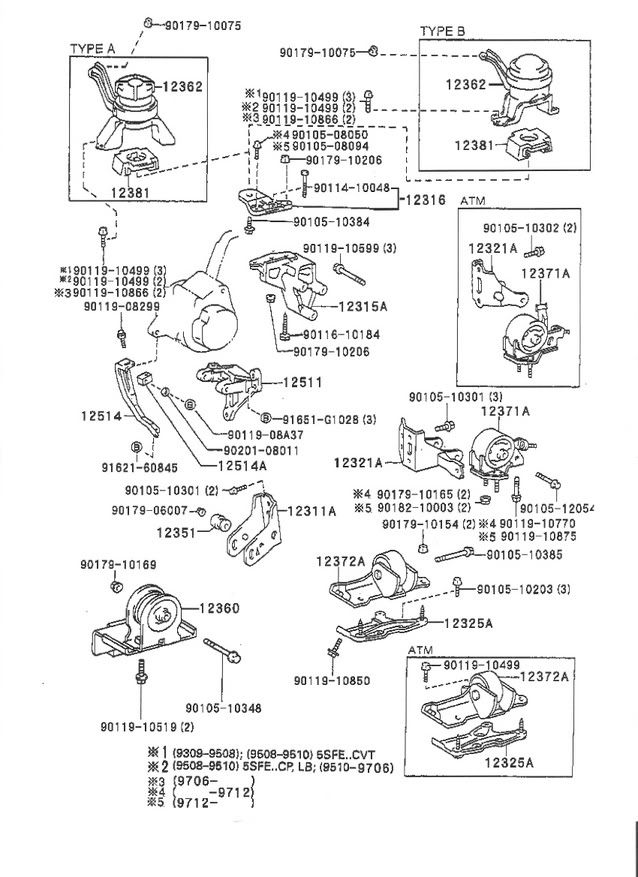
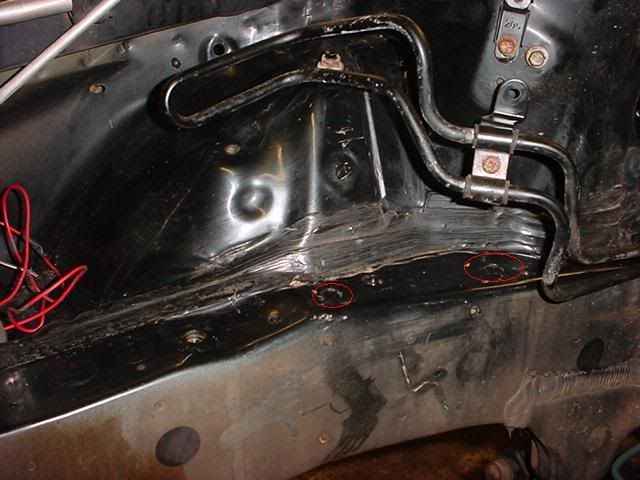
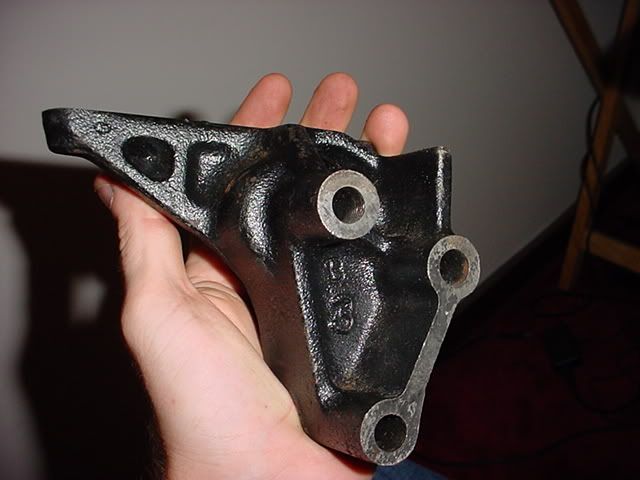
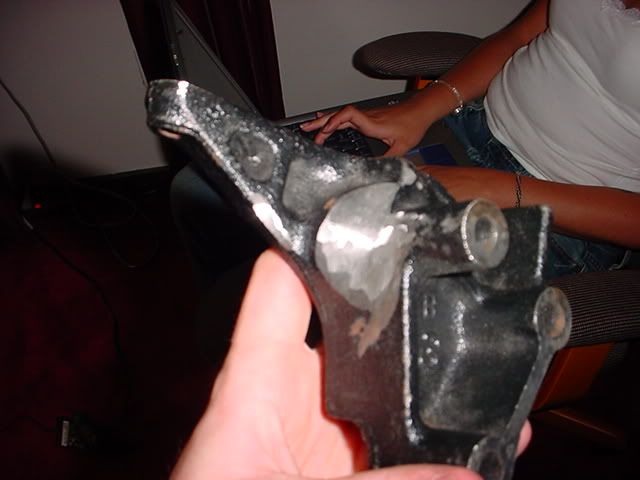
ST guys. You need a new tranny. You most likely know that you need new mounts. I have purchased all four GT mounts. Get them all you need everything. Its better to be safe than sorry.
You cannot use the Alltrac tranny. You cannot use your ST tranny. You would need a GT tranny or one of the trannys listed above.
ST mounts
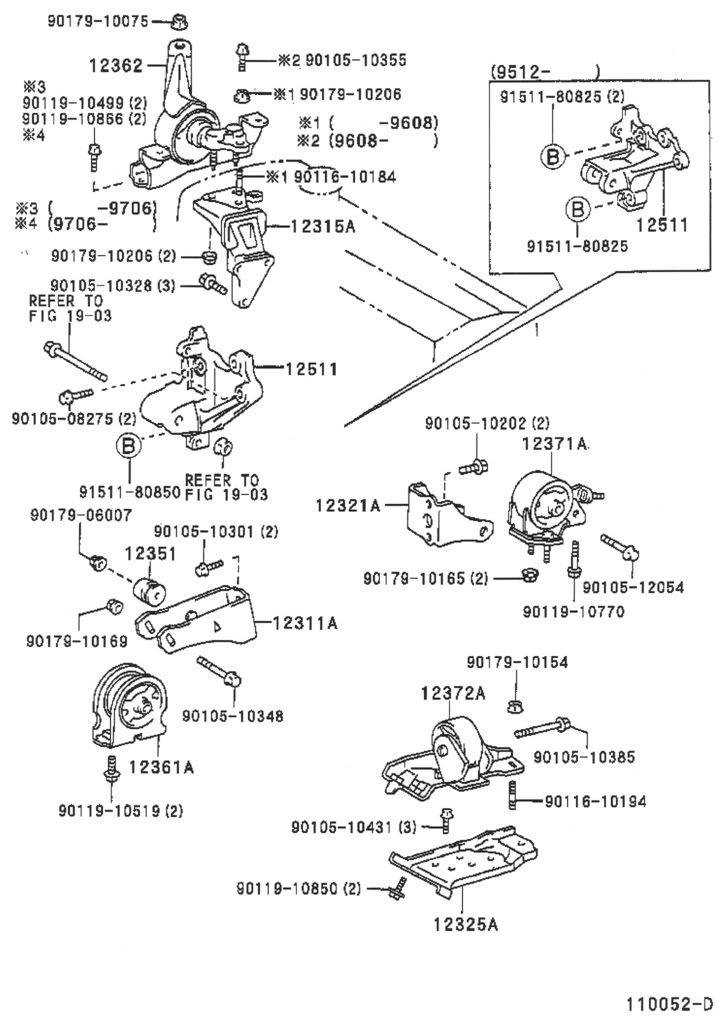
GT mounts
>>>>
See the mounts are totally different.>>
>>
You also need to get a tranny, look above for recomendations. I'm using a JDM 3SGE Tranny. I'll have pics and more detail later on.
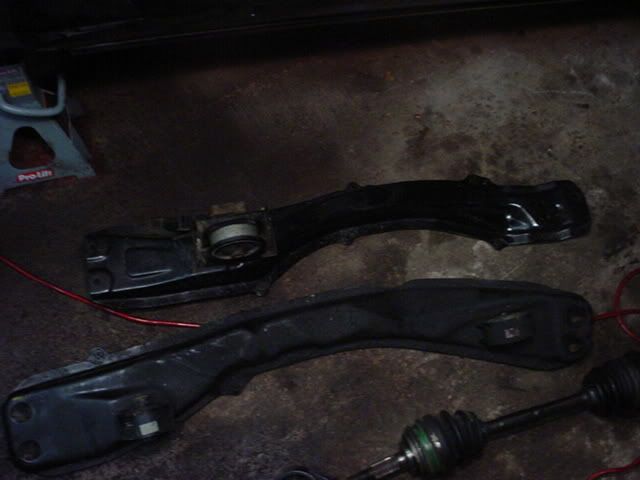
you need axles that match the tranny.
Shifter cables yep you need them.
Here is how they break down:
E-153 mr2 turbo tranny = ST205 cables only
GT tranny = GT shifter cables
1mzfe (also known as the E153) Solara, Camry Tranny = ST205 Cables only
3SGE Tranny = GT Cables
[/b]
I have some pictures of cables and the differences
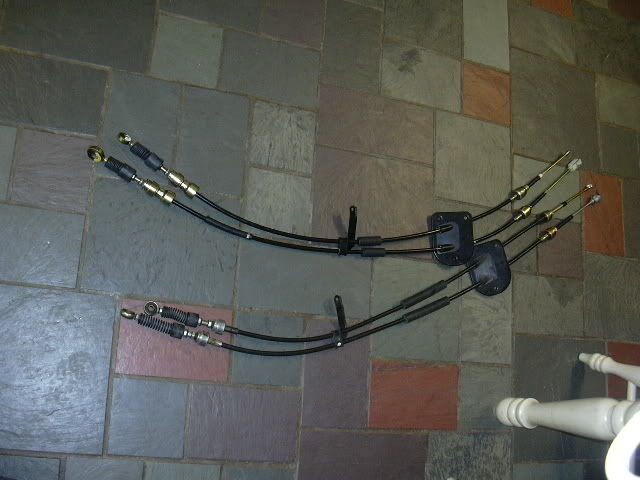
GT & GT4 side by side
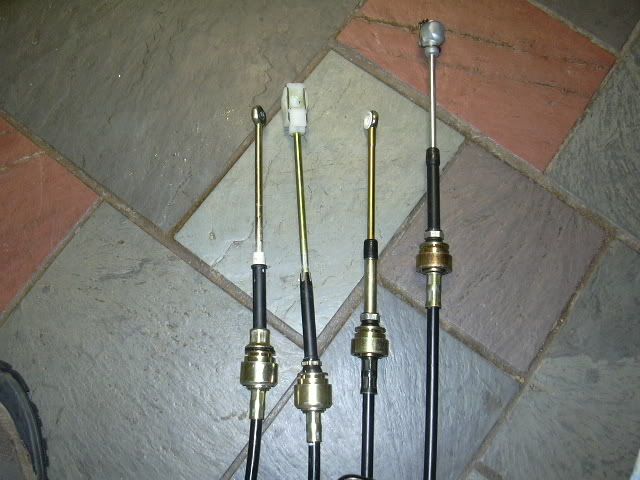
GT left, GT4 right

GT top, GT4 bottom
See totally different
Ok Cables, mounts, axles I think we can join the GT guys again.
GT & ST: Clutch. Depending on which tranny you use it will effect which clutch parts you buy.
>
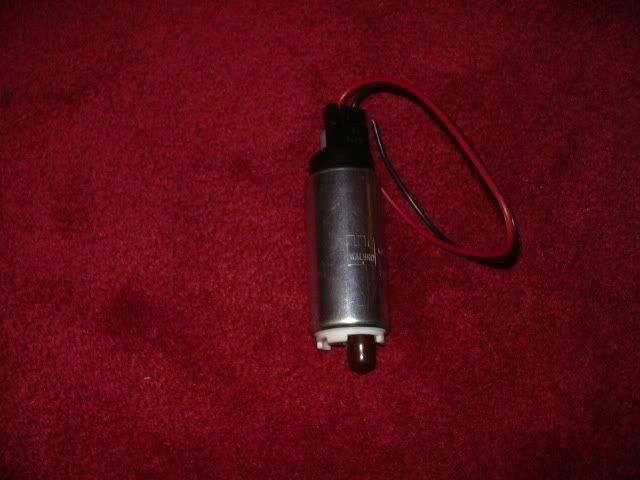
You all will need a new fuel pump. I am using a walbro supra turbo pump. Most people will say that it whines when operating. People have even dubbed it "WhineBro". Another option is to purchase a OEM Supra turbo pump from toyota. It is silent, and still delivers the fuel the 3sgte needs.
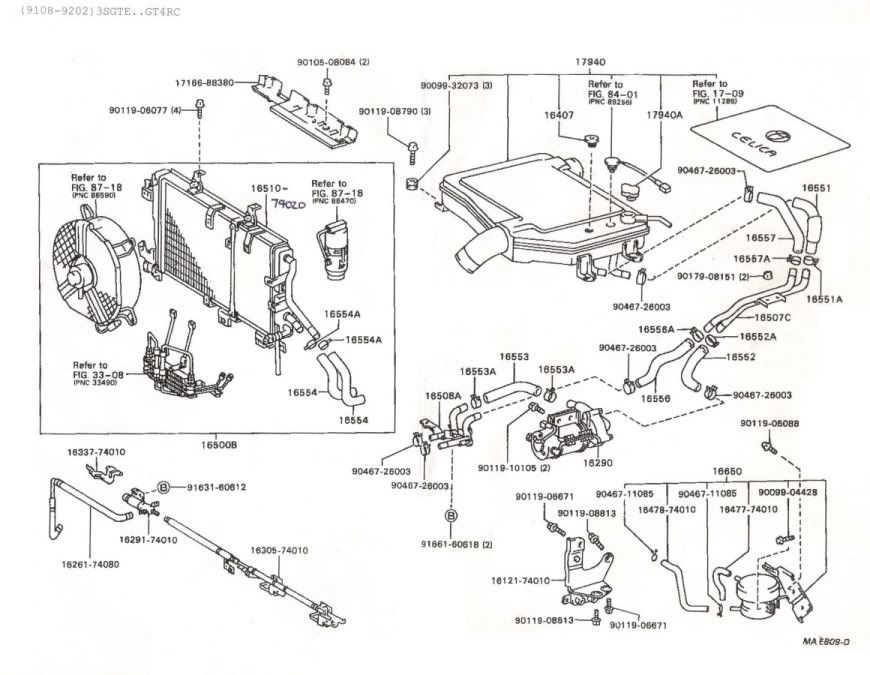
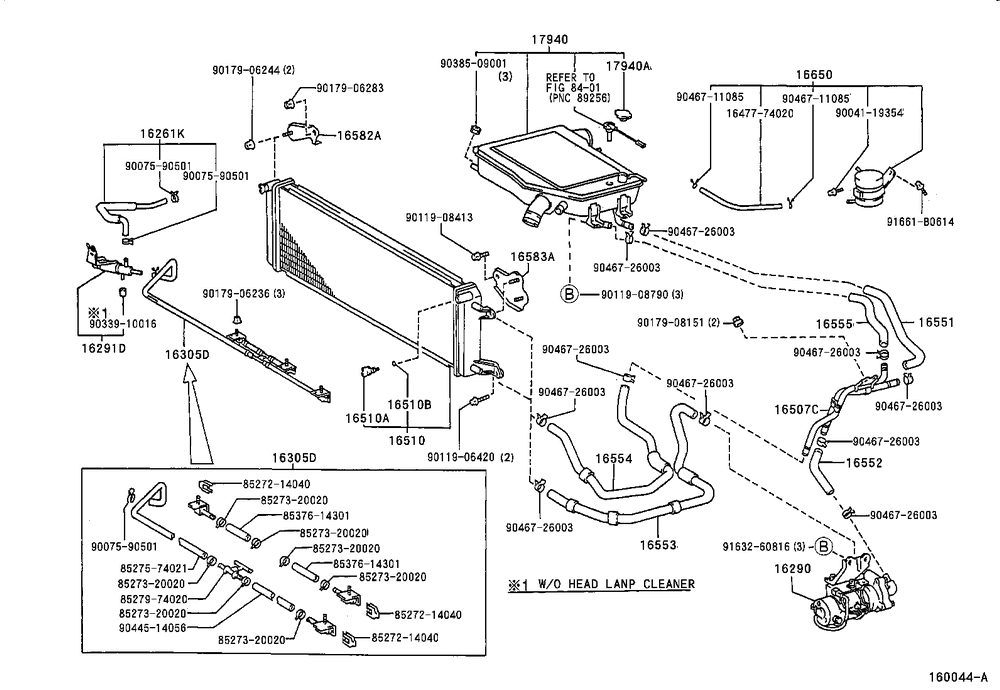
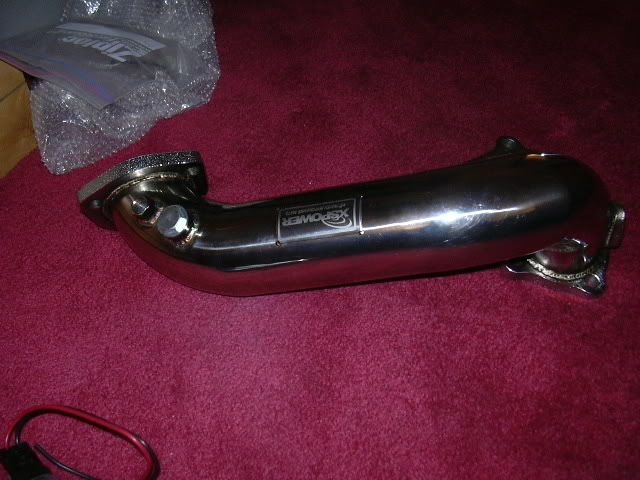
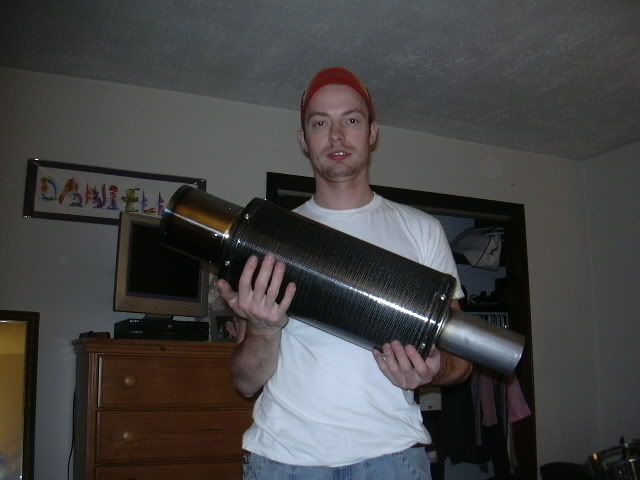
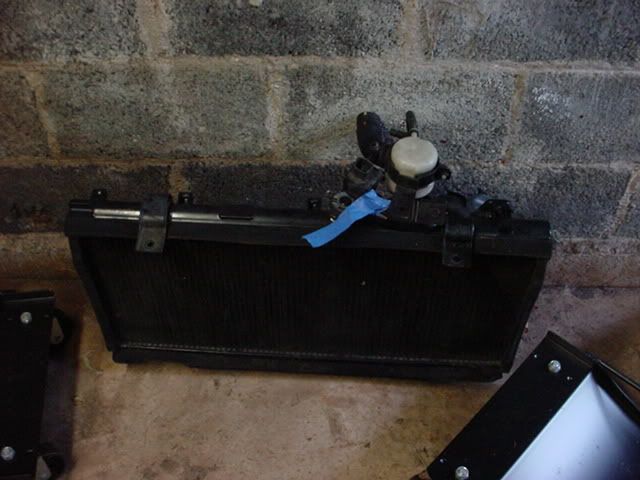
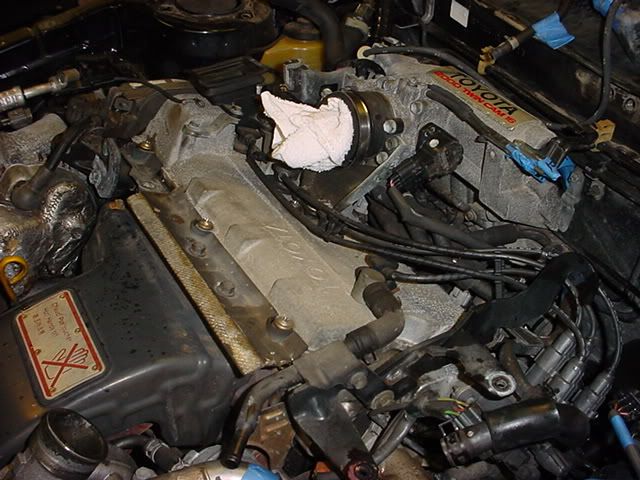
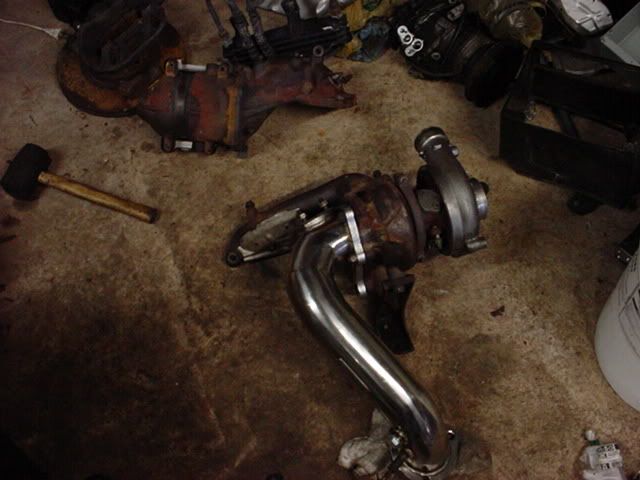
I'm not going to cover after market intercoolers. You can do the swap with the stock set up. The stock Air to Air cooler is not recommened, most people prefer to get an aftermarket. The stock intercooler sits on top of the 3sgte, with leads to heat soak at an idle. Most people Use an front mount intercooler. You can search for it in the forums.
My 3SGTE is the RC version with a water cooled top mount intercooler. I have no need to get a FMIC (front mount intercooler)
>>READ THIS BEFORE ASKING A QUESTION>>
90% of the time the answer is here.
Hey guys,
I figured I'd do a write up while I was doing my swap. Later on we can edit everything and have a nice FAQ & how-to for the 3sgte swap.
Ok, I dont know everything about cars. I took on this project to learn and further enjoy the car I love. There will be times where I dont know what a part is or how to explain it, but with everyone's help we'll get through it.
If you guys have anything to add, please feel free to reply. Please do not flame me or post negative remarks about the parts I install, or anything thats involved in this thread. Post your opinions not your attitudes.
First Step: The thought. Should I do it. Well its up to you, use this as a guide to help you along the way.
Its recommended that you have somewhere around 4000 dollars saved for the swap.
Before you ask: Engine or Clip.
Get the clip, it will have all the parts you need for the swap. (for the most part). If you purchase only an engine you would have to hunt down so many hard to find parts it would be rediculous.>
QUOTE
>If you just bought engine, ecu, tranny, wiring harness.
You would be missing: 3rd ECU plug, AFM, ignitor, coil, injector resistor pack, fuel pump resistor, fuel pump relay, turbo pressure sensor, air intake piping, and probably some other stuff.
If you got a clip, you would be missing nothing. Plus, you could sell off a LOT of stuff, and pay for a good portion of your swap.
A swap can take a weekend or many months. It all depends on what you are doing.
It is probably a good idea to replace some old parts while you are at it! All gaskets, water pump, oil pump, belts, hose from hell, clutch, head gasket, distributor cap and rotor, plugs, plug wires, fuel filter, air filter, etc....depends on what you want out of the car. If you want to modify it, add some more.
Second Step : What model do you have ST(like me) or a GT.
IF you have a GT its a little easier for you guys. The 5sfe Tranny bolts right up to the 3sgte engine. Most people will bash the 5s tranny saying it wont hold the power. We have a few guys running the 5s tranny with no problems.
Other options: E-153 MR2 turbo tranny with LSD
1mzfe tranny found on Solaras, Camrys, and ES300s
3sge tranny found on a number of Toyotas
NOTE: The MR2 turbo tranny, and 1MZFE need the ST205 rear mount and bracket. Do not drive around with three mounts. DO NOT have one custom made for you, ORDER the ST205 rear transmission bracket
GT guys unless you dont want to use the 5sfe tranny, move on you dont need this section.
ST guys. You need a new tranny. You most likely know that you need new mounts. I have purchased all four GT mounts. Get them all you need everything. Its better to be safe than sorry.
You cannot use the Alltrac tranny. You cannot use your ST tranny. You would need a GT tranny or one of the trannys listed above.
ST mounts
GT mounts
>>>>
See the mounts are totally different.>>
>>
You also need to get a tranny, look above for recomendations. I'm using a JDM 3SGE Tranny. I'll have pics and more detail later on.
you need axles that match the tranny.
Shifter cables yep you need them.
Here is how they break down:
E-153 mr2 turbo tranny = ST205 cables only
GT tranny = GT shifter cables
1mzfe (also known as the E153) Solara, Camry Tranny = ST205 Cables only
3SGE Tranny = GT Cables
[/b]
I have some pictures of cables and the differences
GT & GT4 side by side
GT left, GT4 right
GT top, GT4 bottom
See totally different
Ok Cables, mounts, axles I think we can join the GT guys again.
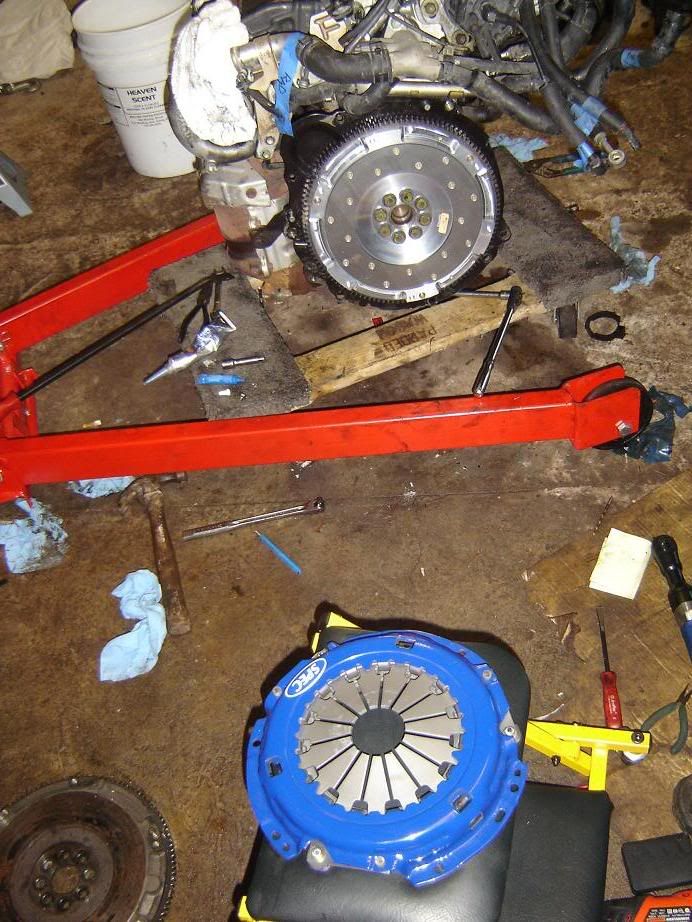
GT & ST: Clutch. Depending on which tranny you use it will effect which clutch parts you buy.
>
QUOTE
>Lagos wrote:
Clutch:
if using the gt tranny with the 3sgte motor, you will need:
5sfe disk (or a custom made 3sgte disk, with the splines for the 5sfe tranny)
5sfe throwout bearing
5sfe alignment tool
3sgte pressure plate
3sgte flywheel (or just get your stock one resurfaced)
if you are going to use an mr2 turbo tranny, then all you need to do is buy a clutch kit for a 90-93 turbo mr2.
be carefull when buying clutch disks for the 5sfe tranny. a stage 1 disk for the 5sfe is not the same thing as a stage 1 disk for the 3sgte. so if you get something like a stock oem clutch or a ACT street disk, it probably will not hold the power you need to put down.
if you call up a company like Spec or Clutchmasters and tell them about your project, they can make you a custom disk that can hold the power you will make and have the correct spline count that you need.
You all will need a new fuel pump. I am using a walbro supra turbo pump. Most people will say that it whines when operating. People have even dubbed it "WhineBro". Another option is to purchase a OEM Supra turbo pump from toyota. It is silent, and still delivers the fuel the 3sgte needs.
I'm not going to cover after market intercoolers. You can do the swap with the stock set up. The stock Air to Air cooler is not recommened, most people prefer to get an aftermarket. The stock intercooler sits on top of the 3sgte, with leads to heat soak at an idle. Most people Use an front mount intercooler. You can search for it in the forums.
My 3SGTE is the RC version with a water cooled top mount intercooler. I have no need to get a FMIC (front mount intercooler)
I will return one day.


 > Jeff >
 >
>