So i worked on my project this weekend and need a lil bit more time. while i worked on the car, i noticed MANY things that ppl have failed to mention to do while completing the project. i will go into detail in a few. keep in mind. i have a 96 celi.
This was tig welded at a shop, this is for my pcv valve from the valve cover to the intake for the turbo
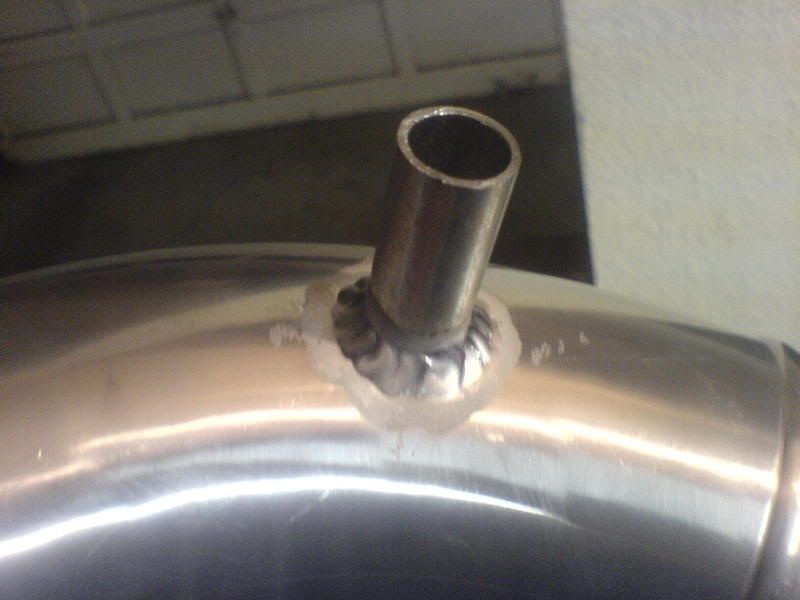
This was also tig welded at a shop. notice how clean of a weld it is !!!
Now then, in order to get to the oil pan, u have to undo the tranny heat shield. but to get to that, the most helpful way is to position the mid cross member differently for now. so, the sockets needed are 12mm, 14mm, and 10mm (10 mm to take off the splash skirts.)
These 2 are in the very front. 14 mm
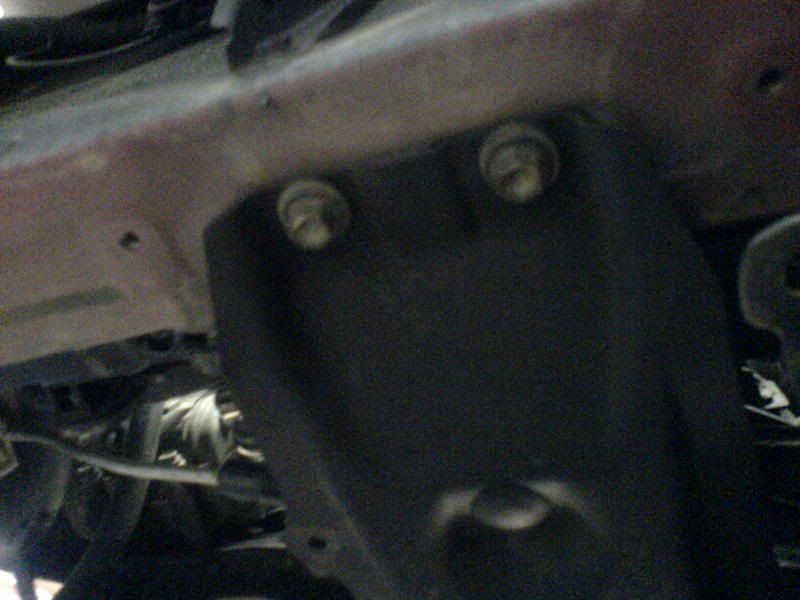
These 2 are at the very rear of the cross member, towared where the stock cat used to be.
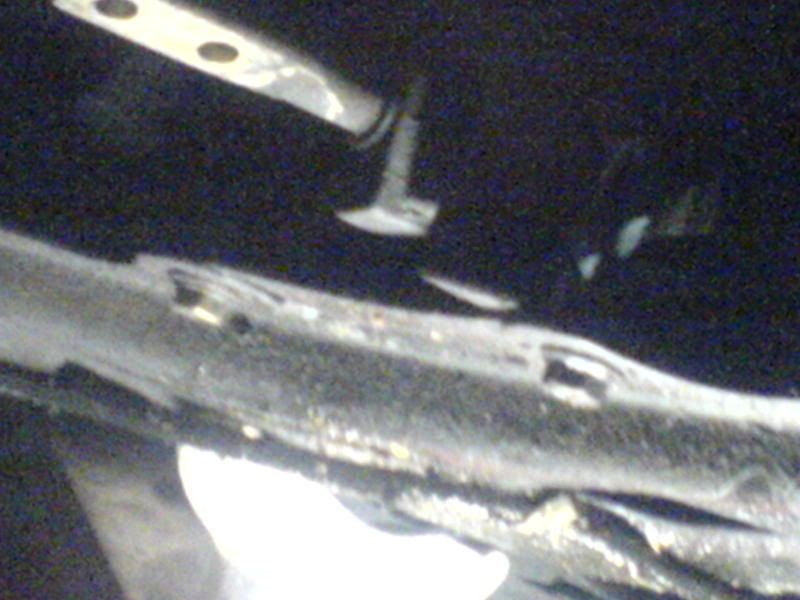
I believe there is also 1 bolt that is between these guys as well. take it out. should be either 14 mm or 12 mm
these 2 are bolts, a little bit more further forward then the 2 just mentioned. they are 12 mm i think.
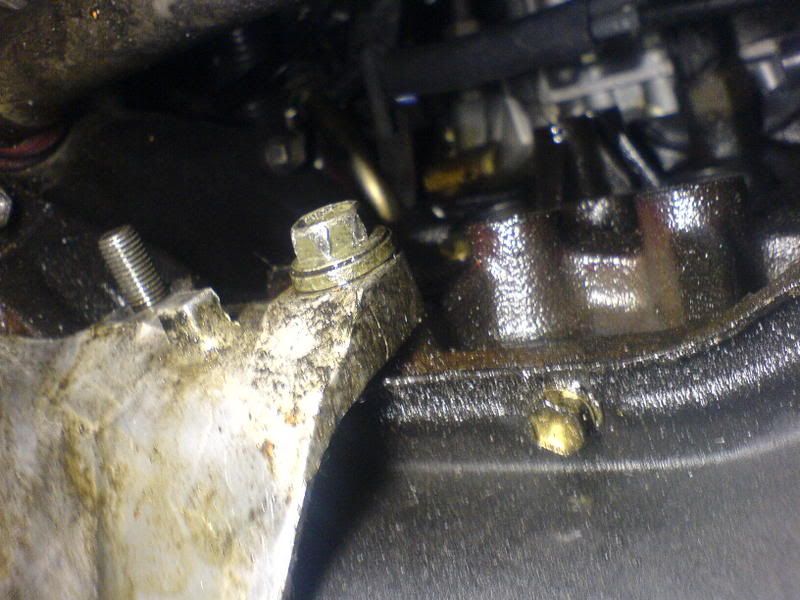
After those guys r moved. there will be a bolt (16 mm i think) going horizontally holding the front engine mount in place. take that out. press very hard on the frame, and it should pop out. move it to the side so u can see a the tranny heat shield bolts efficiently.
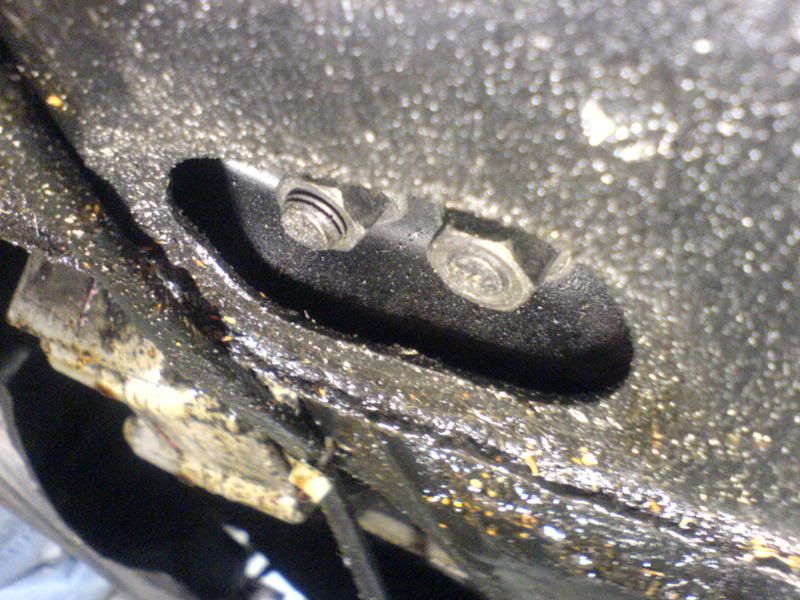
Now for the tranny heat shield. from the engine bay, there is 1 nut on the front side. from the belly of the car looking up. these are 2 of them right after it ( i alrdy took them out, but u can see where they are.)
There is also a nut leading after that, which originally u could not work with unless u repositioned the cross member. its now availble to u

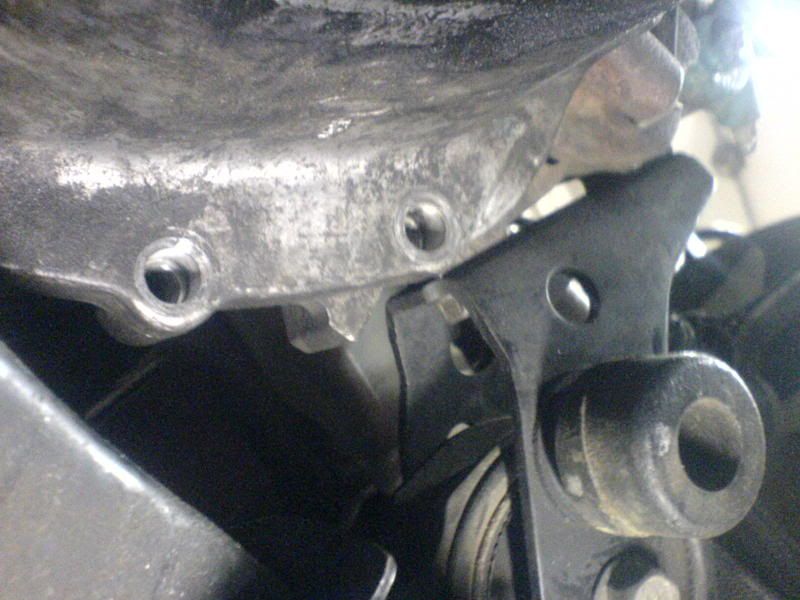
2 more following the tranny heat shield r here
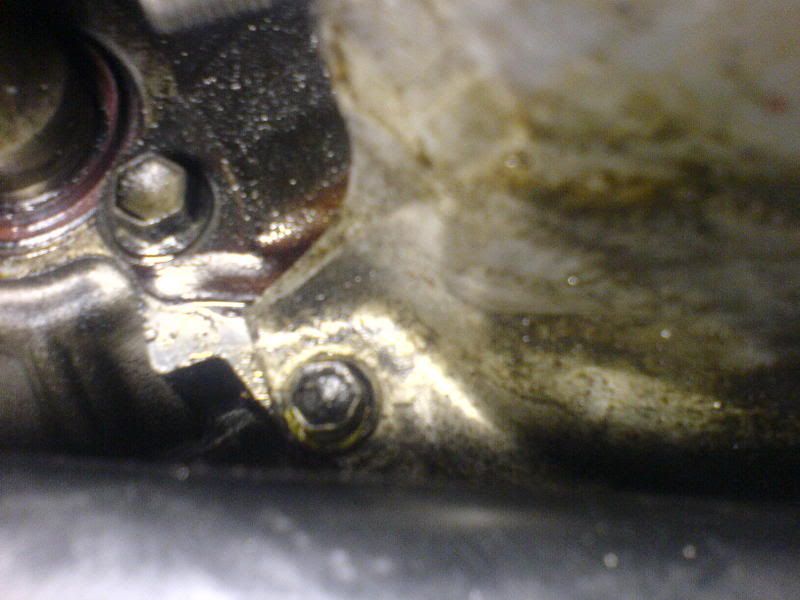
These are the last 2 guys. 1 is a nut, 1 is a bolt. ( i alrdy took off the nut)
now, with all these guys gone, u have to push very hard down and back towards the rear of the car initially to the heat shield out. once it pops, wiggle it accordingly to remove it. the oil pan is now at ur mercy

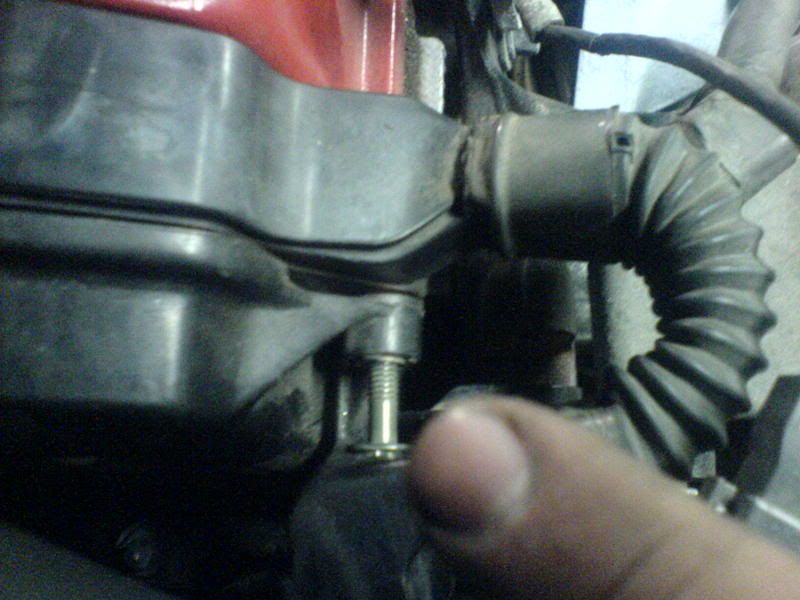
Now to remove the valve cover, this bolt needs to come out. there is also one on the other side, towards the firewall. i believe tis 10 mm.
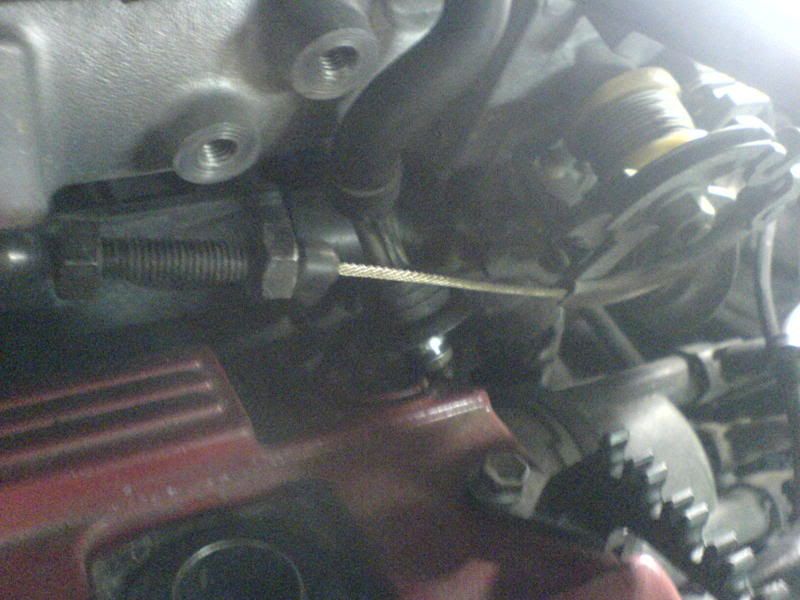
how in order to remove the spark plug wire closest to the driver side, u need to remove the bracket for the throttle cable. 2 12mm bolts i believe. then just pull that guy up for the time being.
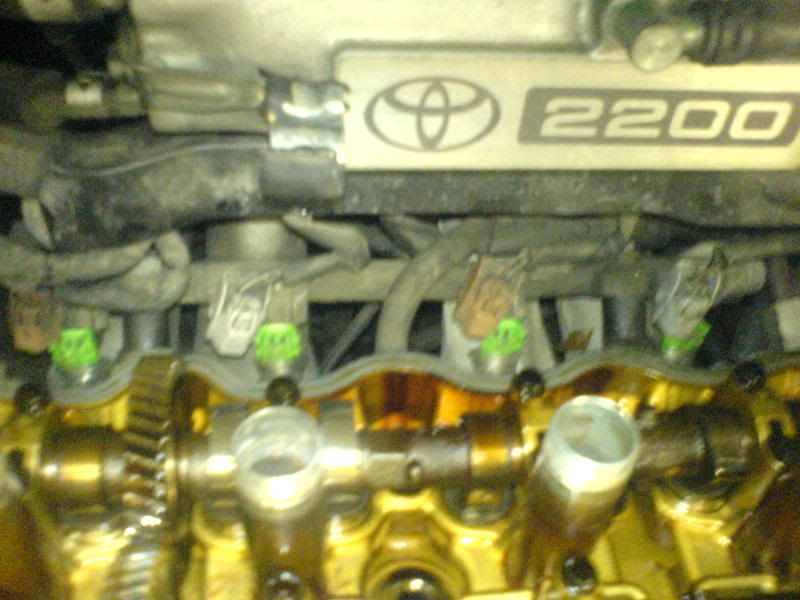
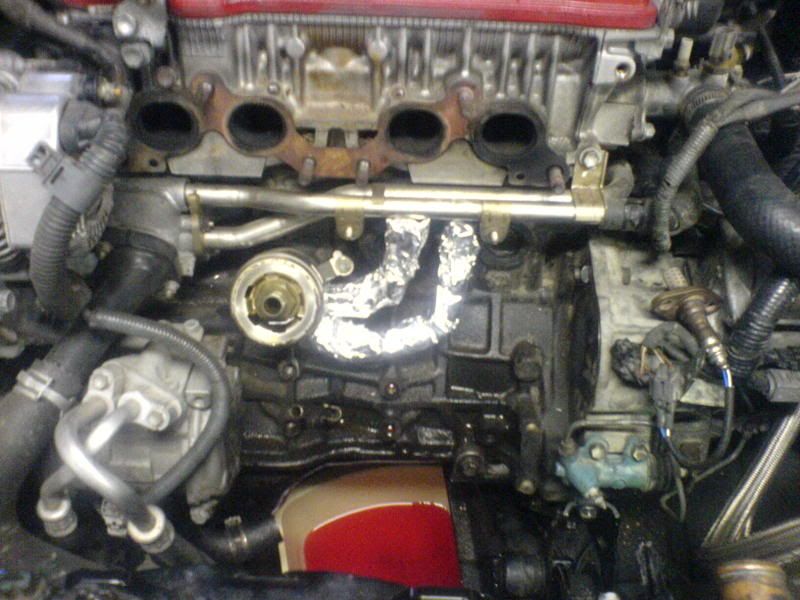
for the fuel rail, i didnt completely remove it from the car, i just undid the 2 bolts holding it down so i had some room to play with. there are 2 black plastic pieces that are spacers which the fuel rail rested on as well, which was between the rail and the head, b4 u lose them, just take em off and put them in a safe spot. there really isnt any tension on them. now the green guys are the fuel injectors (which i alrdy unsnapped). takes a little bit of time to remove them. just wiggle and pull a LOT. then put them back in as well duh. when u bolt the fuel rail back in place with the bolts and spacers. DO NOT OVER TIGHTEN. remember, the spacers are plastic, and will crack in 1/2 if u put too much tension on em.
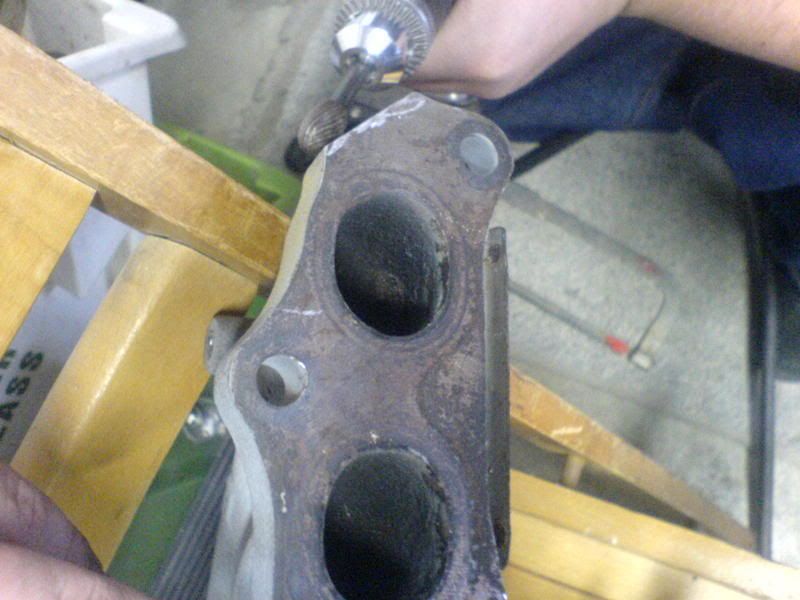
originally, i tried puttin the ex mani on the car, and it would fit. bcuz the alternator bracket was in the way... fun. so i chopped off part of mani that we dont even use, which doesnt even touch the hed. i slightly sliced the alt bracket a little bit too. do a test a fit a couple times, and u will see whats up .
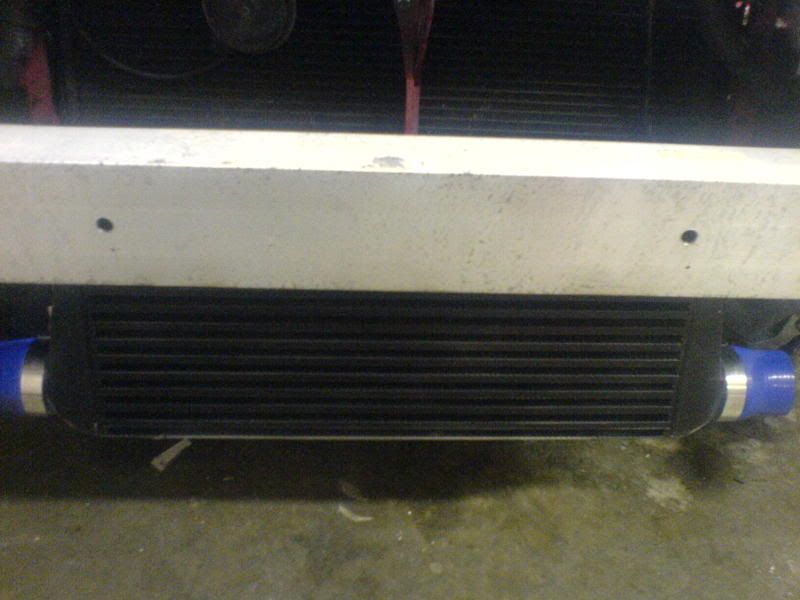
for the intercooler bracket. i made 2 90 degree bracket bends. with a hole on both sides. 1 hold attached to the top of the intercooler. 1 attached behind the crash bar. i drilled a hole in the front so i can hold a nut i fed thru the side in place. i taped the nut a stick, fed it thru the side, then once it lined up with the hold i made on the other side for the bolt to go thru, i used a rod to keep it in place. then just bolted it on. ( i was by myself and i figured out a way to do it lol). i didnt tape it too much, becuz the stick has to come out btw
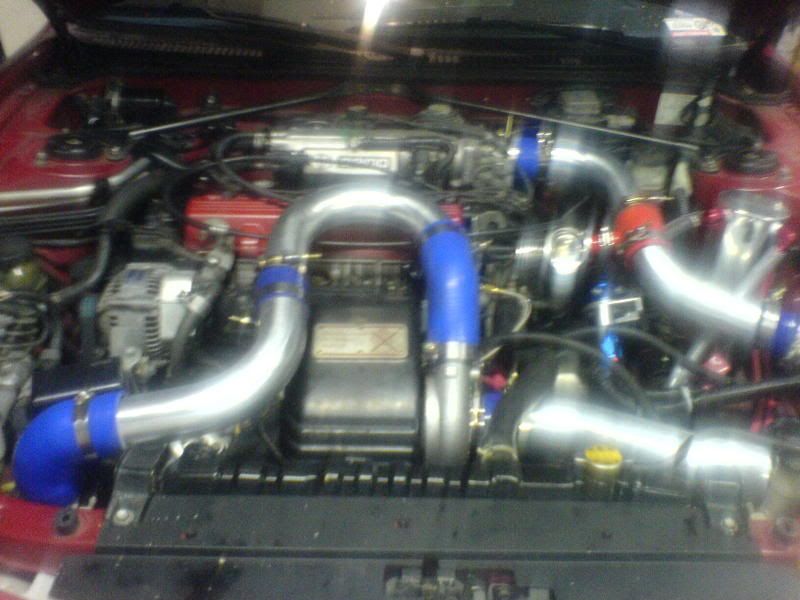
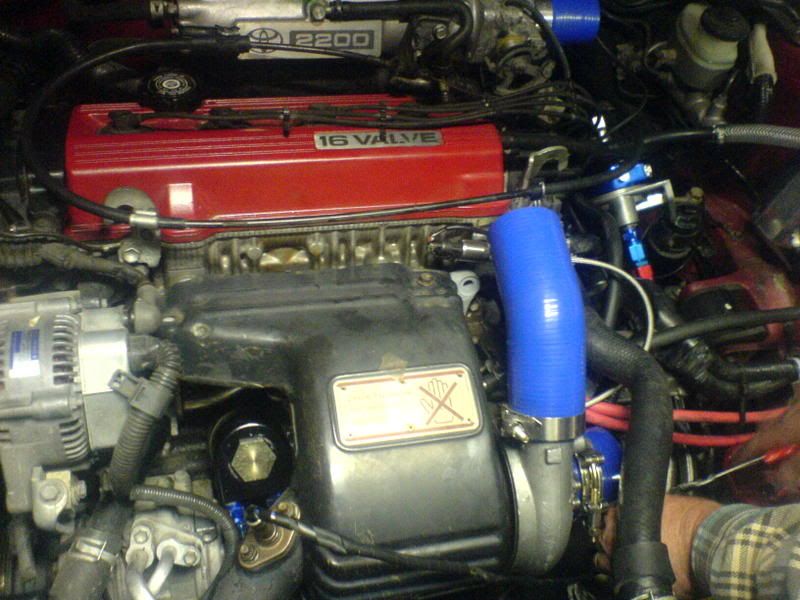
Pic of engine bay. remember to wrap ur coil cooler lines. the oil return line from the turbo is going to rest right on these guys.
another engine pic.
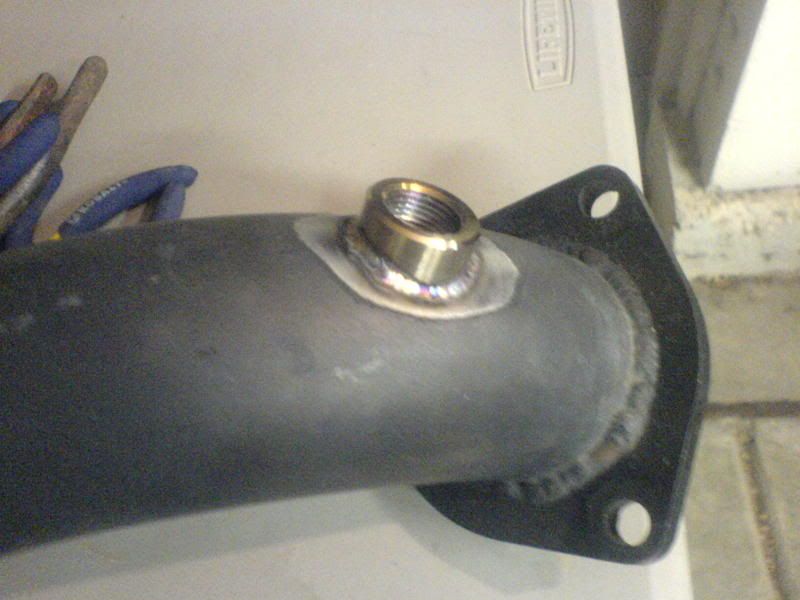
i have all the intercooler piping done and everything. when i first started, there were 3 leaks. both sides of the oil relocation lines, which was an ez fix, ended up being that they werent tightened enuff/ o-rings werent on right. the third one was that the oil feed line wasnt welded on correctly, SON OF A B**** !!! with this notation, check ur weld very carefully by putting soapy water on it, and hold the small hold on the side where it connects to the turbo, and spraying compressed air thru the other side. if there is a leak, bubbles will come up.
This post has been edited by CaliJeff: Jan 21, 2008 - 2:28 PM