>
QUOTE (vincent_doggy @ Jul 20, 2010 - 2:26 PM)

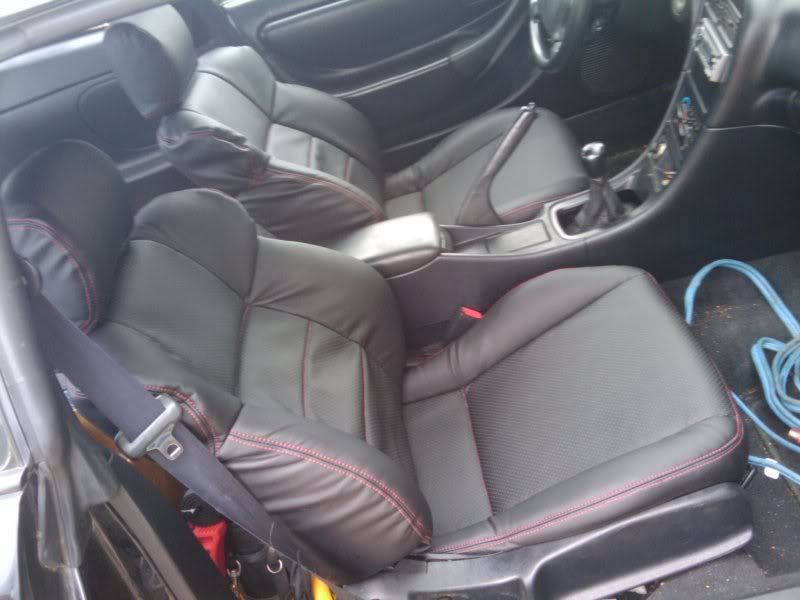
>Some tips on the front seat cover, the mould is from a JDM ST202, thats a GT
The ST front seats seems smaller, the shoulder/wing part is a bit small relatively to a GT
You simply strike or stuff some cotton, foam or whatever to fill the bulky part.
That won't be noticable, try it mate.
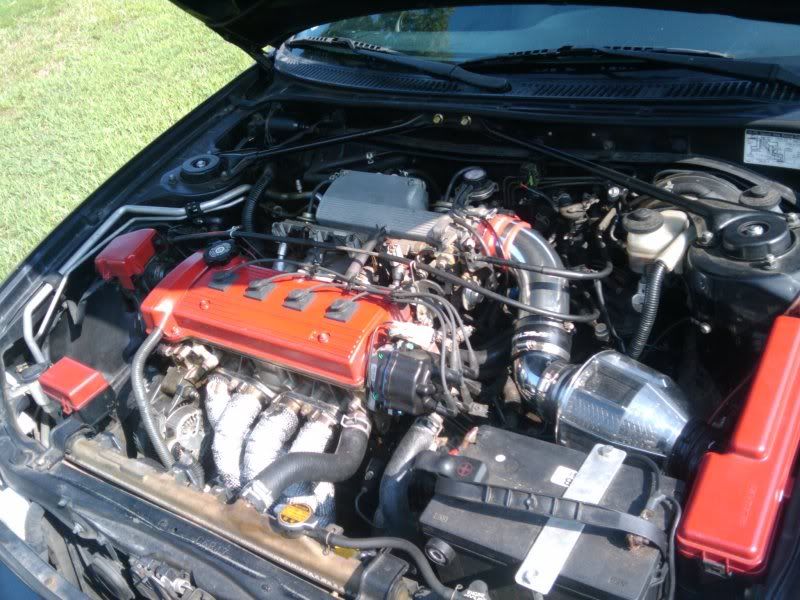
One friendly reminder, your radiator yellowish like that, should closely monitor on it, seems it would broke any minute.
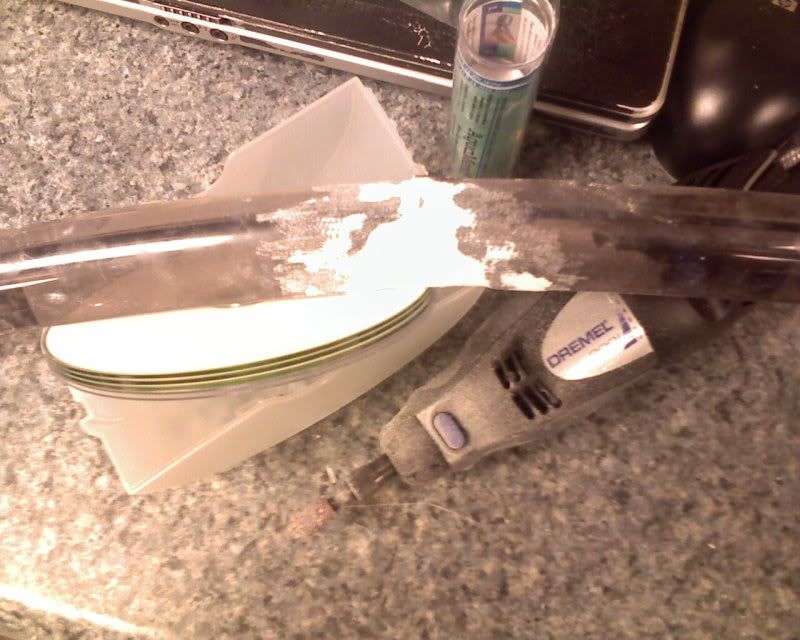
Ah thanks for those tips, I was thinking of something to stuff up there, just havn't got around to it....cotton balls would certainly do the trick...or some of this noise cancellation foam I have. Thanks agian for the goodies, as much as it was a pain to install those covers, they are growing on me daily, and certainly much better than OEM ones.
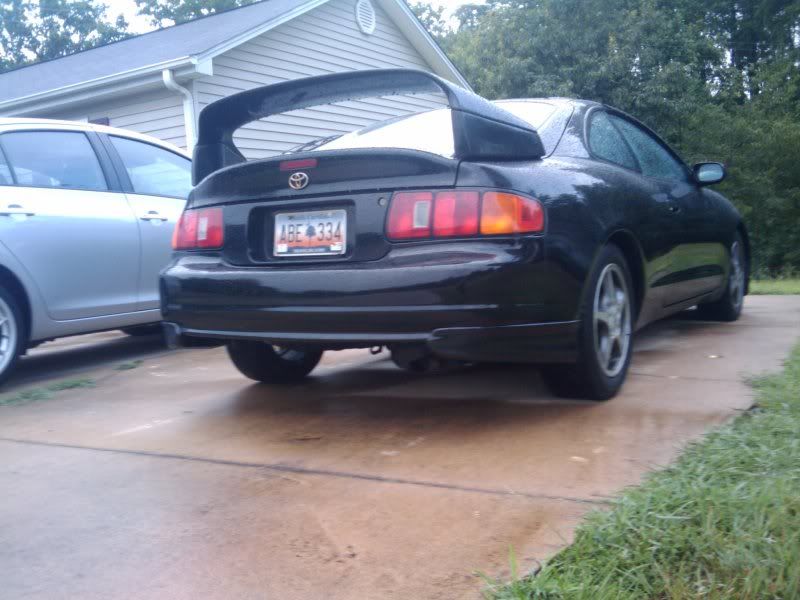
Whats funny is that pic with the yellowish rad is from when I first got the car =P - Bout 2 years later and its still trucking .I'm trying to avoid changing it until I do my swap, save costs and all.
This post has been edited by rave2n: Jul 20, 2010 - 2:52 PM