
Hey guys this a guide i made on how to change you're own fuel filter in a 6 generation Celica GT.
I am in no way responsible for anything that may happen to you're car during this process, but if you follow my directions and warnings you should be good.
Tools/Parts Needed:
Phillips Screw Driver
Flat Head Screw Driver
A Vice Grip or a 14mm wrench
A Crescent Wrench that will fit within the work space.
Socket Wrench with an extension
Goggles
New Fuel Filter with 2 washers(washers should come with it)
First Step:
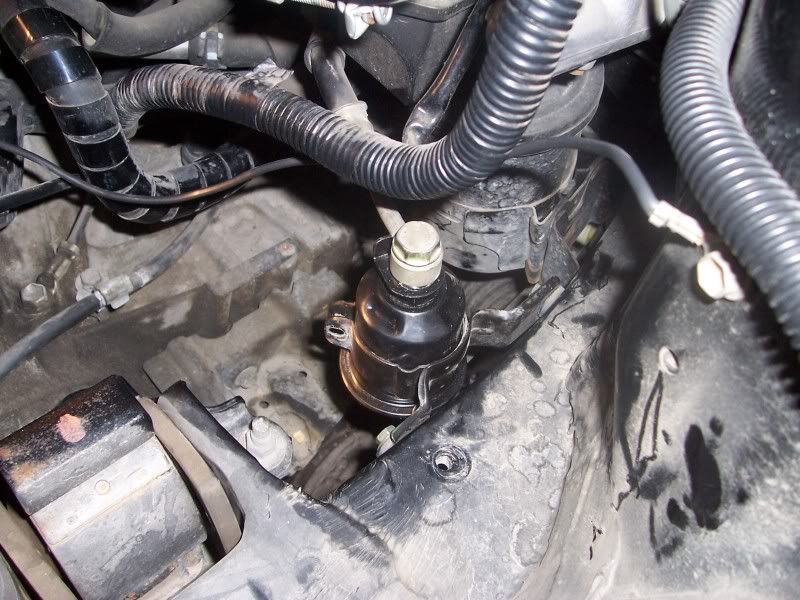
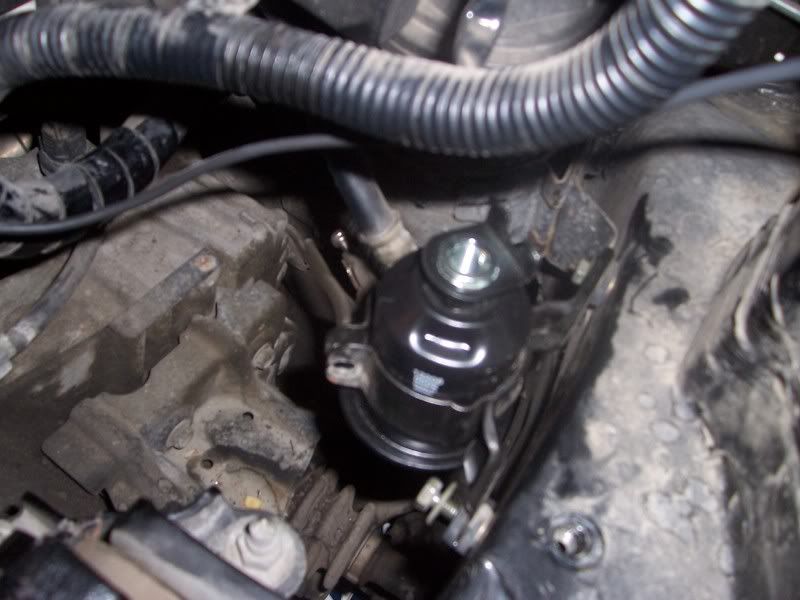
Make sure the fuel filter looks like the one in your car it's located right behind the stock air intake box.
To make enough room in order to get down to the fuel filter the stock air box(Assuming you have the stock intake in you're car and not aftermarket).
Begin by removing the clips on all sides of the box(There should be 4)
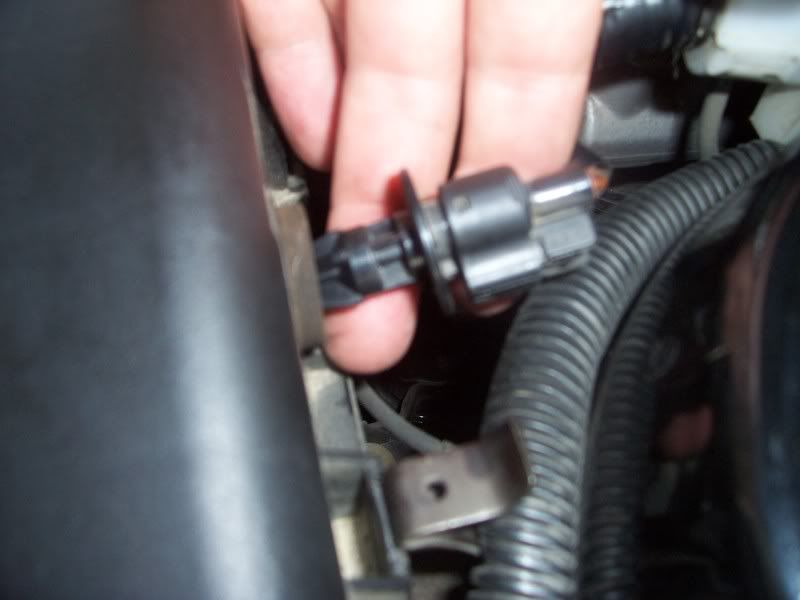
Remove the O2 sensor in the back of the box, it should just pull right out
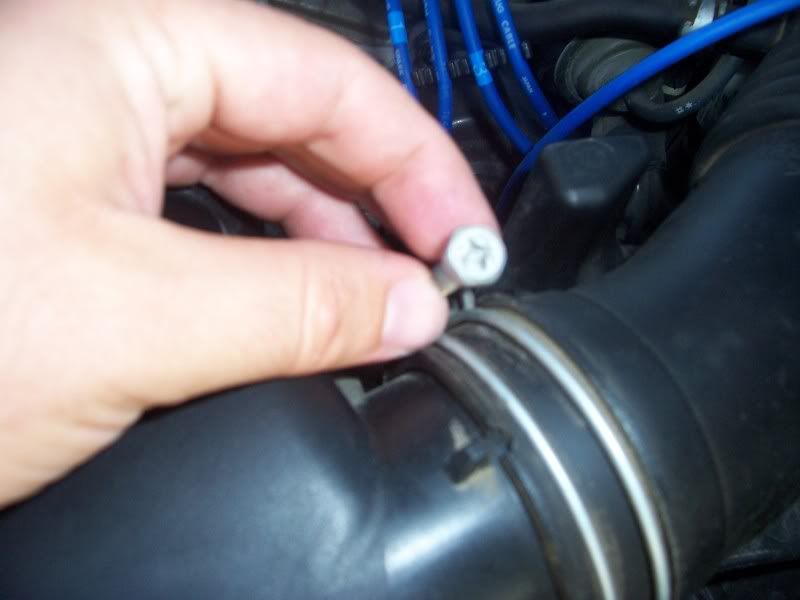
Loosen the clamp holding on the top of the air intake using a screw driver to loosen the bolt and then remove the top portion of the box along with the filter.
Next there will be 3 screws holding down the bottom portion of the intake box, this is where you need the extension on the socket wrench.
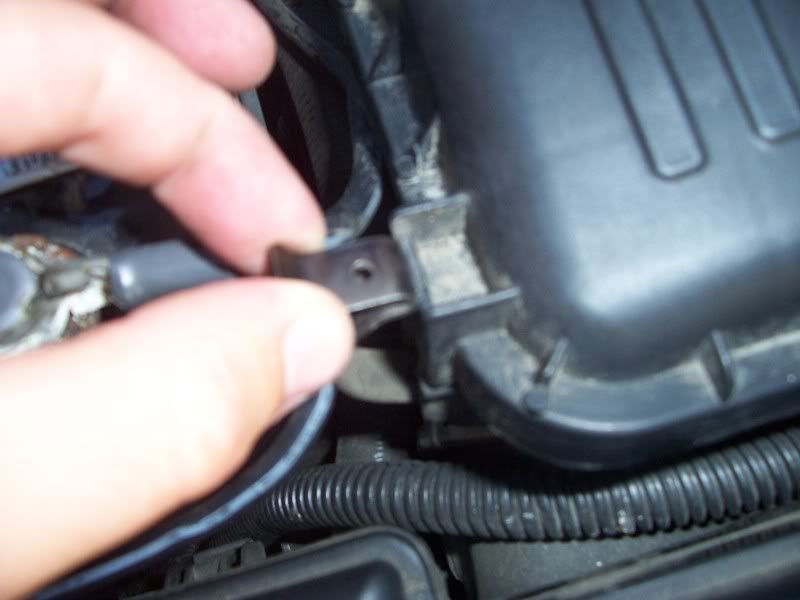
Then there will be two clamps around the wiring that sits around your box, all you need to do is pry it open with a flat head, they should just pop off and the bottom portion of the intake box should just come right out.
Now you should have a clear view of the fuel filter, before continuing make sure you're car is off and cooled down. Next I would suggest putting some cardboard underneath where the fuel filter sits on the ground so you don't get it on the floor but its you're choice.
Once your car is cooled throw on some goggles and you can proceed to slowly remove the top fixture on the fuel filter, don't be afraid quite a bit of fuel will come out but its just releasing the pressure that's built up in the fuel lines, make sure its the top not the bottom the top will release the pressure easier, it may spray up(that's why you're wearing goggles).
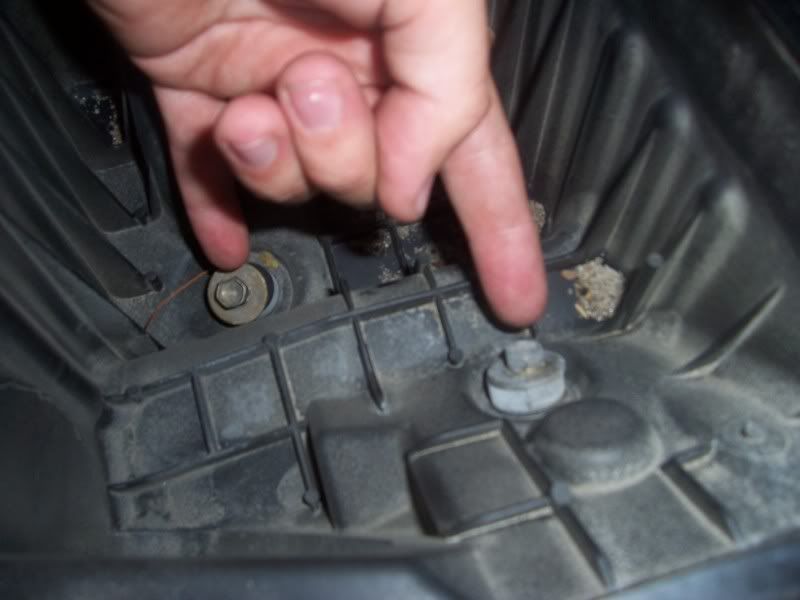
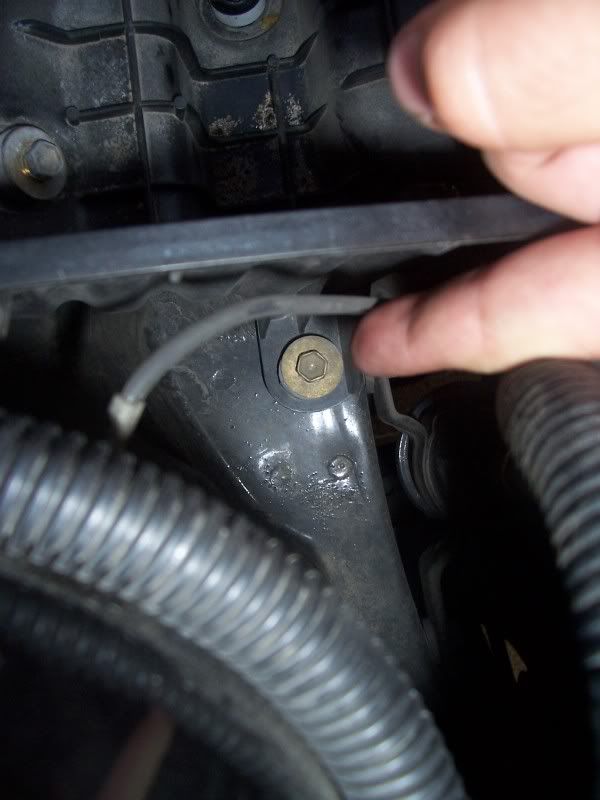
Next is the hardest and trickiest part of the whole ordeal, you have to remove the fuel filter from the bottom of the fuel line but you can't exactly see what you are doing.
I took a picture of what it looks like.
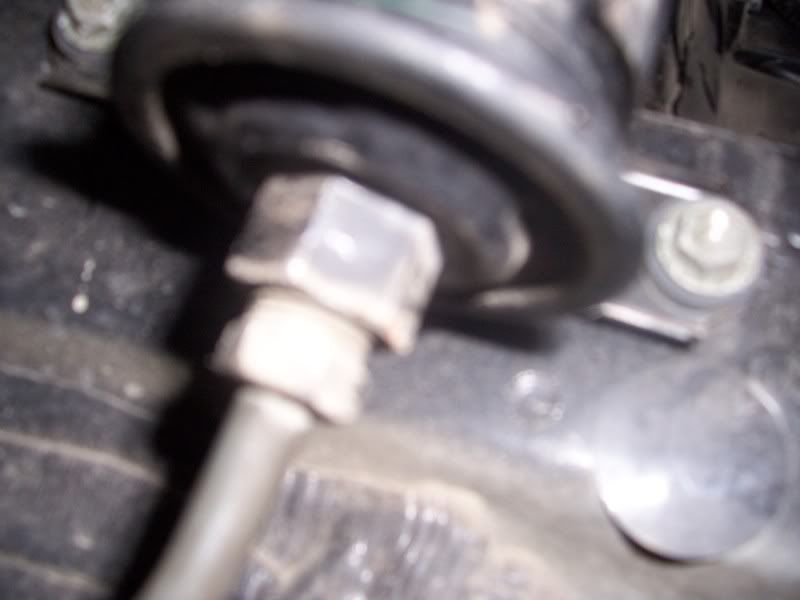
I put a vice on the bottom nut like so and just let it rest on the inner fender wall( I took this picture after i removed the fuel filter to show you where it should properly be fixed to)
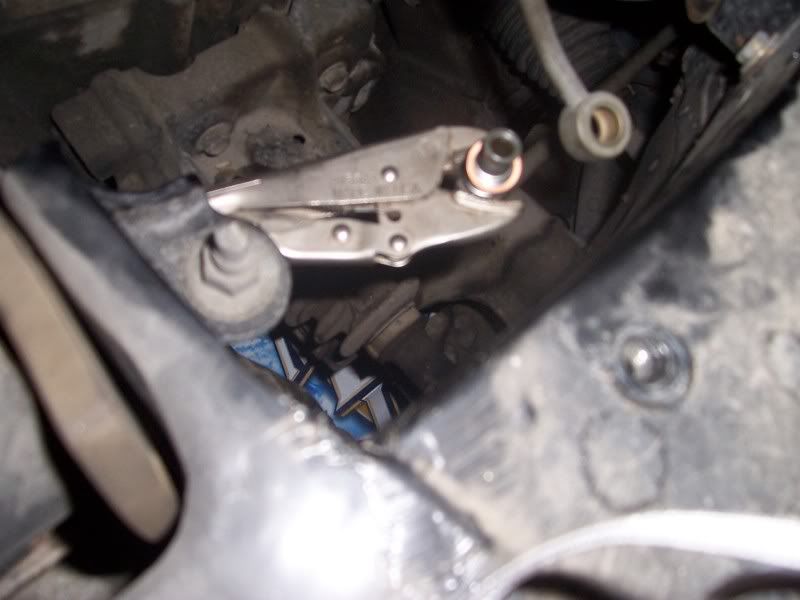
Use the Crescent Wrench and proceed to turn the fuel filters lower nut(above where the vice/14mm wrench is) counter clockwise. (Be very careful not to tweak the bottom fuel line too much when trying to remove the filter because you can crack the fuel line if you do.)
Once the old filter is off screw in the new one. Place the new washers on the top and bottom of the upper fuel line taken out of the top of the filter and screw it back in. Start your car and make sure it isn't leaking anywhere (It'll take a second to start again since your line is depressurized.) If there are no leaks just install things in backwards order of how I told you to take them out. Congratulations on your first fuel filter install and enjoy the better gas mileage. You're engine will be thanking you too.
I am in no way responsible for anything that may happen to you're car during this process, but if you follow my directions and warnings you should be good.
Tools/Parts Needed:
Phillips Screw Driver
Flat Head Screw Driver
A Vice Grip or a 14mm wrench
A Crescent Wrench that will fit within the work space.
Socket Wrench with an extension
Goggles
New Fuel Filter with 2 washers(washers should come with it)
First Step:
Make sure the fuel filter looks like the one in your car it's located right behind the stock air intake box.
To make enough room in order to get down to the fuel filter the stock air box(Assuming you have the stock intake in you're car and not aftermarket).
Begin by removing the clips on all sides of the box(There should be 4)
Remove the O2 sensor in the back of the box, it should just pull right out
Loosen the clamp holding on the top of the air intake using a screw driver to loosen the bolt and then remove the top portion of the box along with the filter.
Next there will be 3 screws holding down the bottom portion of the intake box, this is where you need the extension on the socket wrench.
Then there will be two clamps around the wiring that sits around your box, all you need to do is pry it open with a flat head, they should just pop off and the bottom portion of the intake box should just come right out.
Now you should have a clear view of the fuel filter, before continuing make sure you're car is off and cooled down. Next I would suggest putting some cardboard underneath where the fuel filter sits on the ground so you don't get it on the floor but its you're choice.
Once your car is cooled throw on some goggles and you can proceed to slowly remove the top fixture on the fuel filter, don't be afraid quite a bit of fuel will come out but its just releasing the pressure that's built up in the fuel lines, make sure its the top not the bottom the top will release the pressure easier, it may spray up(that's why you're wearing goggles).
Next is the hardest and trickiest part of the whole ordeal, you have to remove the fuel filter from the bottom of the fuel line but you can't exactly see what you are doing.
I took a picture of what it looks like.
I put a vice on the bottom nut like so and just let it rest on the inner fender wall( I took this picture after i removed the fuel filter to show you where it should properly be fixed to)
Use the Crescent Wrench and proceed to turn the fuel filters lower nut(above where the vice/14mm wrench is) counter clockwise. (Be very careful not to tweak the bottom fuel line too much when trying to remove the filter because you can crack the fuel line if you do.)
Once the old filter is off screw in the new one. Place the new washers on the top and bottom of the upper fuel line taken out of the top of the filter and screw it back in. Start your car and make sure it isn't leaking anywhere (It'll take a second to start again since your line is depressurized.) If there are no leaks just install things in backwards order of how I told you to take them out. Congratulations on your first fuel filter install and enjoy the better gas mileage. You're engine will be thanking you too.
Representing the Convertible Crew since 2008


 So how do you loosen the plug nut on the bottom, its bolted on so tight!!!


