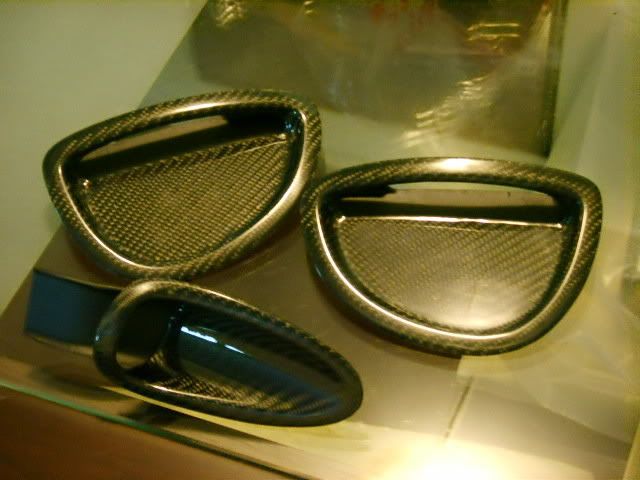
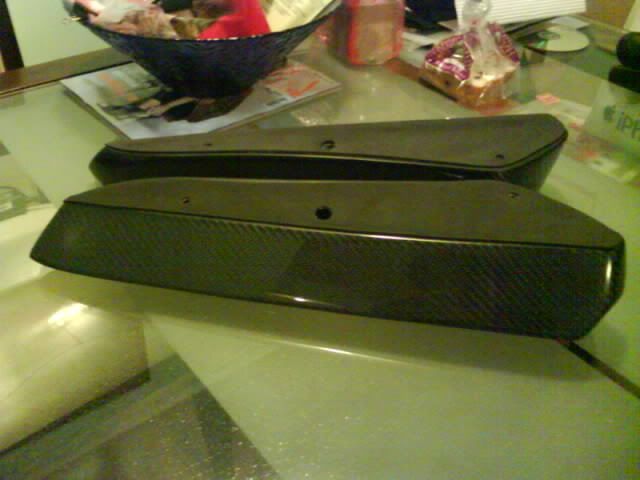
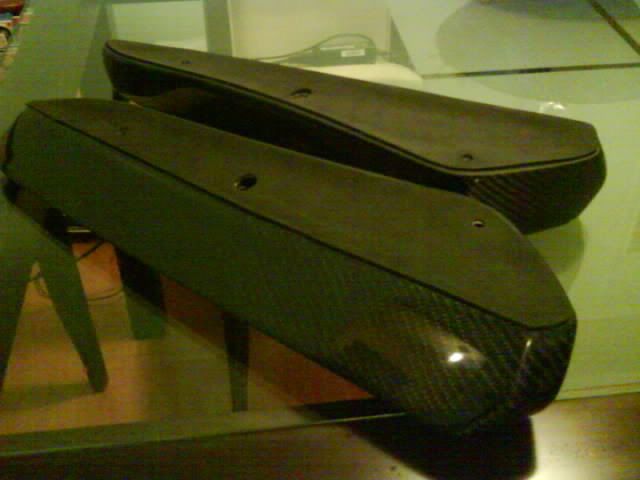
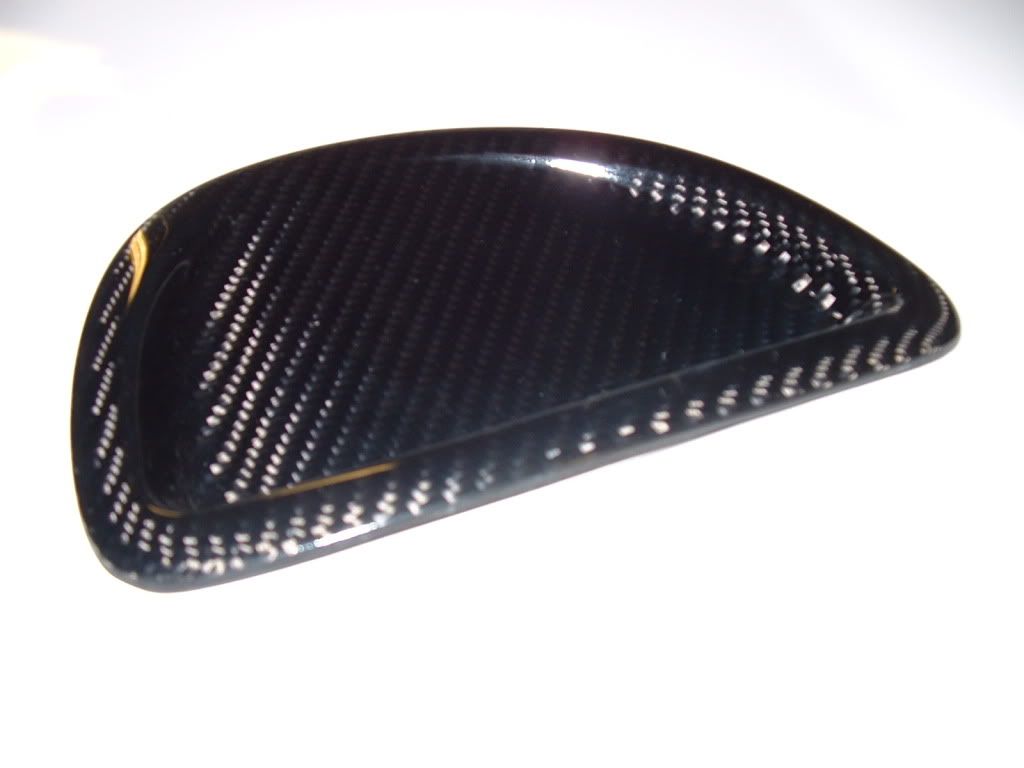
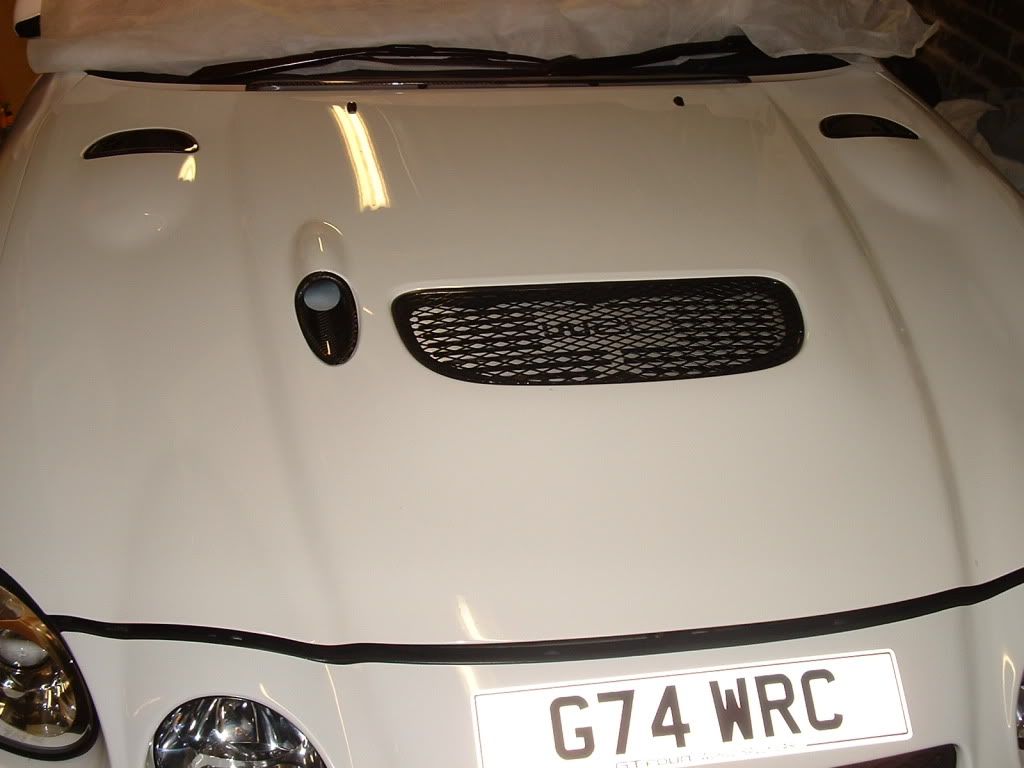
Thanks to Vincent I now have my CF bonnet vents

I know a few people were worried that the rear vents had no fixings fitted and were dubious of using sticky tape / glue to secure them so heres a quick how to for a more oem fitting.
You will need;
Suitable long enough bolts with nuts and washers, a spanner or ratchet and socket combo to remove the old vents and secure the new ones.
A suitable two pack epoxy or glue combo. Id say it would have to be a two pack variety as they cure quicker and are generally much more secure than standard type glues. I used JB Quick Weld as I cant rate this stuff highly enough.
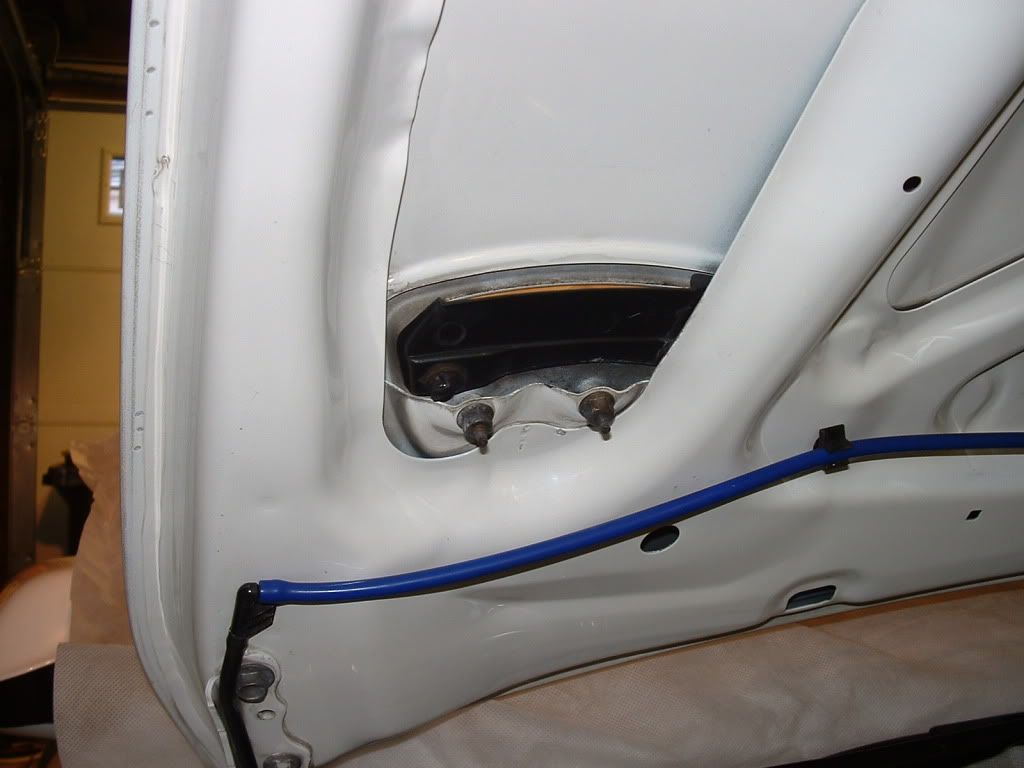
Remove the standard vents by loosening the nuts that secure them.
Next place the new vent onto the bonnet (yeah you call it a hood

) some tape may come in helpful to secure it as your going to mark the bottom of the vent for where we're going to secure the bolts.
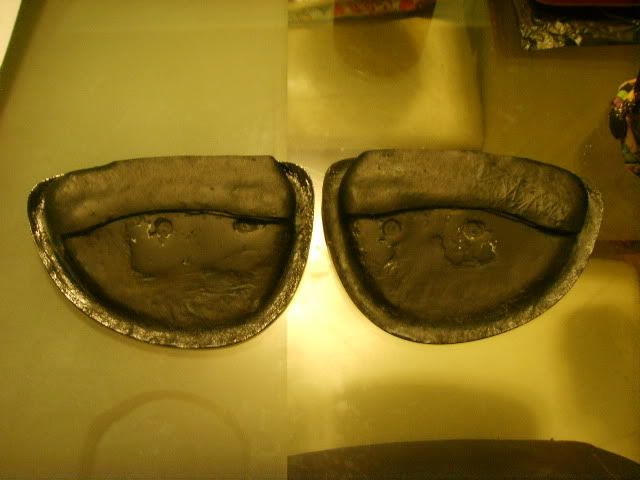
With the vent in place, raise the bonnet, and through the oem fixing holes mark the underside of the new vent. The hole is quite small, I used a welding rod to scratch the underside. It doesnt have to be exact as this is only a guide for where we're going to put our first blob of two pack adhesive.
Remove the vent, now put your new bolts through the fixing holes in the bonnet from the top, down over.
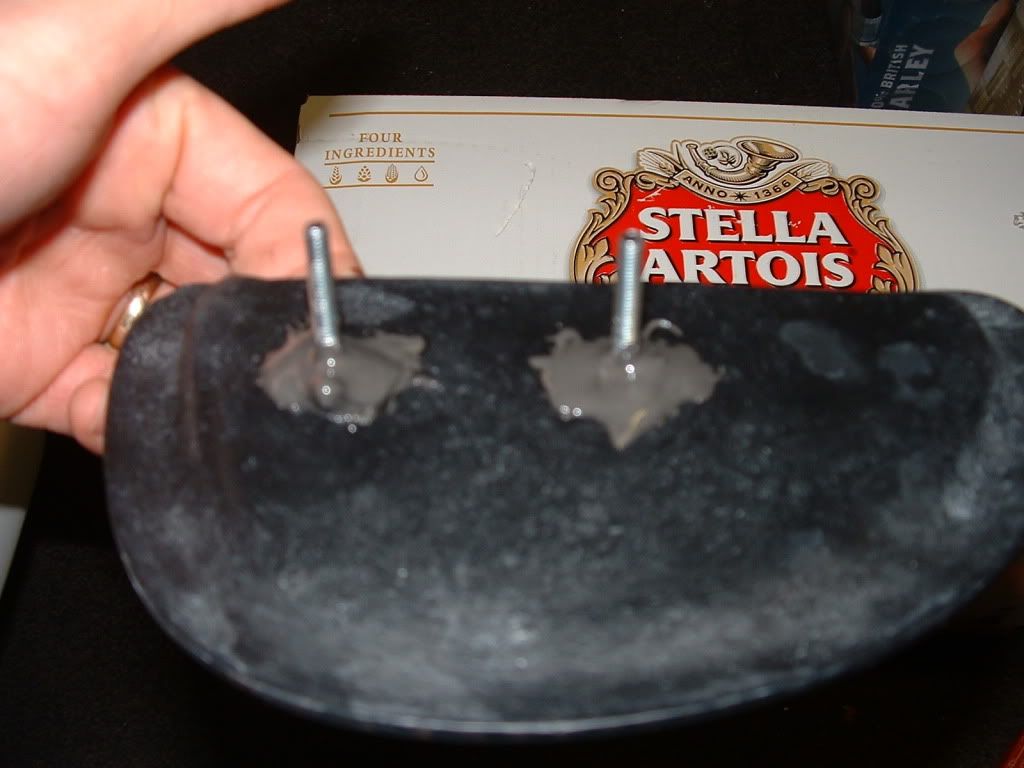
Next mix a little two pack adhesive and put a small blob - enough for the head of the bolt to squash into, it doesnt need to be any bigger at this stage - on each of the two marks that you made earlier on the back of your vent, do the vents one at a time due to the curing time of the adhesive.
Next carefully refit the vent to the bonnet being very careful of the adhesive on the back, at this point tape the vent down to stop it moving around as the adhesive is still quite pliable. With the vent in place, open bonnet and push the bolts gently up into the adhesive, twist them gently back and fort to seat them securely. Most two pack adhesives cure pretty quick - about 15 minutes depending on temperatureand quantity with full hardness in a couple of hours. At this point you have two choices, let the small blob cure fully or if your confident of your skills and steady hand, removed the vent very carefully after about 10 minutes making sure you dont move or misalign the bolts. If you misalign them at this stage your vents wont line up and will look crap. Once the vents are removed, mix up a bigger quantity of adhesive and apply around the head of the bolt to secure it fully. Dont refit the vent until the glue has cured completely or youll risk pulling the bolt out when you tighten the nuts.
Once fully cured you can fit your vents and secure them with the nuts and washers, take care when tightening the nuts and dont over tighten them.
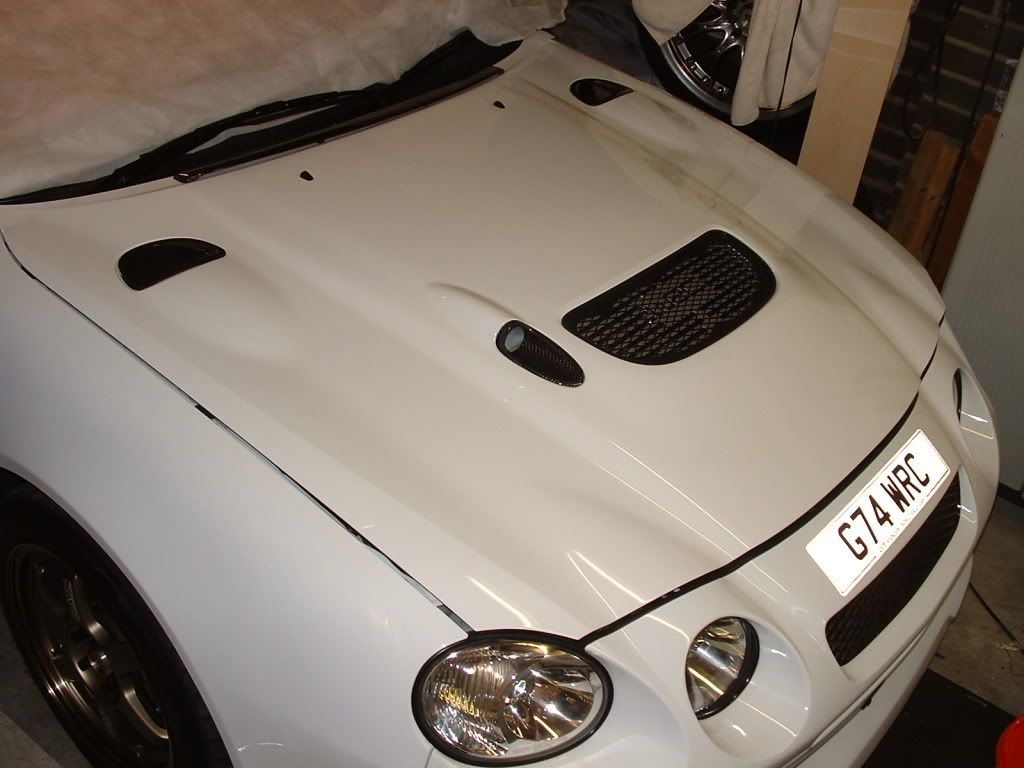
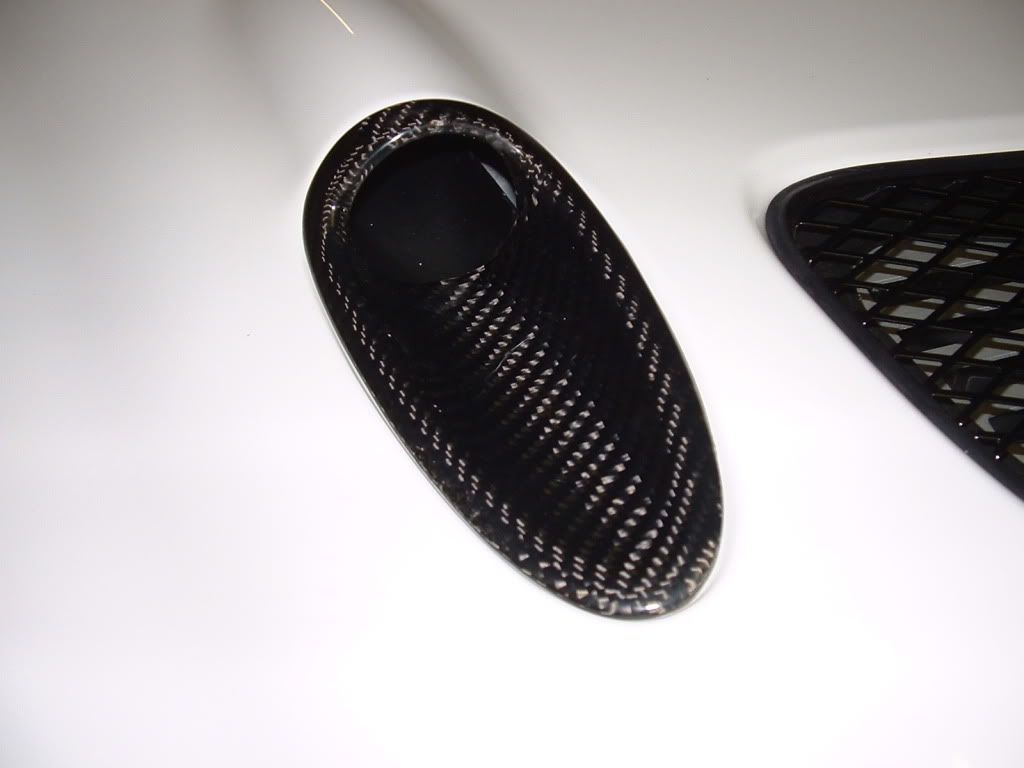
The snorkel vent comes with fixings already fitted so is just a straight swap out.
Pretty straight forward job to do, should only take an hour to do depending on the speed that your glue cures and how brave you are. Id advise the final cure is left over night so as not to risk pulling the bolts out.