
Converting your Celica to a GT4 clone? Worried that your GT4 hood doesn't close properly which could result in the destruction of your windshield, fenders, hood hinges, and the hood itself? Fear not, provided below is a "How To" for extending your hood latch (without welding, or guessing) so that you need not worry if the hood is properly shut.
Tools:
Ratchet
10mm Socket
Ratchet extension (not really)
Dremel + cutting attachment of your choosing
Punch
Hammer
Bench Vise
Properly sized bolt, 2 washers and a lock nut.
Parts:
RHD Celica GT4 hood latch
LHD Celica hood latch
Estimated Time of Completion:
15-30 minutes
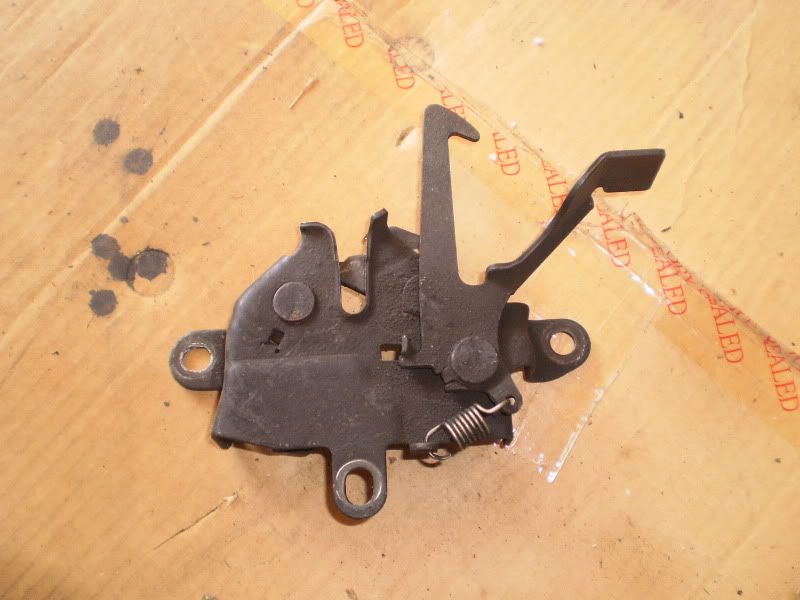
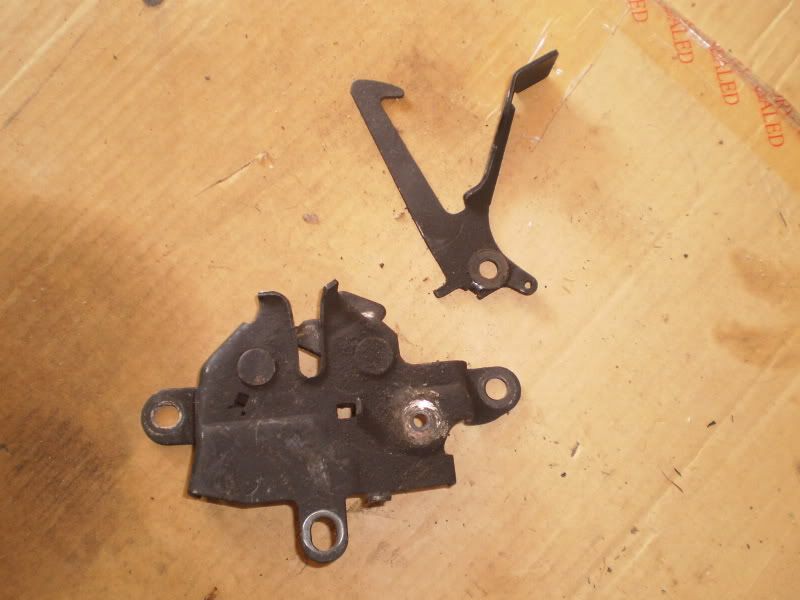
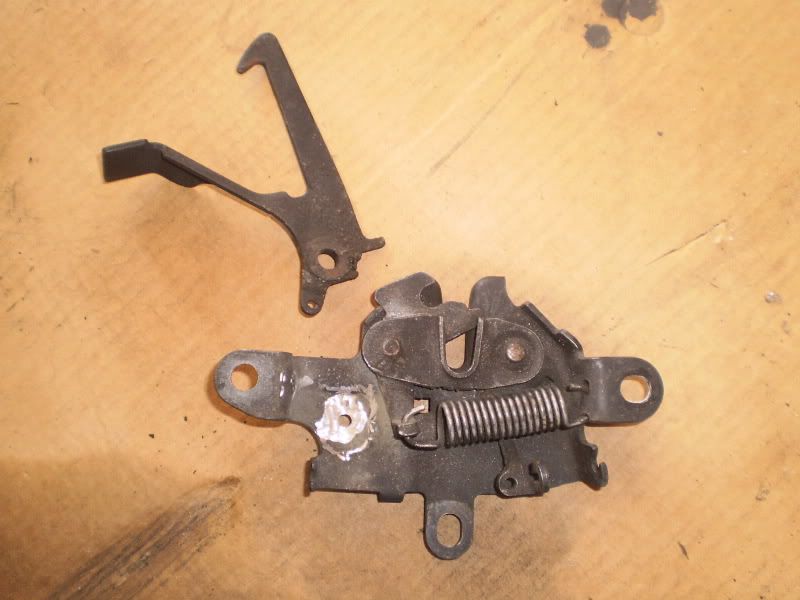
Picture of RHD GT4 latch:
(Front)
(Back)
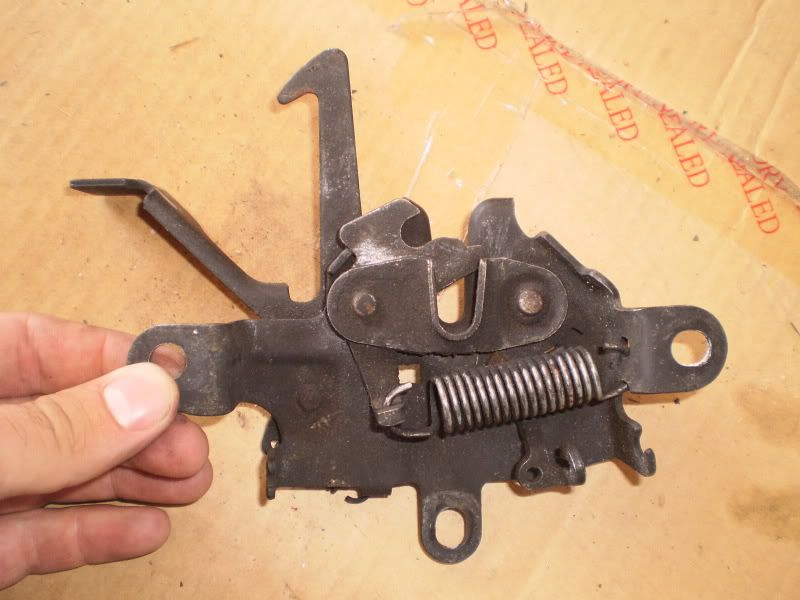
Now comparing it to the stock hood latch, it looks as if it will work perfect as is: The bolt holes match up and the safety hook itself looks the same. Unfortunately, this is not the case due to the hood latch cable itself mounting on the opposite side.
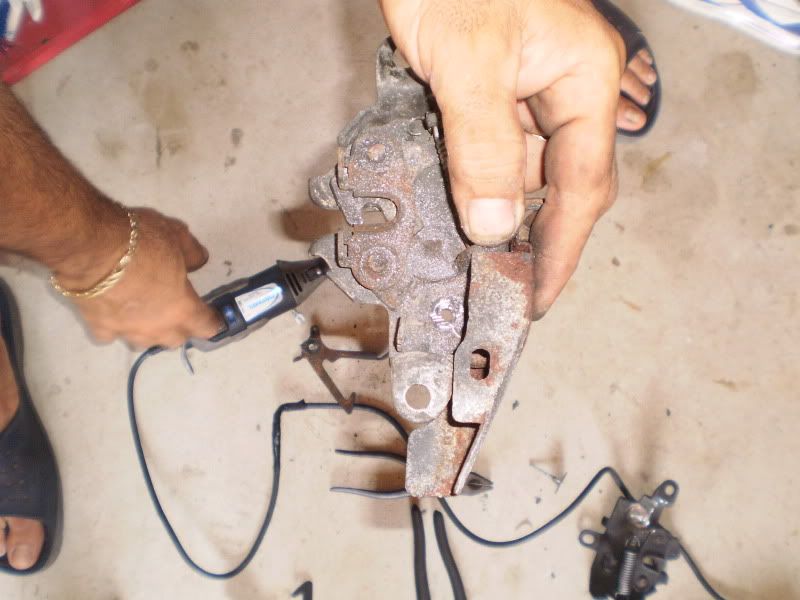
Time to start grinding; the area circled is what to focus on:
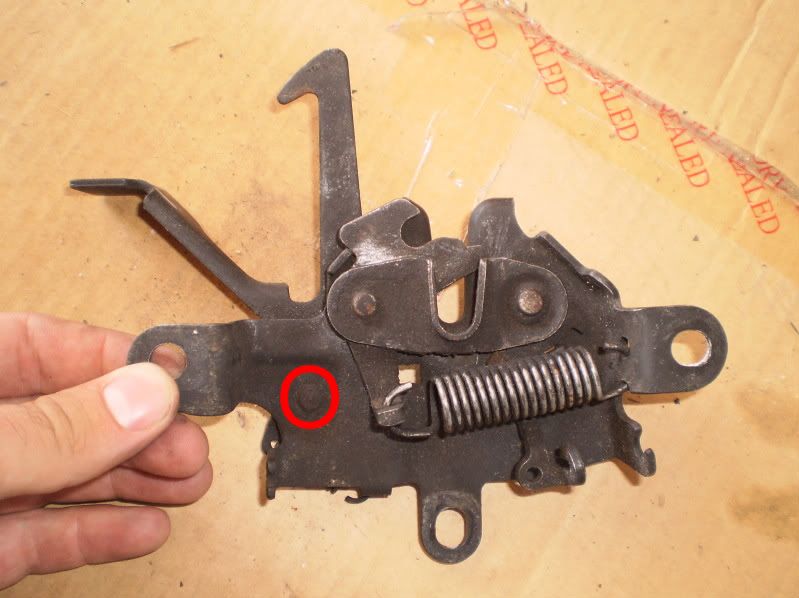

Now take your Punch and lightly tap it with a hammer to knock out the Bolt/Pin holding the latch in place.
Separated:
(Front)
(Back)
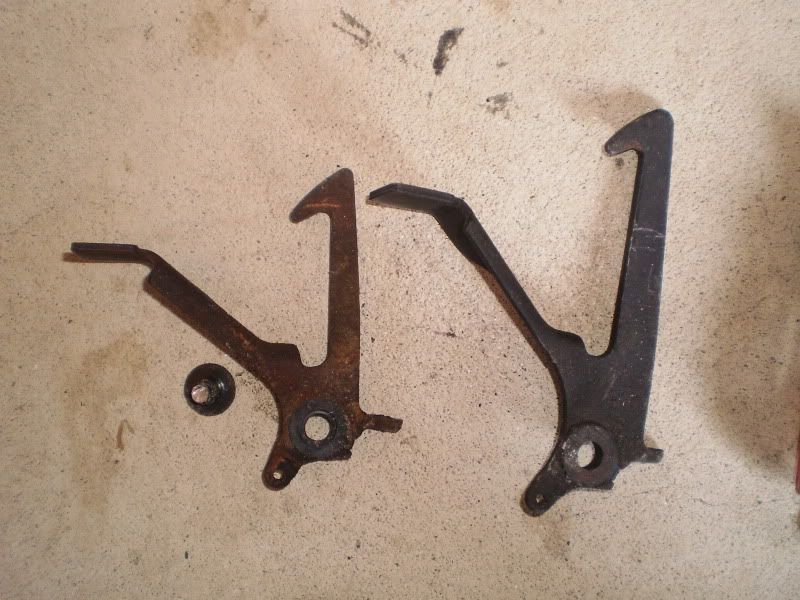
Grinding the LHD Celica hood latch:
Side by side difference: about 1" ( also proven in this thread started by nics: http://www.6gc.net/forums/index.php?showtopic=71083 )
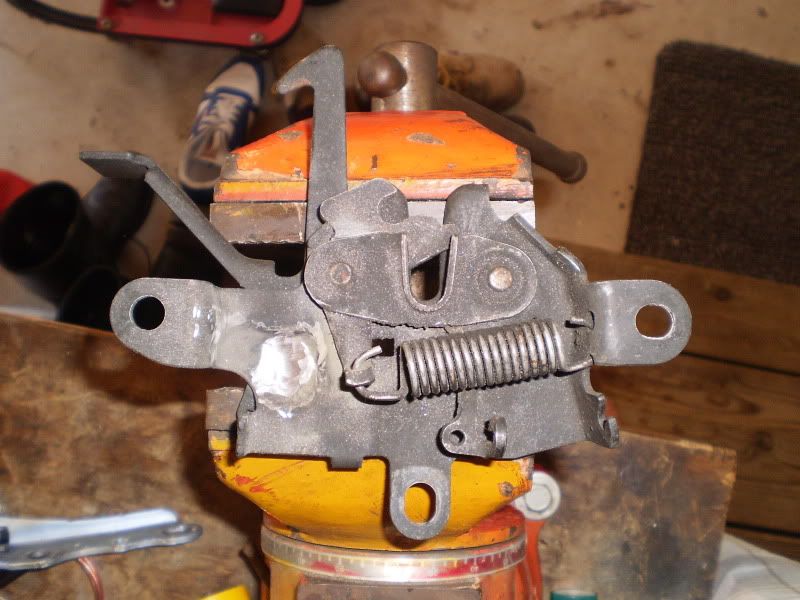
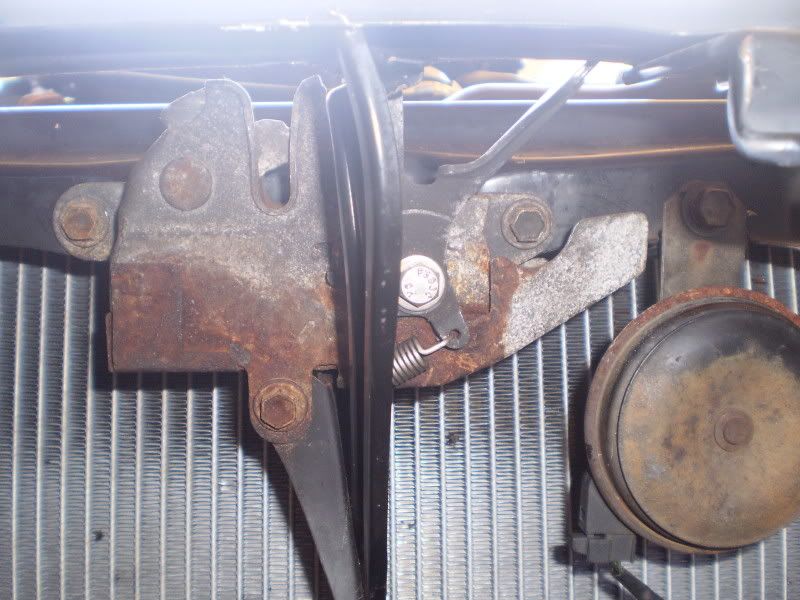
Now that the latch has been separated, you can now attach the GT4 latch directly to its US counterpart. Put the bolt through with a washer on each side, and then mount the lock nut as snug as possible before hindering the movement of the latch.
*I chose to drill out the hole to be a little bigger in order to fit a thicker bolt through it.
Finished Pictures:
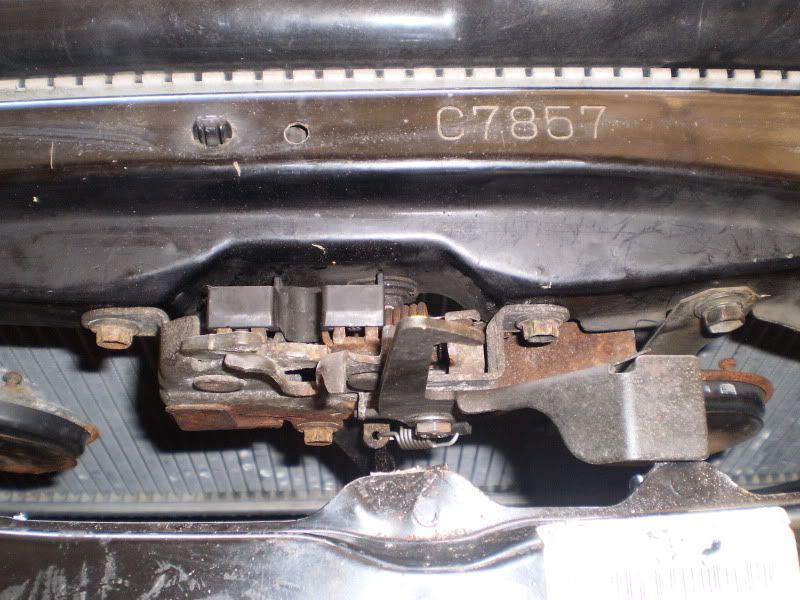
Good luck to all and I hope this helps at least one person!
-Americo
This post has been edited by Fate: Oct 4, 2010 - 11:53 AM
Tools:
Ratchet
10mm Socket
Ratchet extension (not really)
Dremel + cutting attachment of your choosing
Punch
Hammer
Bench Vise
Properly sized bolt, 2 washers and a lock nut.
Parts:
RHD Celica GT4 hood latch
LHD Celica hood latch
Estimated Time of Completion:
15-30 minutes
Picture of RHD GT4 latch:
(Front)
(Back)
Now comparing it to the stock hood latch, it looks as if it will work perfect as is: The bolt holes match up and the safety hook itself looks the same. Unfortunately, this is not the case due to the hood latch cable itself mounting on the opposite side.
Time to start grinding; the area circled is what to focus on:
Now take your Punch and lightly tap it with a hammer to knock out the Bolt/Pin holding the latch in place.
Separated:
(Front)
(Back)
Grinding the LHD Celica hood latch:
Side by side difference: about 1" ( also proven in this thread started by nics: http://www.6gc.net/forums/index.php?showtopic=71083 )
Now that the latch has been separated, you can now attach the GT4 latch directly to its US counterpart. Put the bolt through with a washer on each side, and then mount the lock nut as snug as possible before hindering the movement of the latch.
*I chose to drill out the hole to be a little bigger in order to fit a thicker bolt through it.
Finished Pictures:
Good luck to all and I hope this helps at least one person!
-Americo
This post has been edited by Fate: Oct 4, 2010 - 11:53 AM
The "Fly Low" Project: 3rd Gen 3SGTE
 thanks!


