Over 1M Posts • 84K Topics • 9K Authors

ST205 Total Rebuild - 6G Celicas Forums

Topic #88340 480 posts Started by Nial
I was certain I started a build thread on here, but for the life of me I can not find it so forgive me if I start again and its old news.

About a year and a half ago my current GT4 failed its yearly inspection (MOT) with rusty sills, they were fixed and it subsequently passed but it set alarm bells ringing in my head that the poor things days were numbered.

I decided that I would buy a shell and swap everything onto it. so I hunted for a reasonable shell to start work on.

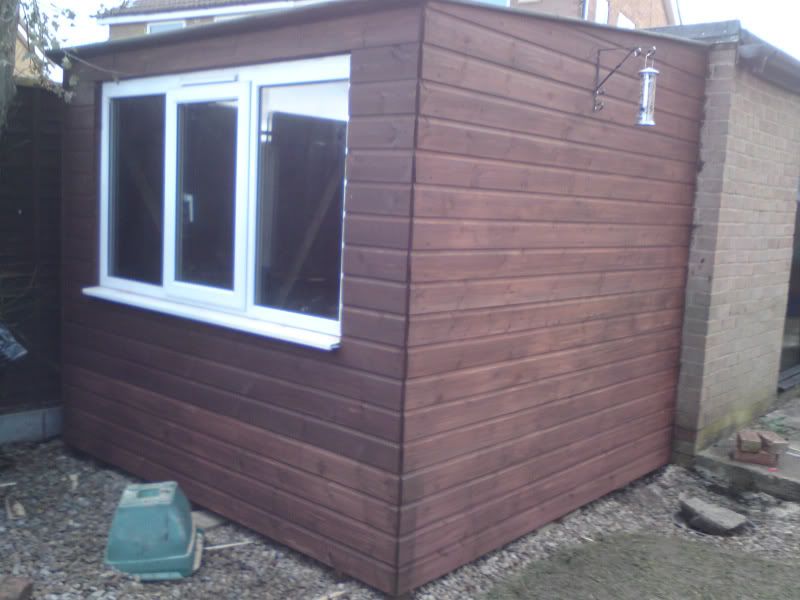
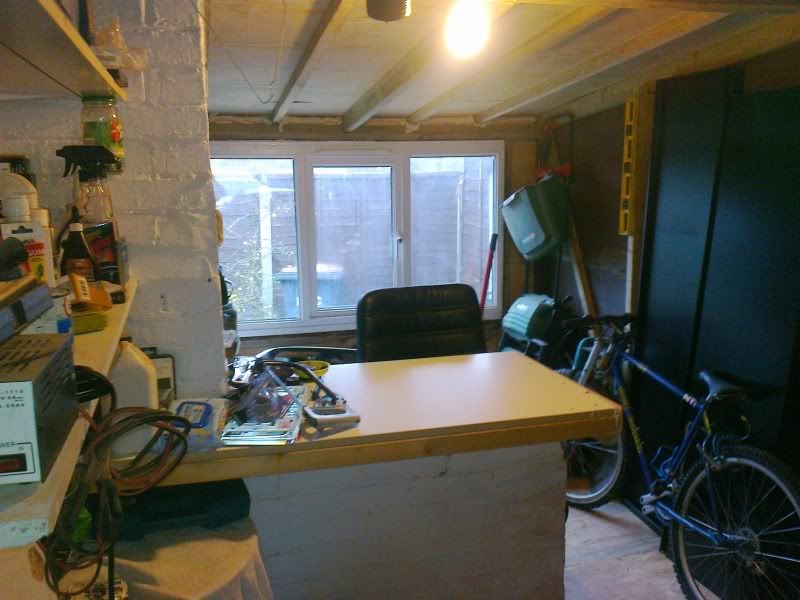
While I was looking, I had to extend my garage. I only had a single car garage so not enough space to work or store stuff.

So I decided to extend my garage backwards a bit

Work started.


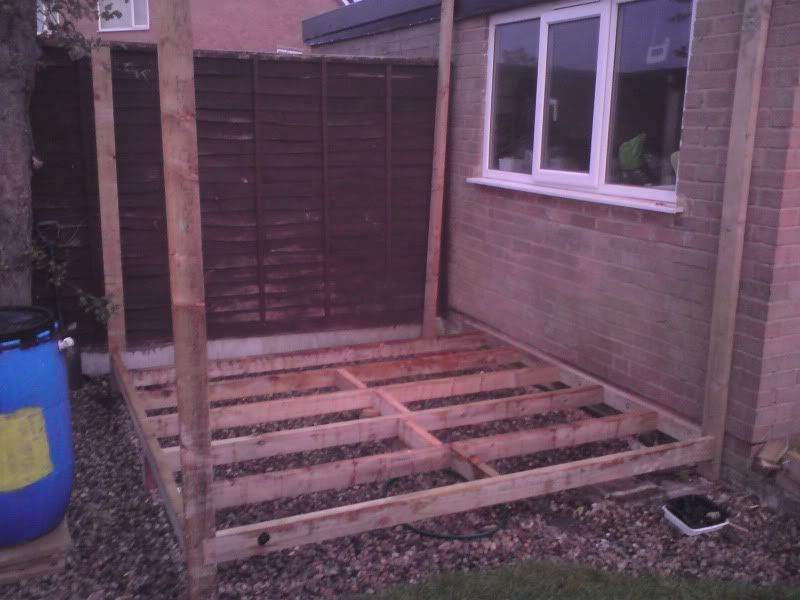
and after a few weeks, finished ;0


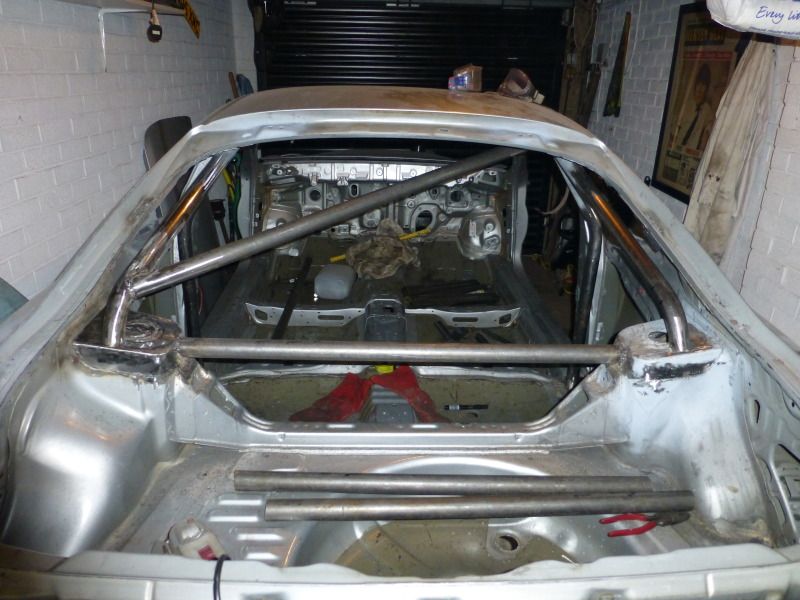
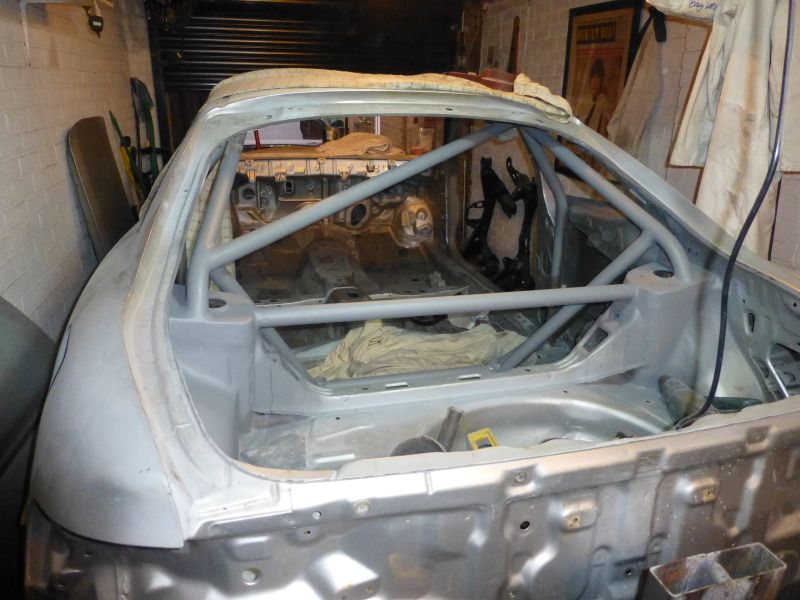
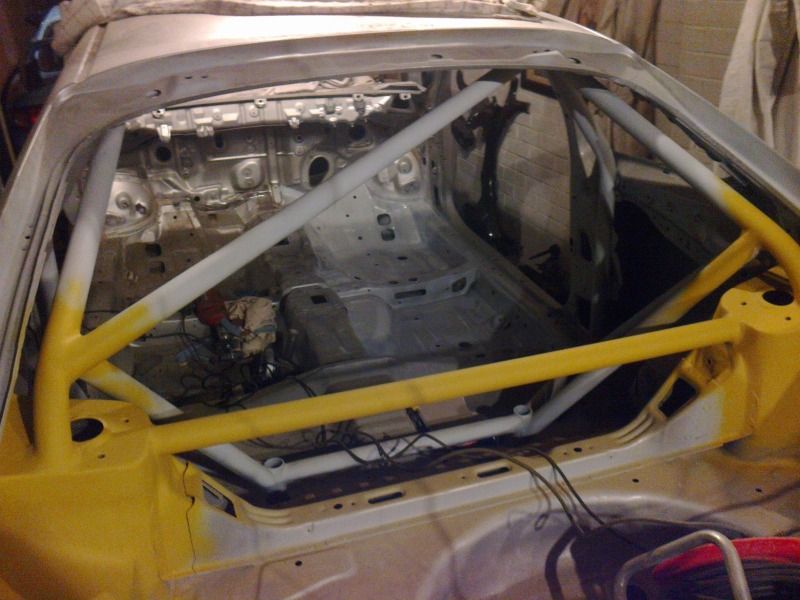
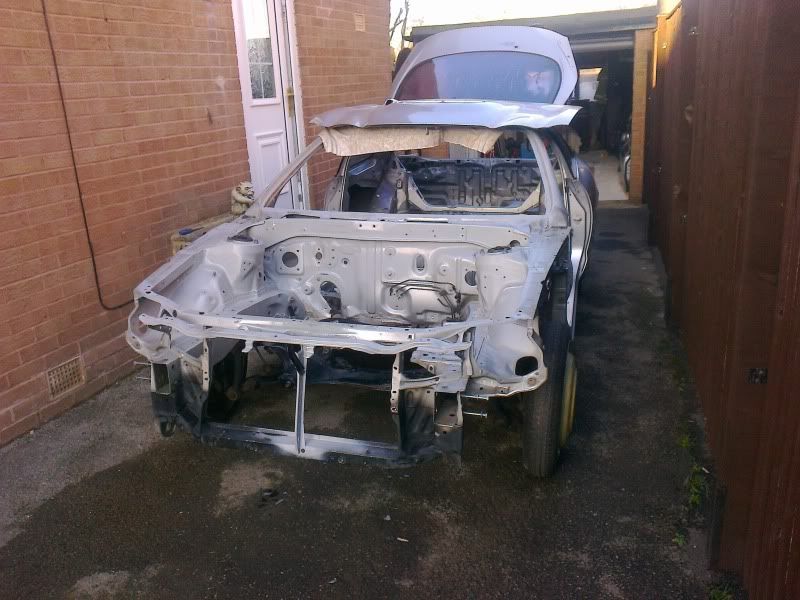
About the same time a shell turned up, well it was sold as a shell, but it was more or less a complete car minus the engine and gearbox.


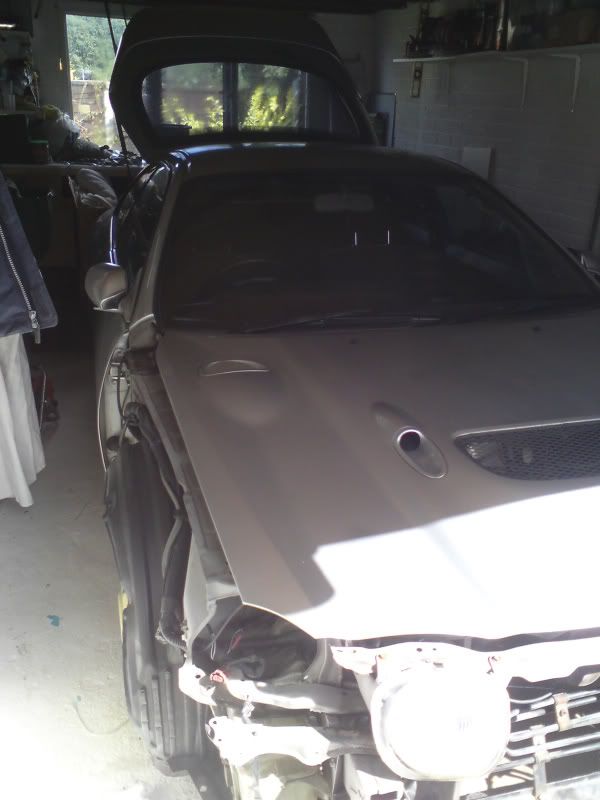
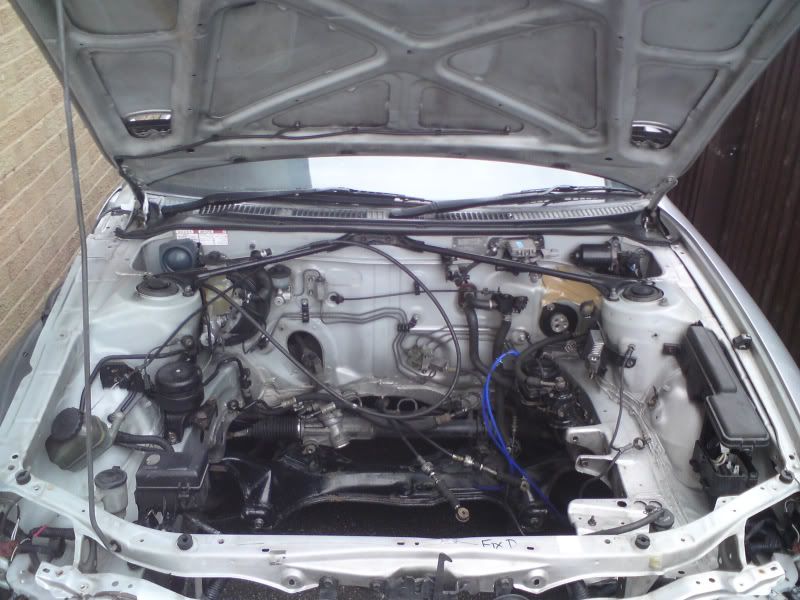
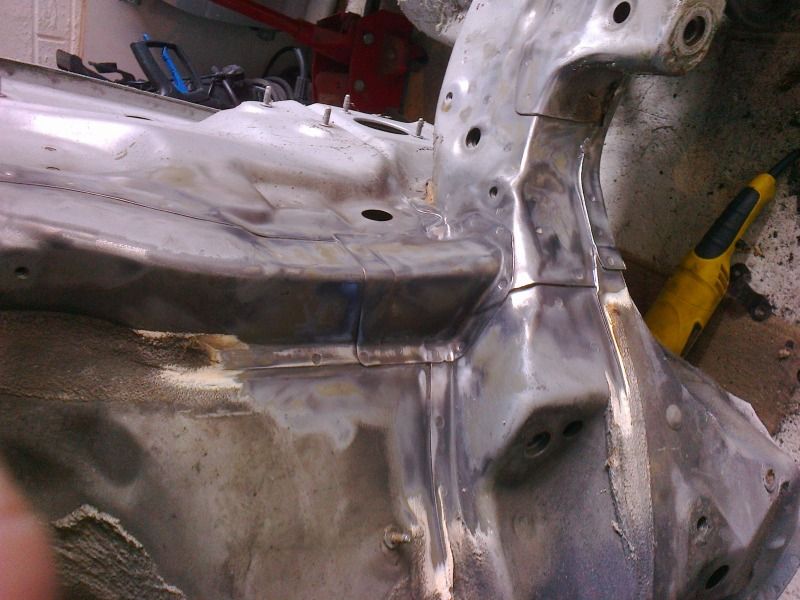
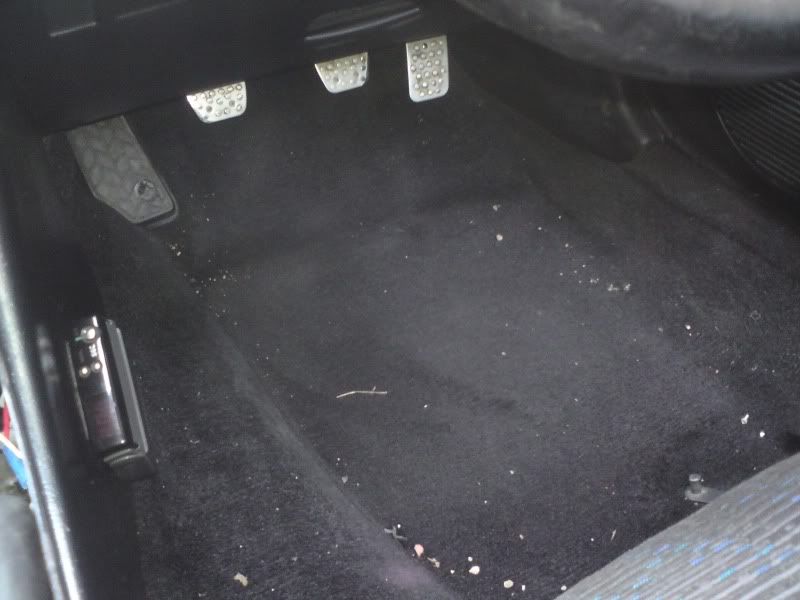
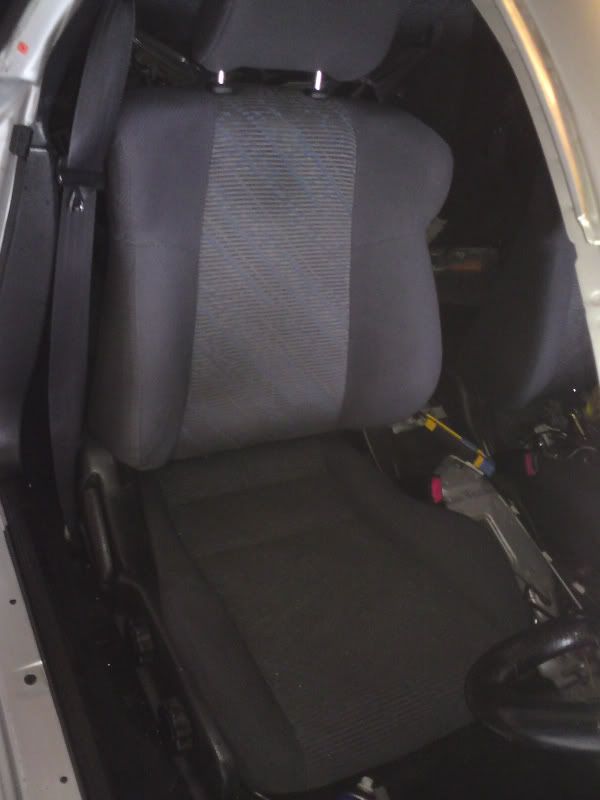
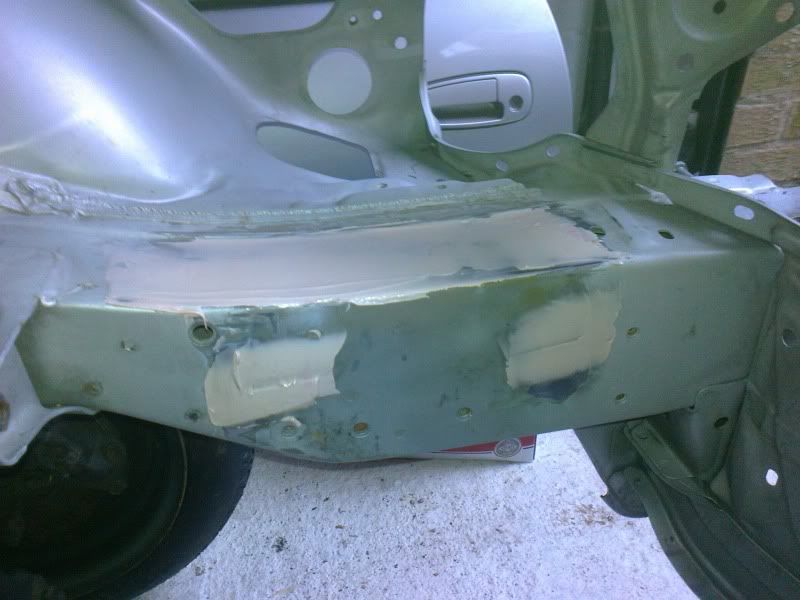
It was in good condition with no rust, even the interior was in pretty much spot on condition, not that I need much of it


I set to wrok more or less straight away


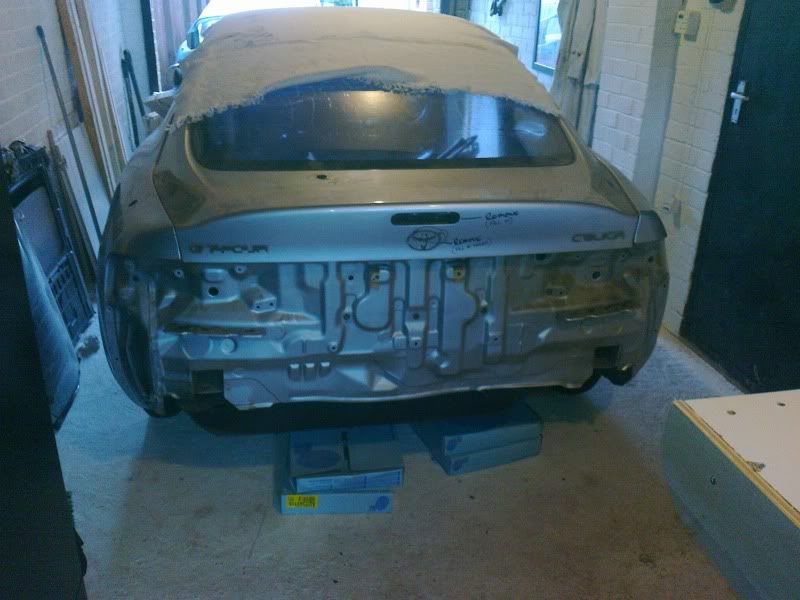
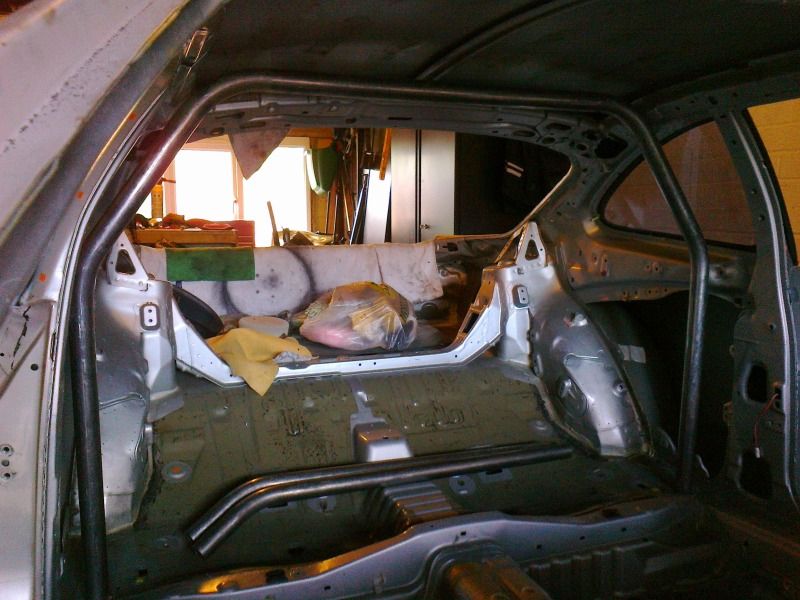
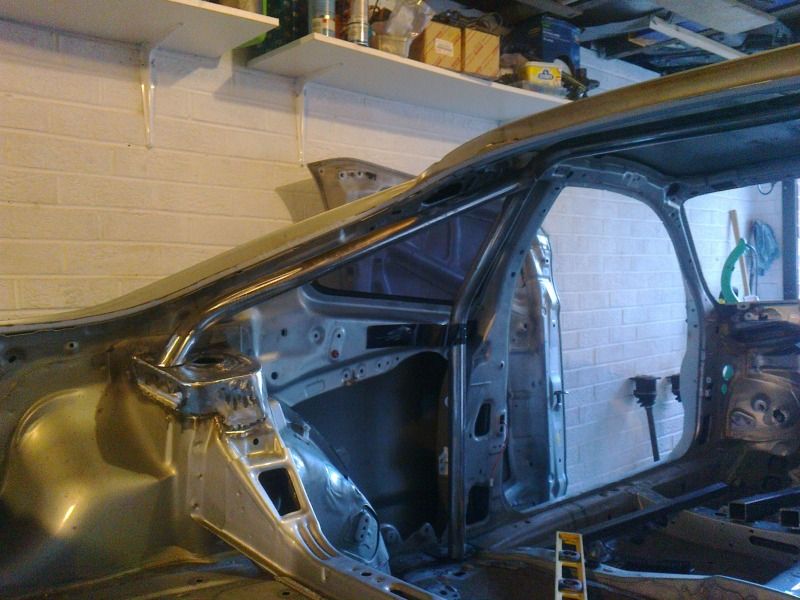
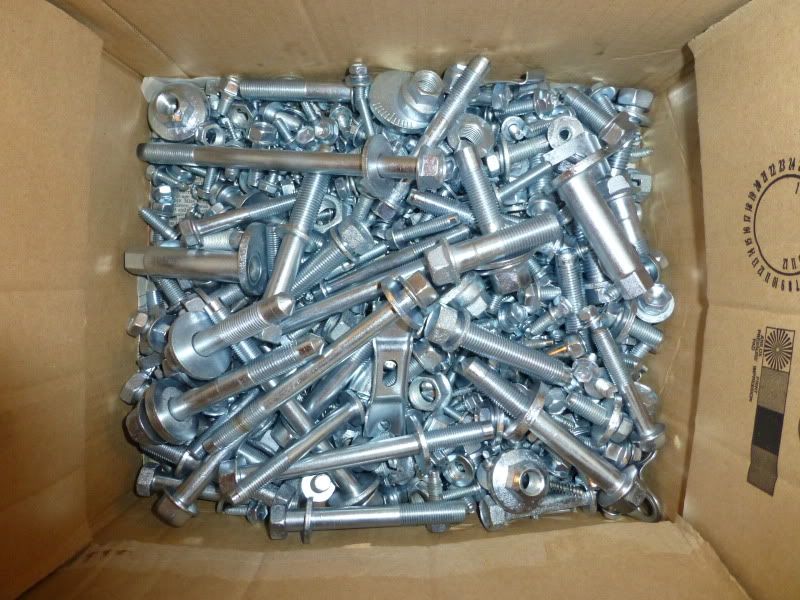
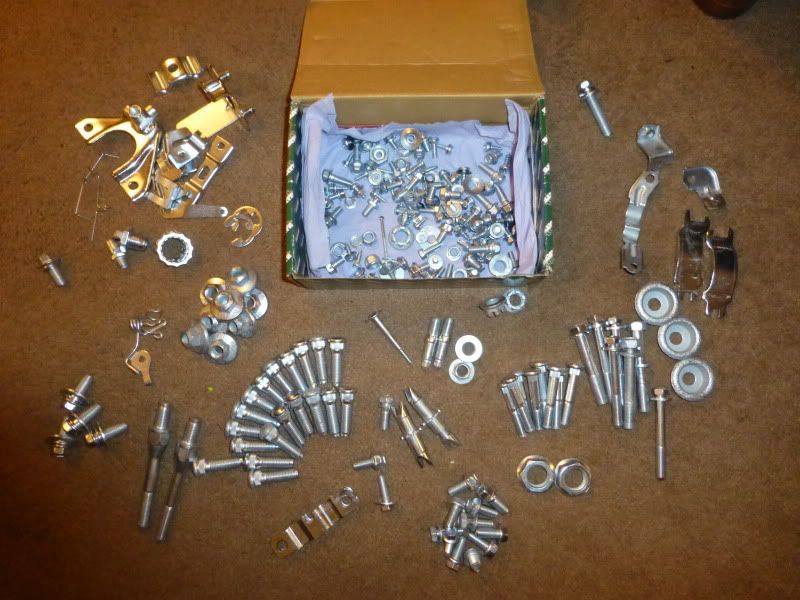
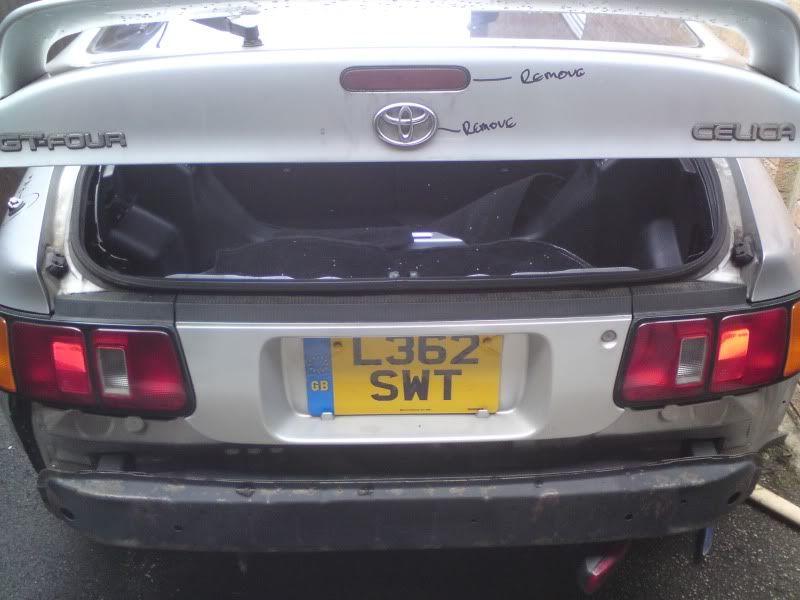
First job was to strip everything off the car


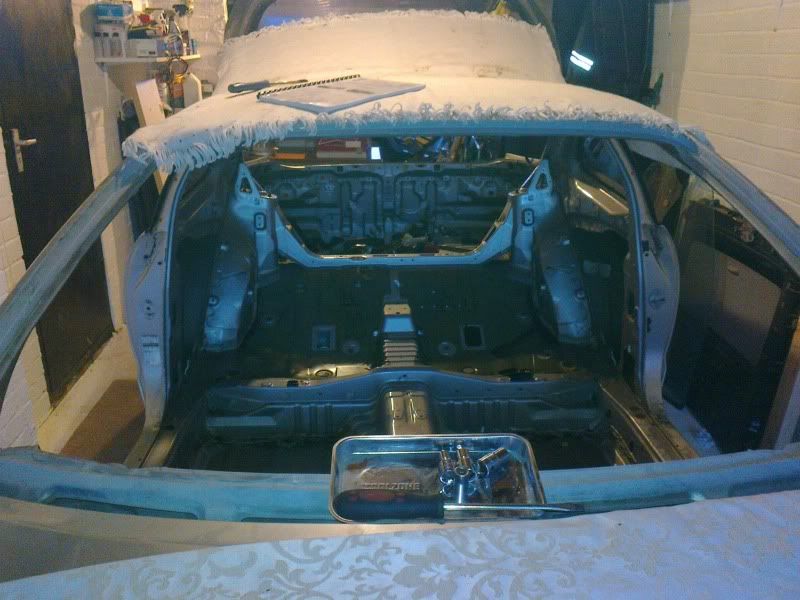
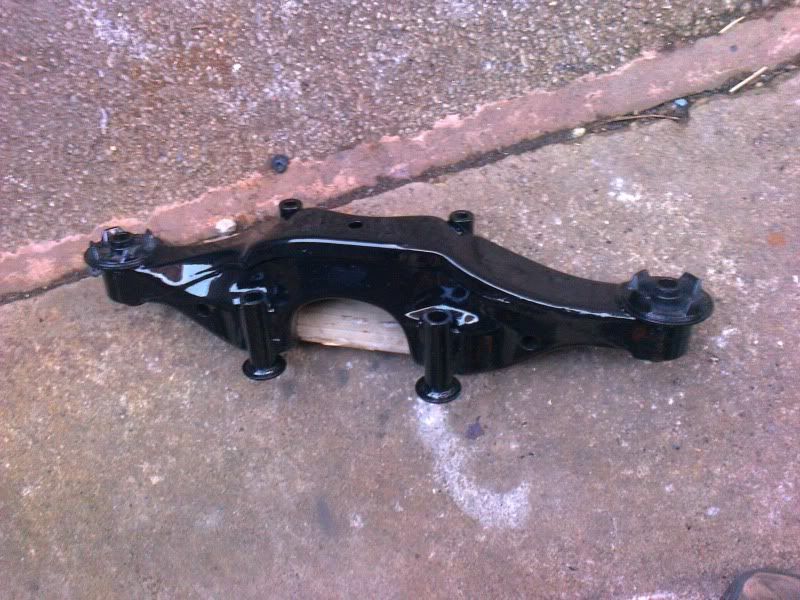
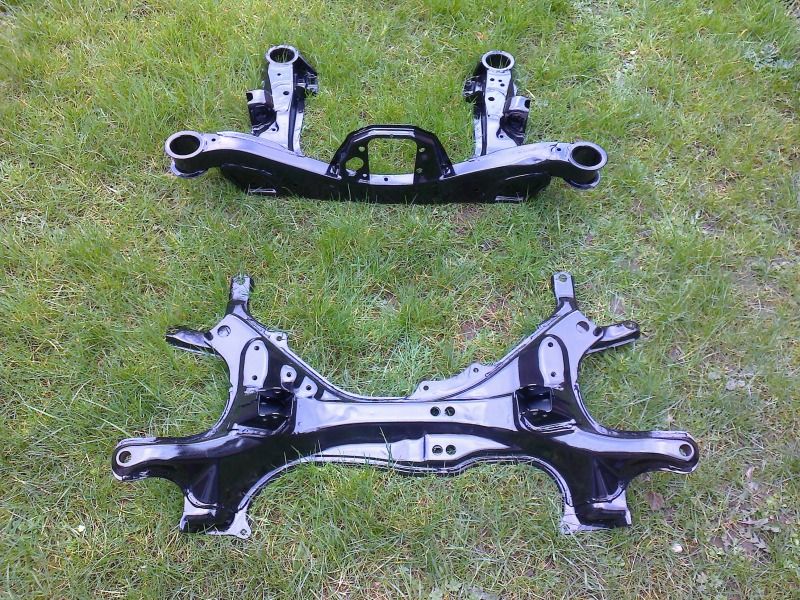
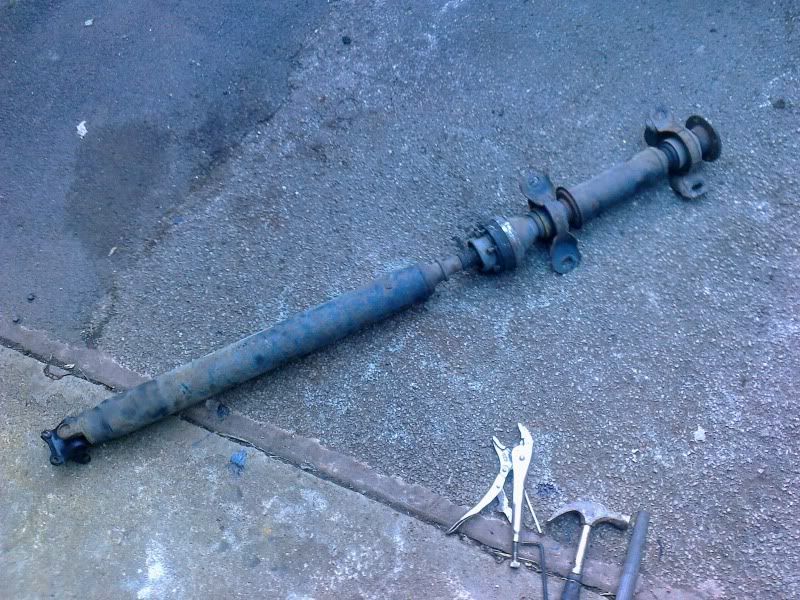
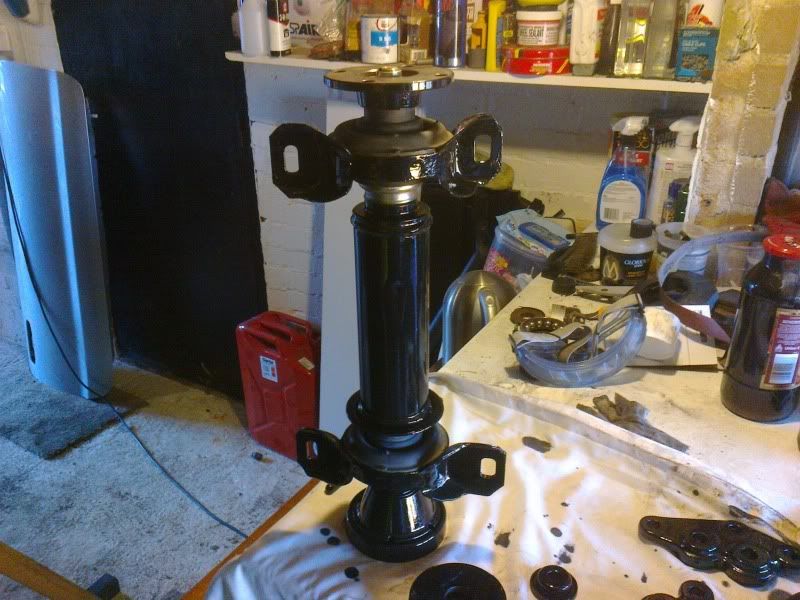
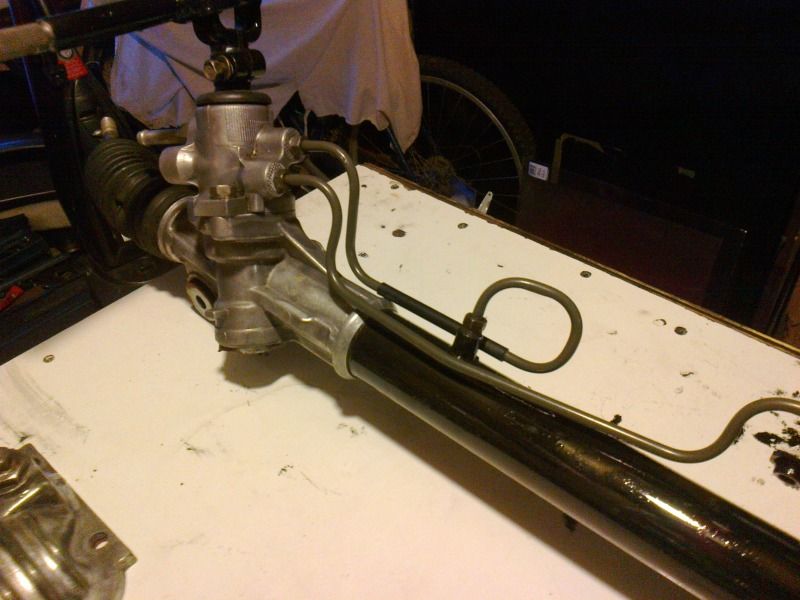
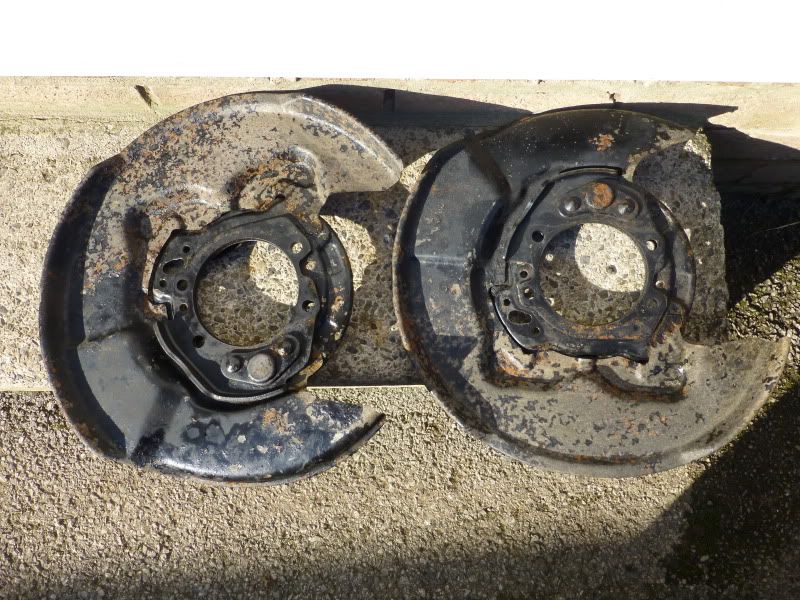
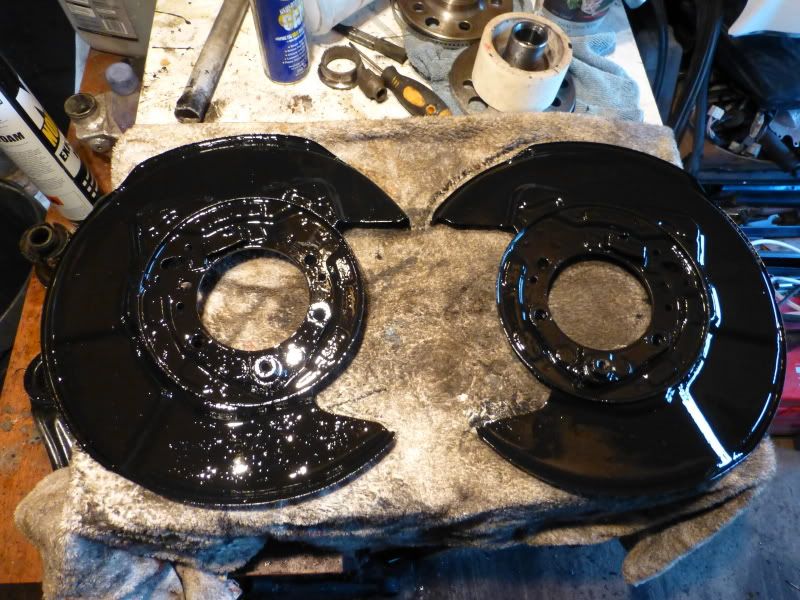
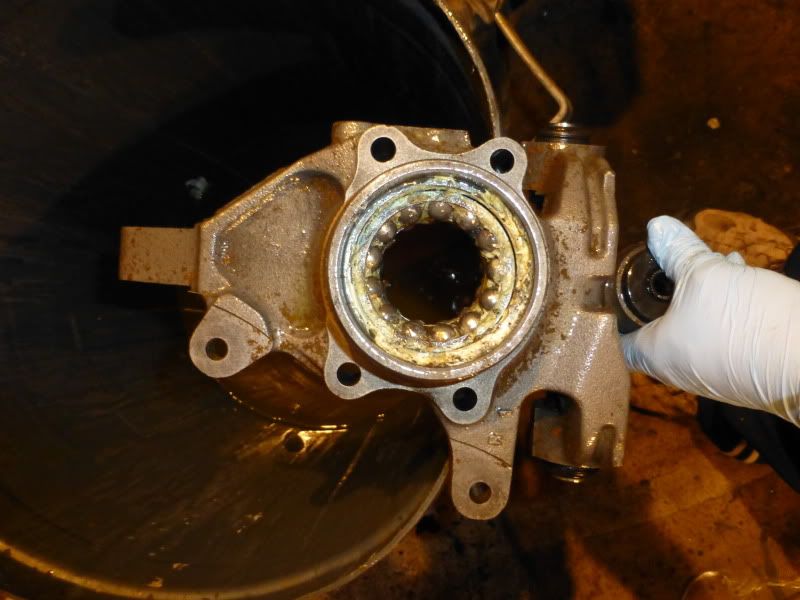
everything went, all the looms, glass, suspension the works


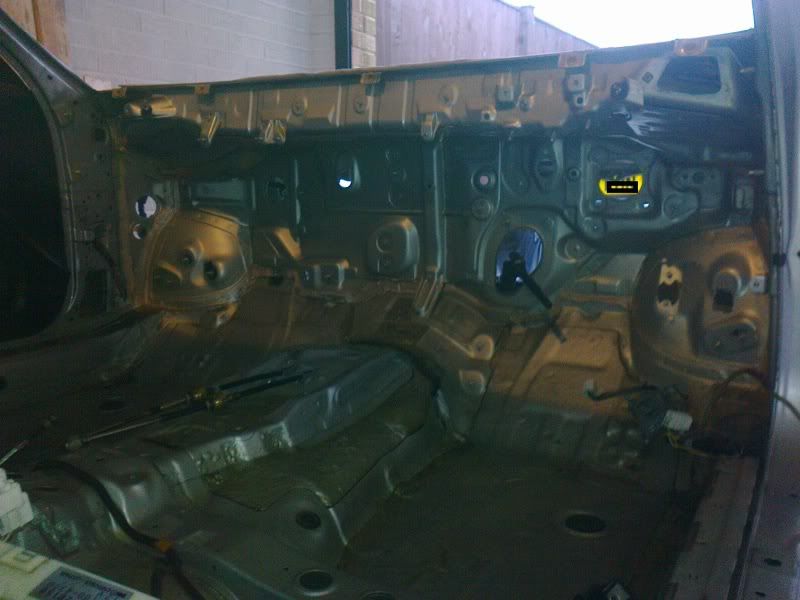
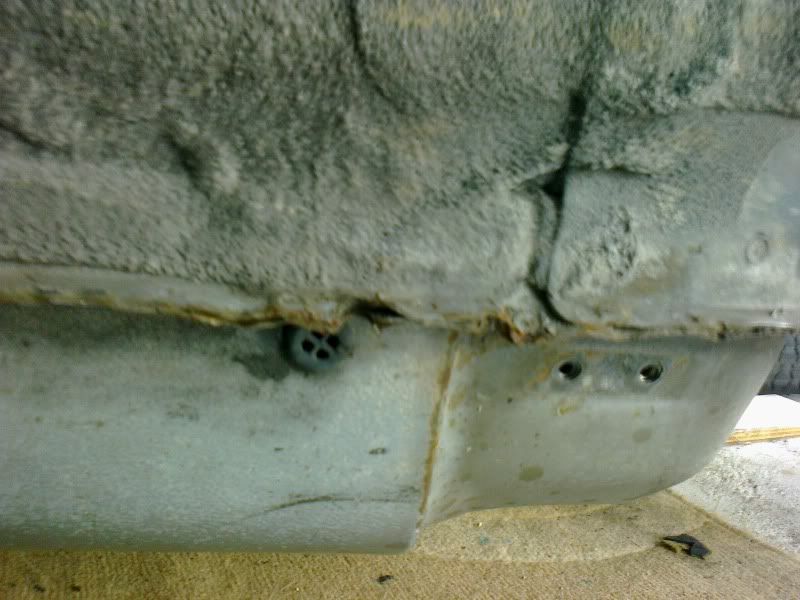
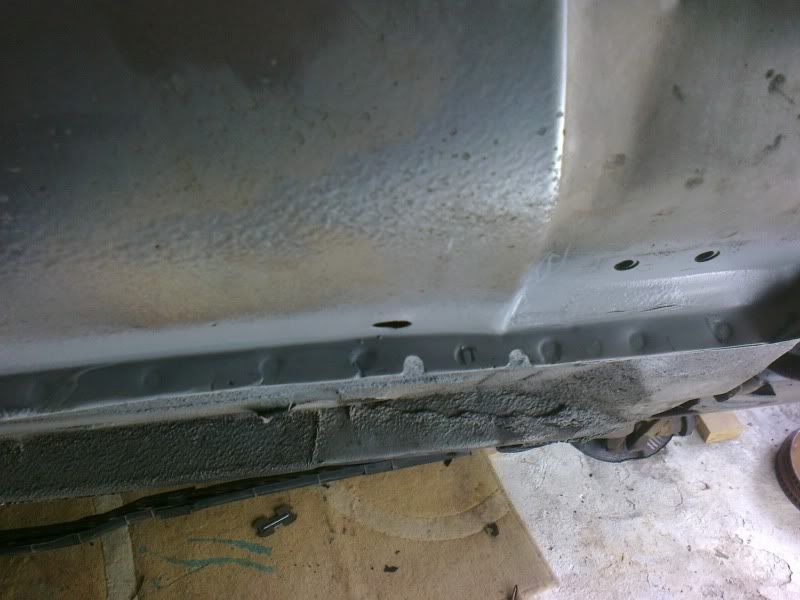
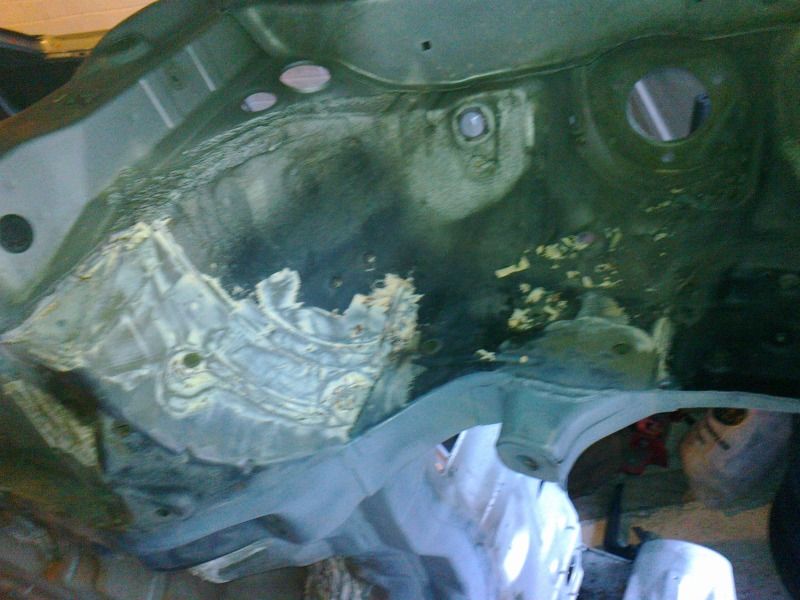
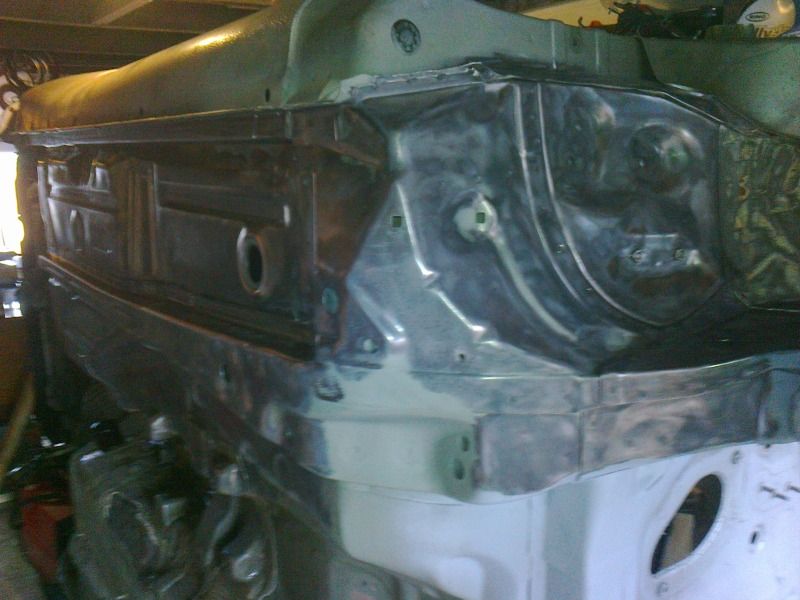
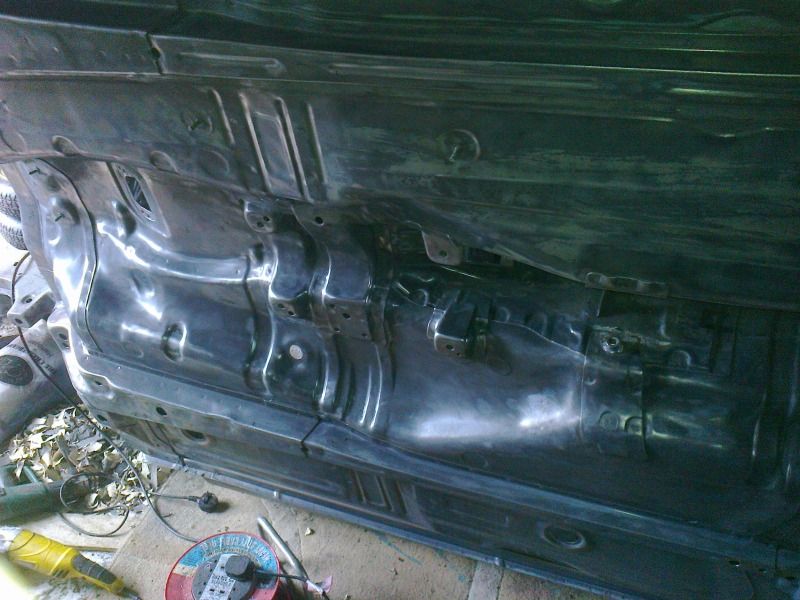
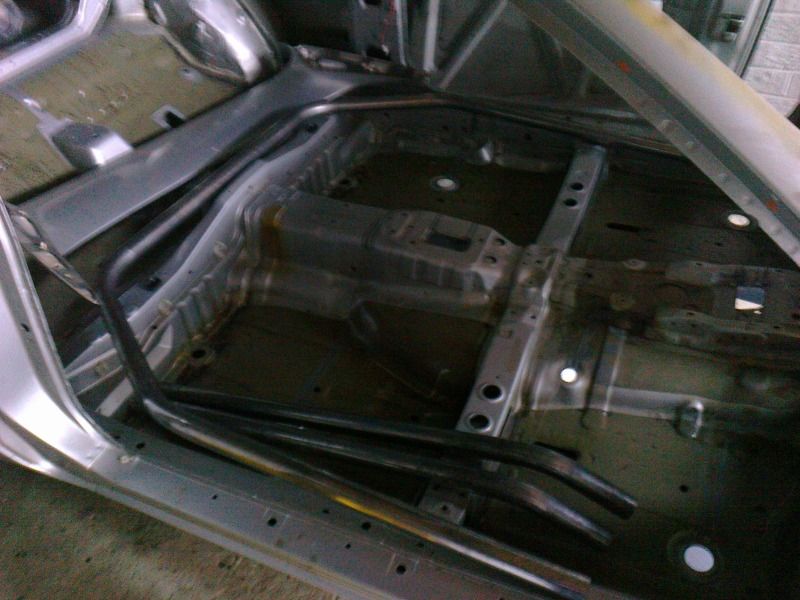
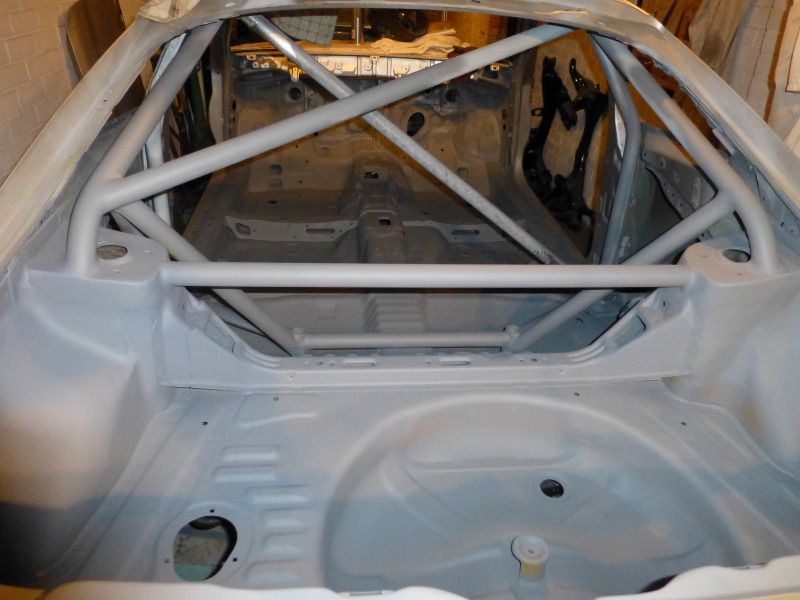
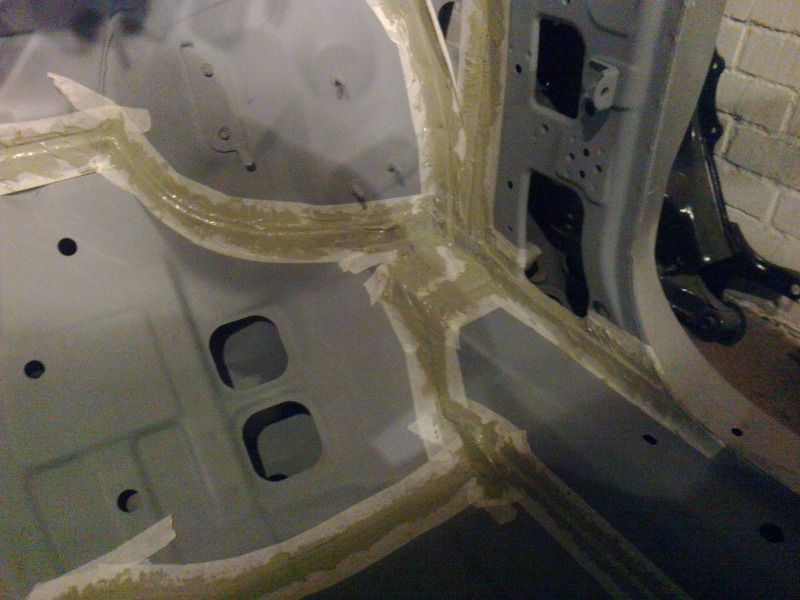
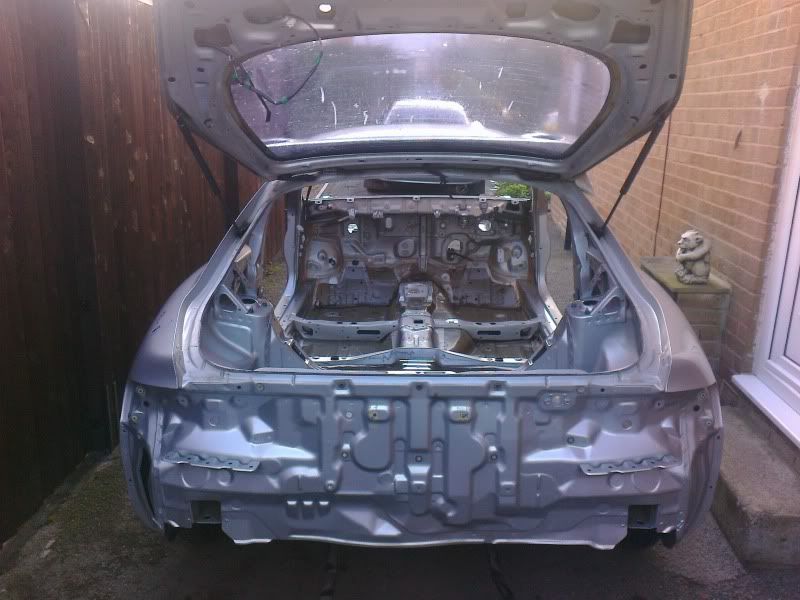
Next job was to remove the sound deadening material


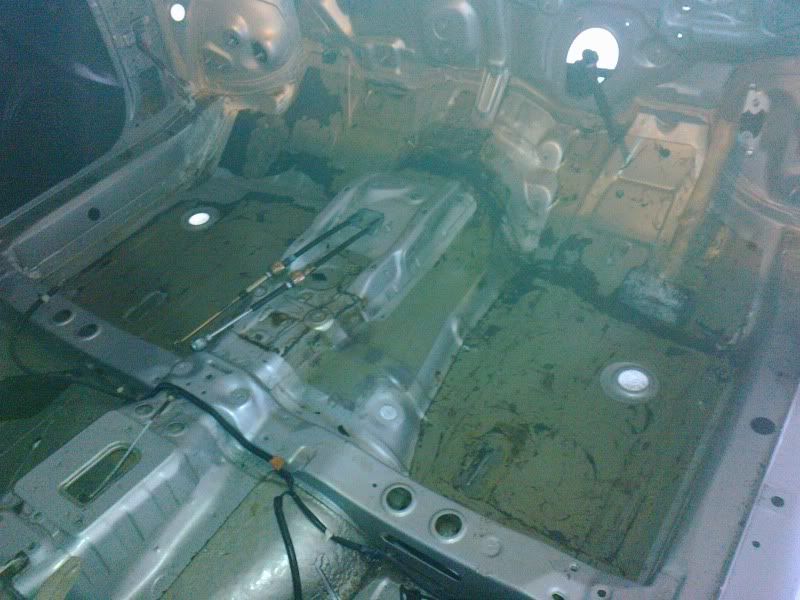
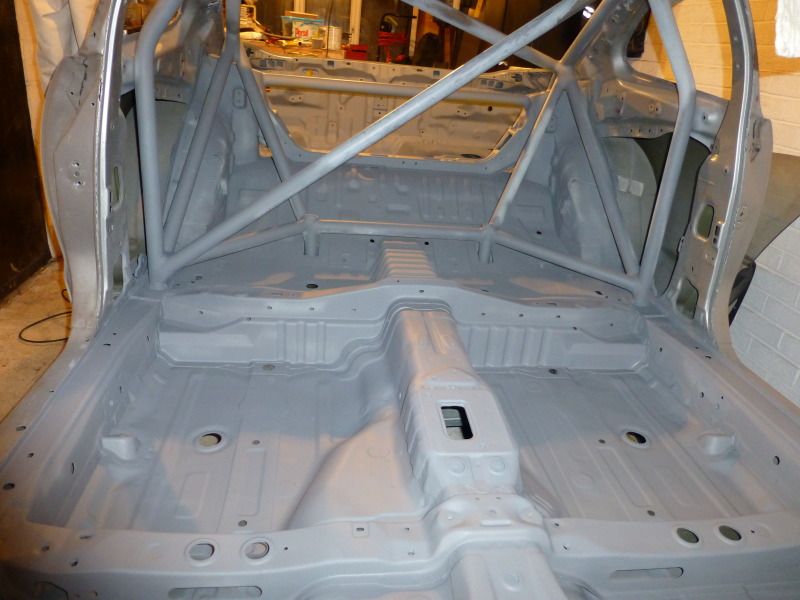
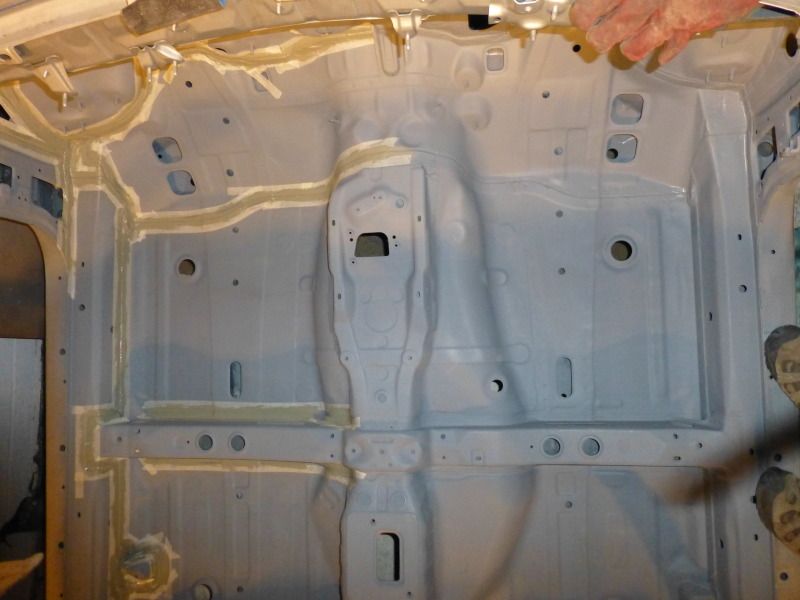
it then went outside for a thorough jet wash go get rid of all the years of crap


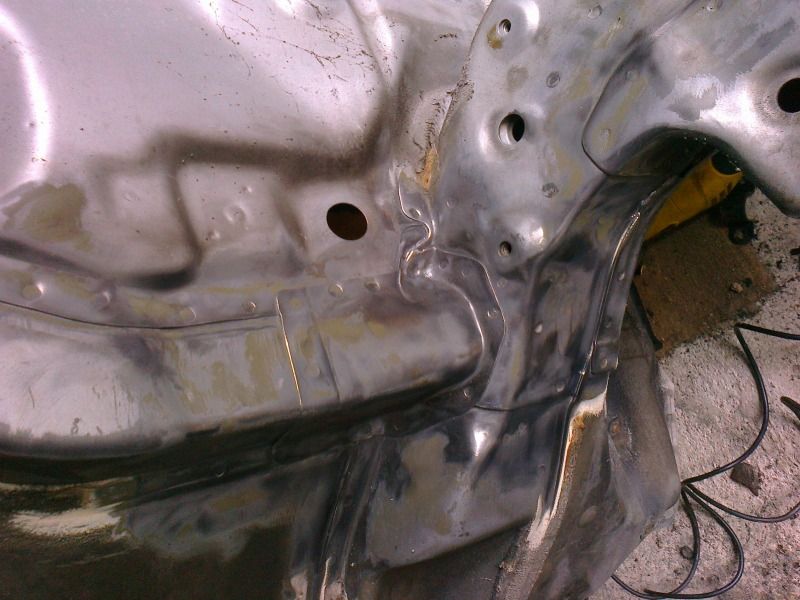
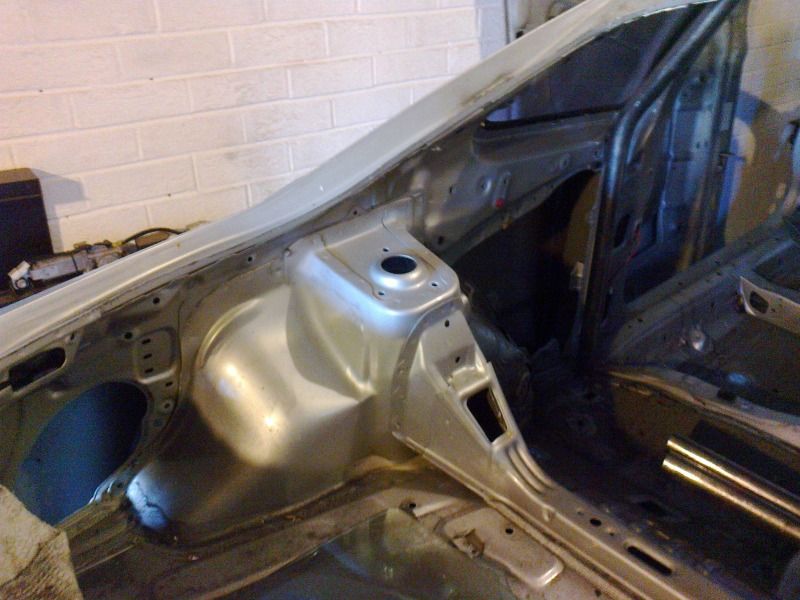
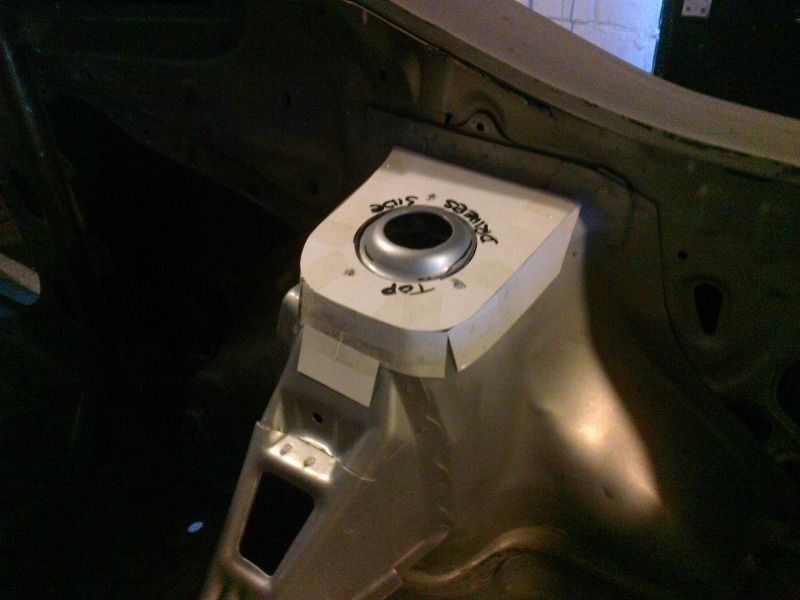
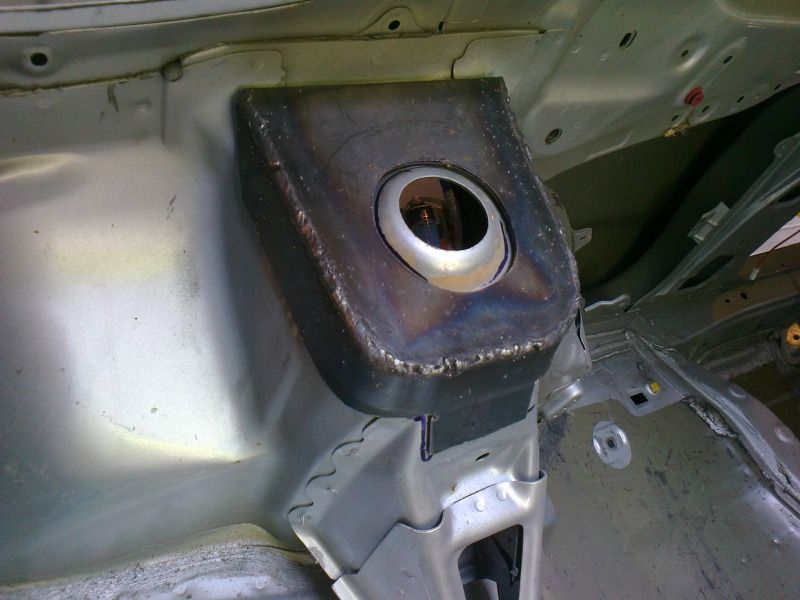
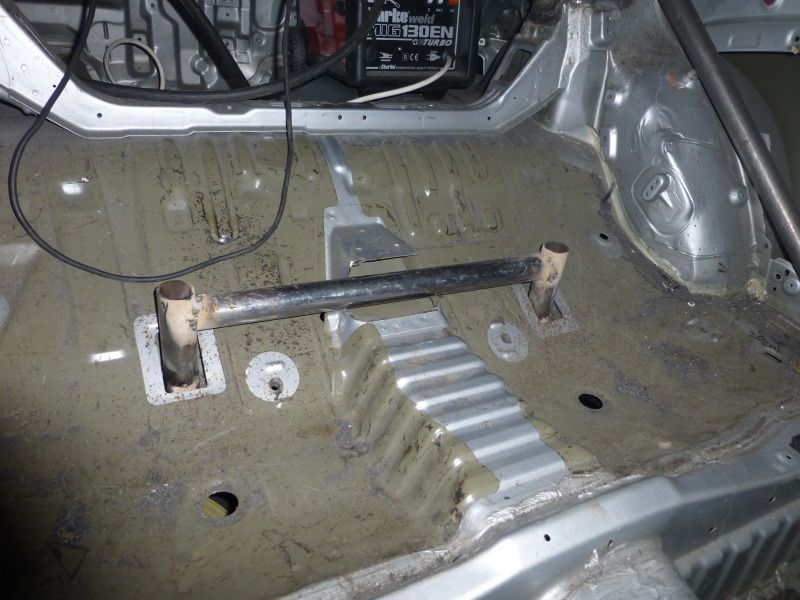
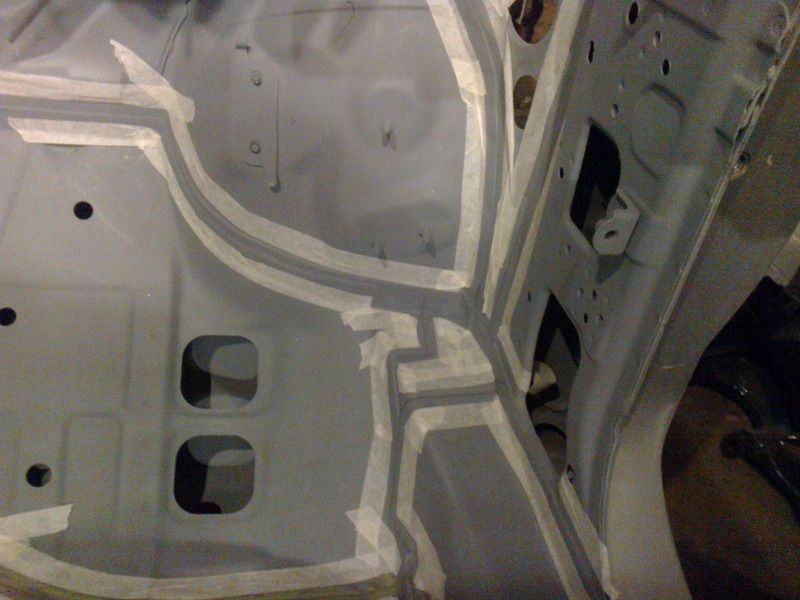
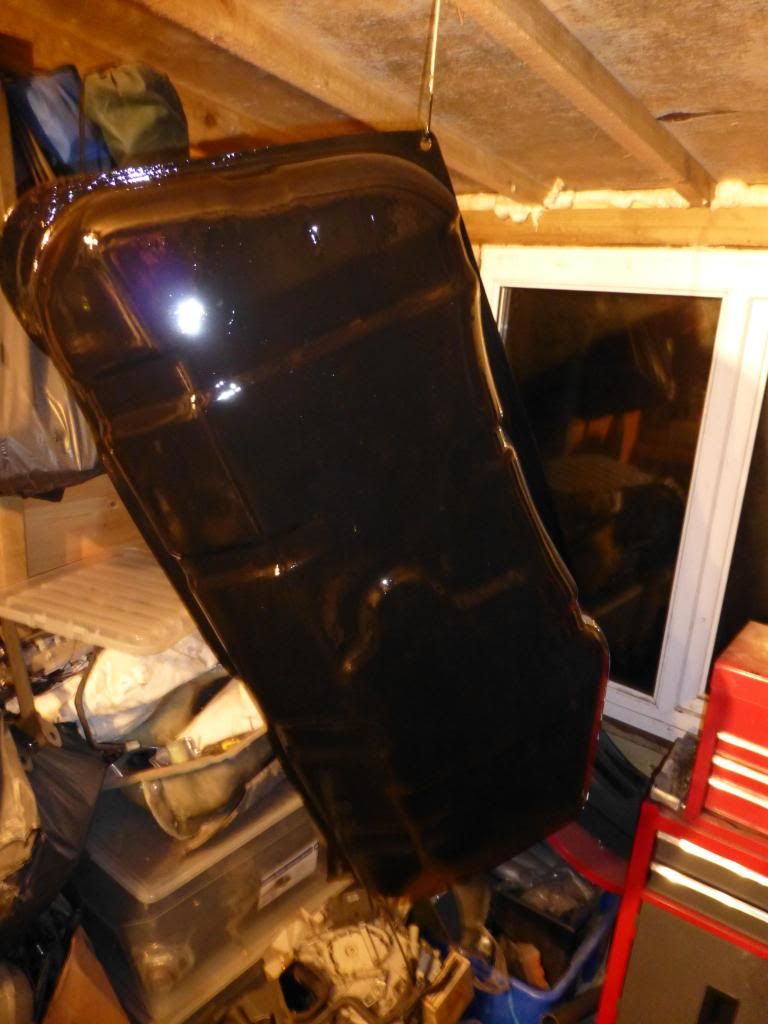
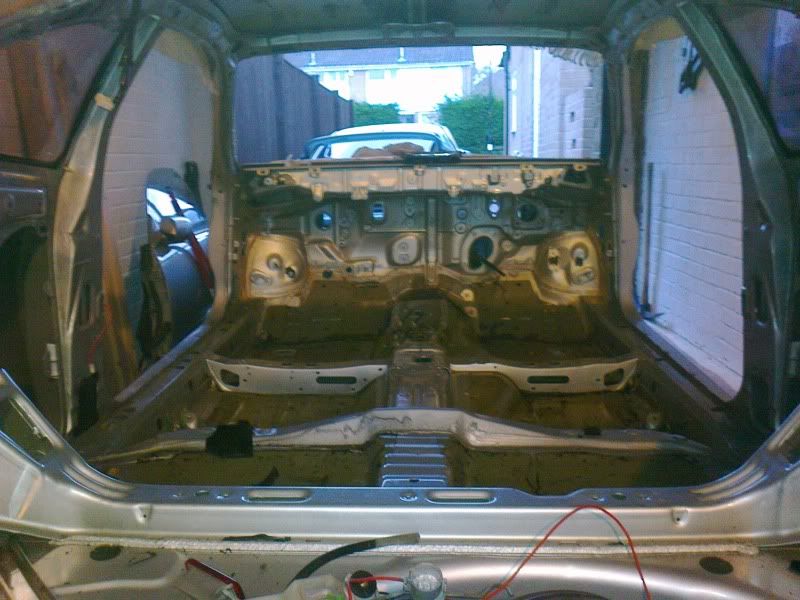
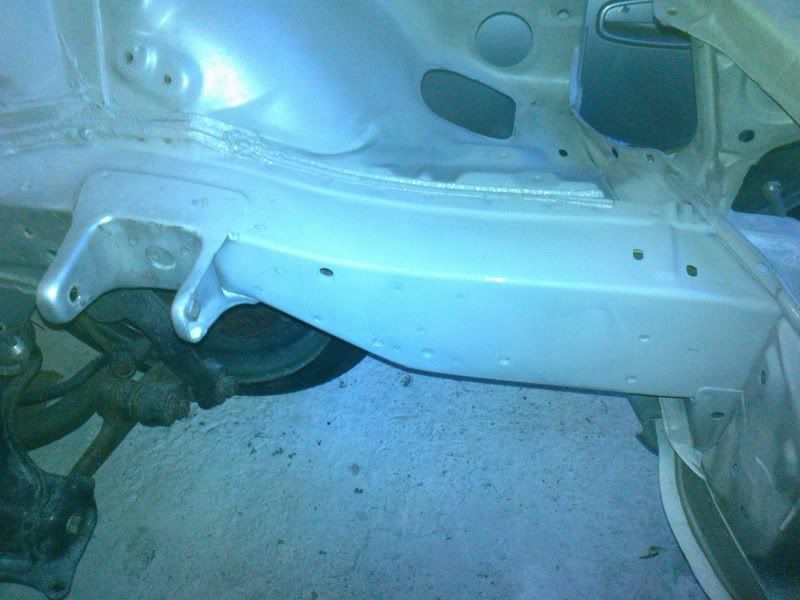
As I was moving the battery to the inside I could remove the battery tray
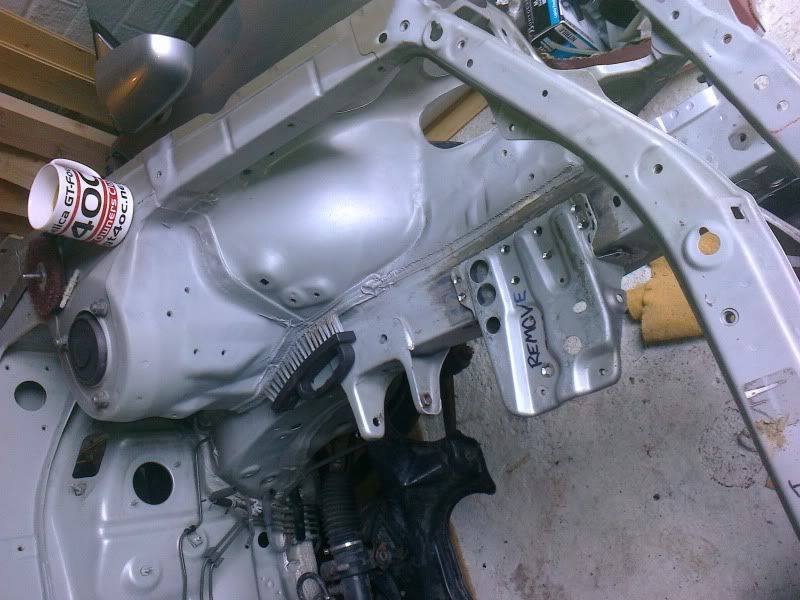


which I did


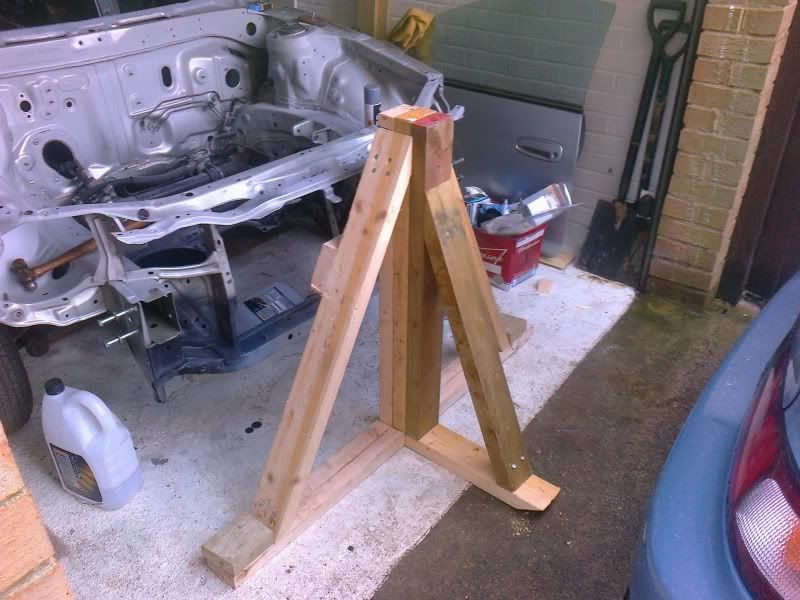
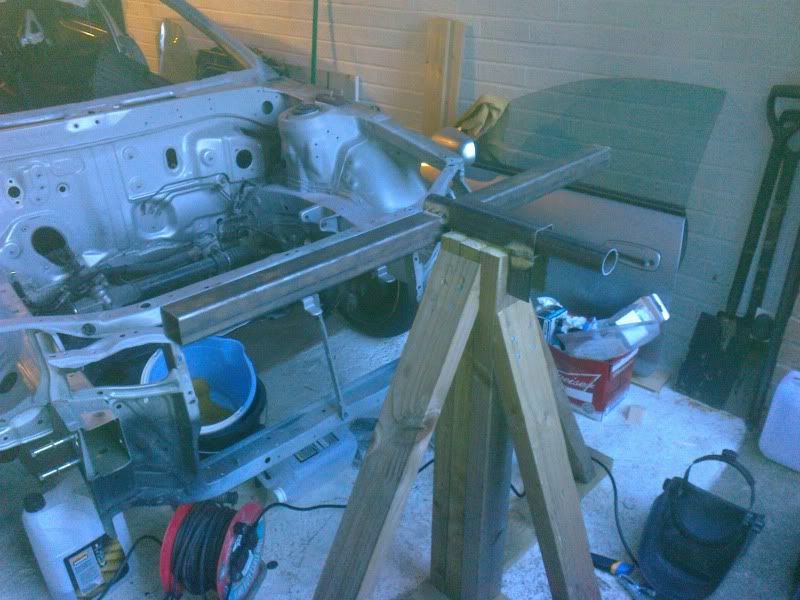
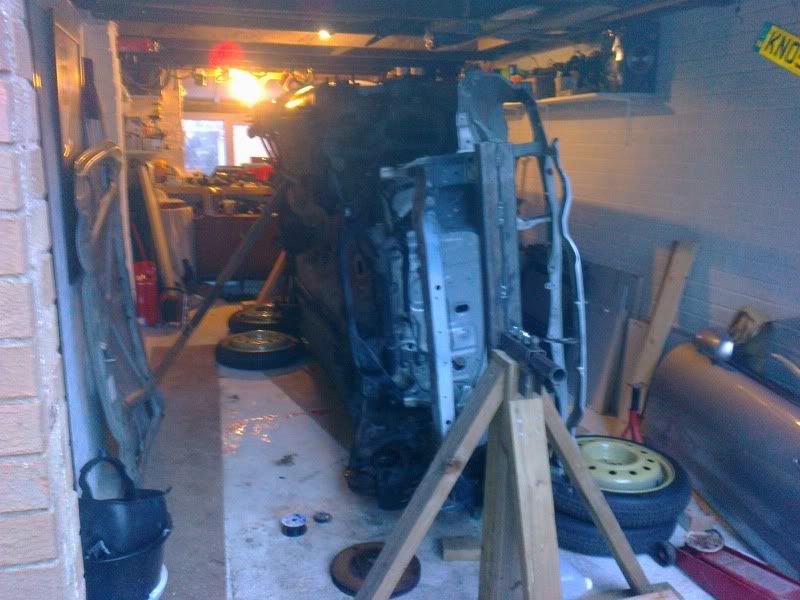
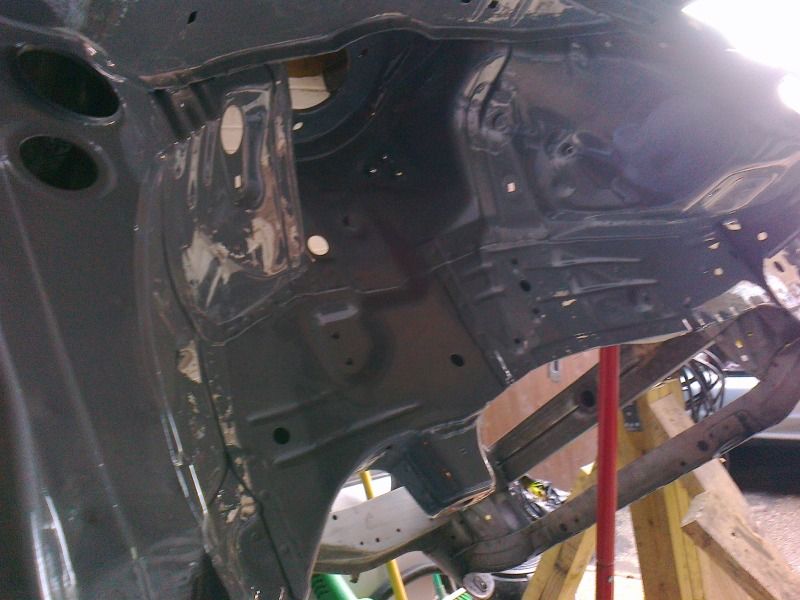
Next up I needed to get to the bottom of the car....this was going to require some ingenuity.

My Facebook GT4 Build page.https://www.facebook.com/groups/GT4Rebuild
I was going to have to make my own rotisserie.

So ack off to the wood yard, a few lengths of 2x4 and I made this


It was about now I realised two things. One I was going to have to learn to weld and two..my plans for this car were changing quite dramatically......a fancied making a cross between a rally car and a GT car...no idea how I was going to achieve this, but the seeds had been set in my mind and for once they stayed there.

So I rushed out and purchased a MIG welder....learning to weld was pretty easy to be honest, by no means as neat as the pros but not bad for a complete novice.

So I made a rotisserie


It fitted like a glove and worked perfectly


A quick look revealed the sills were pretty mangled


so I had to fix them up as best I could


At the same time I started blasting and painting with good old POR15 the subframes and suspension parts


The came out quite nice


did the prop shaft too, started a bit rough


came up well


also cleaned up the steering rack


and the alloy diff end plate....gave it a good polish


Next up I started the worst job I have ever attempted

My Facebook GT4 Build page.https://www.facebook.com/groups/GT4Rebuild
Tackling the stone guard on the bottom of the car.

I cant count the amount of drill & angle grinder wire brush attachments I have gone through.

it makes alot of dust and takes what seems like forever


slow slow work


this stage took about a month


at last, more or less done


I then painted it with more POR15


More or less at the time I was ready to slit my wrists due to constant wire brushing the roll cage turned up (I still havnt finished under the car....I am going to get the rest sand blasted....i just cant face it any more


A brief test fitting and I was starting to get excited.....I was going to have to break out the welder again smile.gif


My Facebook GT4 Build page.https://www.facebook.com/groups/GT4Rebuild
First job was to add some strengthening to the top of the rear suspension tops, so i removed the odd metal bracing off them (i think its used to just hold the rear plastics in place?)


I then made a template


and then a metal top (3mm mild steel)


and one for the other side


Once I had welded these to the car it was time to start getting the roll cage in


I filled the aerial hole whilst I was at it


Anyway, back to the cage, more bits turned up


this was starting to get serious


this ties in the rear sub frame to the cage, helps keep things stiff


nearly there


as you can see my welding isnt great, but as its more or less the seond thing I have ever welded in my life i was mildly pleased with it


Done


i had decided that I didnt want a full cage, at the end of the day it will be just a road car so getting in and out easily is a priority

Next up I decided it was about time to learn how to cast new metal parts, as for what I had in mind the parts do not exist, I was going to have to make them.

My Facebook GT4 Build page.https://www.facebook.com/groups/GT4Rebuild
I was going to have to make myself a mini blast furnace...and learn how to cast metal

I needed these


I turned the bin into a furnace with the use of some fire cement


fill it with charcol, attach a heat gun, ignite and stand back


I made a vessel from a spare piece of square tube...it gets pretty hot


hot enough to melt alloy


I still needed to learn how to make sand moulds so stopped there for the time being, I will pick that up again later.

My Facebook GT4 Build page.https://www.facebook.com/groups/GT4Rebuild
Taking a long look at my roll cage, I was not happy with the welds. so i decided to dress them, smooth them out, add a little body filler and make them smooth


started looking much better although I did have to remove the main hoop cross member for access


dont worry its not going to be that colour, thats just filler primer


at the same time I cleaned up the floor and primed that ready for paint


the boot aswell....I also welded the cross member back in


Next up was the seam sealer, so I masked off the areas I was going to apply it to


then applied the U-Pol grey stripe seam sealer (nasty stuff)


and that is about where I am up to today. Just been out into the garage to remove the masking tape. it looks a bit messy, but when its primed over the top you can hardly tell its there. I will add more pictures when I have taken them.

I will update when I get a chance but I work pretty slowly so dont expect much.
hope I havnt bored you to death

more to come

Nial

My Facebook GT4 Build page.https://www.facebook.com/groups/GT4Rebuild
Great job.
That's a ton of work, impressive.

my st205 swapandour Beams swap
Not your everyday build, excellent job so far man.

st205 powered ss3 coupe
super diy!!

1995 GT::::Diffusing the Situationエキサイティングカーレーシングチーム!march2010 COTM:6GCfeature2014:january2015-2016-2018 COTM
>
QUOTE (Nial @ Dec 16, 2012 - 2:06 PM) *
>hope I havnt bored you to death


Quite the contrary. Excellent.

'97 ST\ Eibach \ KYB \ Kenwood \ Alpine \ Cusco \ OEM+[sold 10/18]'93 MX-5LE
You are unbelievable Nial smile.gif. You are true faffer wink.gif

No more replicas... This is evolution... This isSS-four:)________[Featured Celica of 6gc.net @ 2010]_________
Thanks all, glad you like it smile.gif


>
QUOTE (malpaso @ Dec 17, 2012 - 5:06 AM) *
>You are unbelievable Nial smile.gif. You are true faffer wink.gif


Cheers. means alot from a fellow faffer smile.gif I hope the end result looks as nice as your car.

This post has been edited by Nial: Dec 17, 2012 - 6:05 AM

My Facebook GT4 Build page.https://www.facebook.com/groups/GT4Rebuild
Looks great! It'll be like new!
Just one thing I was wondering about. I don't know much about roll cages, but it is my understanding that if you put in racing seats and harnesses you'll need a horizontal shoulder height beam to attach the harnesses to (the reason being, to avoid spinal compression in the event of an accident). Have you considered this?
>
QUOTE (Edser @ Dec 17, 2012 - 6:28 AM) *
>Looks great! It'll be like new!
Just one thing I was wondering about. I don't know much about roll cages, but it is my understanding that if you put in racing seats and harnesses you'll need a horizontal shoulder height beam to attach the harnesses to (the reason being, to avoid spinal compression in the event of an accident). Have you considered this?


I will be using normal belts, If I want to use a racing harness I will attach it to the rear strut brace as the Rally Cars did. as they lie within the tollernece angles to avoid such injuries.

My Facebook GT4 Build page.https://www.facebook.com/groups/GT4Rebuild
Great work so far! I can't wait to see where this goes.

"Employ your time in improving yourself by other men's writings, so that you shall gain easily what others labored hard for." -Socrates. Even Socrates told us touse the search button!2006 Aston Martin V8 Vantage.1998 Celica GT-BEAMSSwapped.2022 4Runner TRD Off Road Prenium.2021 GMC Sierra AT4.
Nice work! Can't wait to see the finished product.

3SGE Beams VVT-i powered Celica
I dont know if you guys like small regular updates, or big updates every yew months?

well here is a little update. I just about finished the seam sealer today but to show you a comparison, one side of the car is finished and the seam sealer has been primed, the other side it has just been applied.


Left side it has just been applied, right side has had two coats of seam sealer and had primer sprayed over the top. I am pleased that you can hardly see anything despite the fact it will all be covered over with sound mat.....just because you cant see it dosent mean it cant be right.

cheeky shot of the cage


This post has been edited by Nial: Dec 18, 2012 - 4:02 PM

My Facebook GT4 Build page.https://www.facebook.com/groups/GT4Rebuild
>
QUOTE
>just because you cant see it doesn't mean it cant be right


This is how I know this thread will be good
I have been busy recently, but have found some time to spend on this project.

I stripped down the petrol tank


gave it a good paint


the obligatory walbro fuel pump


all back together with some stainless steel bolts


rejuvenated the fuel tank straps


started rebuilding the rear axels


managed to rescue the rear brake disc backing plates


they came up well


Found a product called Deox C which is great at getting rid of rust, bought the rear hub carriers up a treat


and I got alot of bolts zinc plated


and the door catches chromed


things are starting to go back together now, the rear subframe and suspension parts are all half built, just waiting for the paint on the rear hubs to dry and cure and they can go back together, need some snap rings for the rear axels, then they can go back on. Rear diff can be completed tomorrow if I get time.


My Facebook GT4 Build page.https://www.facebook.com/groups/GT4Rebuild
absolutely epic Nial, top work.
fancy doing my car when your done with this one? biggrin.gif
>
QUOTE (paulgtt @ Feb 25, 2013 - 4:10 PM) *
>absolutely epic Nial, top work.
fancy doing my car when your done with this one? biggrin.gif


Hahaha...errr no thanks, this one has taken long enough.....if you dont mind loosing your car for about 4 years and costing...well this will probably cost me the thick end of £30,000 by the time I am done.

My Facebook GT4 Build page.https://www.facebook.com/groups/GT4Rebuild
f**k yeah! I want to reshell into yours!!!

Mike W1996 Toyota Celica ST205 GT-FOURGT2860RS turbine, TiAL mvr44, JE 86.5φ piston, Clutchmasters FX400, APEX P-FC269awhp / 273ft-lbs
Wow, just wow. I truly admire your attention to detail. I've done some detailed builds over the years but it really falls short of the amount of work you're putting in here. Really looking forward to future updates. I've gotta ask though...what on earth do you want to make that requires you cast your own metal parts??

1999 Celica GT Auto - GF's car1996 4Runner SR5 5sp - Ol' Faithful2006 Evo 9 MR - For sale1998 Supra NA Auto very slow
>
QUOTE (Legen-dary @ Feb 25, 2013 - 10:28 PM) *
>I've gotta ask though...what on earth do you want to make that requires you cast your own metal parts??


I was going to make an alloy version of the bracket that holds the alternator in place but it prooved too difficult. I kind of knew from the start it would be, I just wanted to make fire smile.gif and a noise like a jet engine. biggrin.gif

The insides have now been completed, all the seam sealing has been done and painted. roll cage is ready for a coat of colour, I think I am going to go for a satin black finish. smile.gif


This post has been edited by Nial: Feb 26, 2013 - 3:33 AM

My Facebook GT4 Build page.https://www.facebook.com/groups/GT4Rebuild
Ahhh is that what that was, I was thinking of just grinding off the humps from the radiator and making a flat L bracket, either that or getting some alloy stumps welded on and using brackets from another car. just some ideas.

of all the chinese copy alloy rads out there I'm guessing some line up the brackets others dont, i had to carve out the rubber bush from mine to fit

Mike W1996 Toyota Celica ST205 GT-FOURGT2860RS turbine, TiAL mvr44, JE 86.5φ piston, Clutchmasters FX400, APEX P-FC269awhp / 273ft-lbs
>
QUOTE (delusionz @ Feb 26, 2013 - 4:25 AM) *
>Ahhh is that what that was, I was thinking of just grinding off the humps from the radiator and making a flat L bracket, either that or getting some alloy stumps welded on and using brackets from another car. just some ideas.


I will be building my radiator from scratch so will be doing something similar...TTE used this method so it must be effective.

My Facebook GT4 Build page.https://www.facebook.com/groups/GT4Rebuild
do you know what the pre-rad thing is on the TTE car, i cant work it out, is it transfering engine heat with oil, or cycling water for the turbo or what


as im sure your well aware of engine bay temps, i think were on the same page when it comes to cooling system design, i tried to follow TTE too

This post has been edited by delusionz: Feb 26, 2013 - 4:51 AM

Mike W1996 Toyota Celica ST205 GT-FOURGT2860RS turbine, TiAL mvr44, JE 86.5φ piston, Clutchmasters FX400, APEX P-FC269awhp / 273ft-lbs
>
QUOTE (delusionz @ Feb 26, 2013 - 4:50 AM) *
>do you know what the pre-rad thing is on the TTE car, i cant work it out, is it transfering engine heat with oil, or cycling water for the turbo or what


as im sure your well aware of engine bay temps, i think were on the same page when it comes to cooling system design, i tried to follow TTE too


Thats an engine oil cooler (it replaces the one on the front of the block). I have one similar to that sat on the shelve in the garage although you can still buy TTE ones, but they cost about £1500

My Facebook GT4 Build page.https://www.facebook.com/groups/GT4Rebuild
Well, it's been a while, haven't done much on the car really. I have taken the bonnet catch apart which I am going to get chromed, then I have had to have custom stepped rivets made so I can put it all back together again. I have also been working on the interior, a few ideas which have fallen by the wayside and a few new ideas.

I started rebuilding the interior plastics to work around the roll cage, a bit more complex than I bargained for, but its going to challenge my fibreglassing skills.


Now that I have finally taken the other Faff off the road I can start transferring bits over.

After talking to some rally boffins and TTE experts I have decided on two options for the engine rebuild. Initially I am going to use a 185 block and head as these are stronger than the 205 block, the head isn't as good but is more workable...or some am told. Also there are more bits available for the 185 blocks like moroso sumps etc will re using my Link G3 ECU with a brand new engine loom. Plans are afoot for a TTE charge cooler. smile.gif

My Facebook GT4 Build page.https://www.facebook.com/groups/GT4Rebuild
Love this thread, your car is going to be epic!