Over 1M Posts • 84K Topics • 9K Authors

CrossCudi's 95 AT200 - 6G Celicas Forums

Topic #89831 79 posts Started by CrossCudi
Sorry guys i never really entroduced myself, just kinda walked in about 2 yrs ago lol !!
my name is martin, but known as *Cross =)

so lately ive been working on my celica and decided to share.
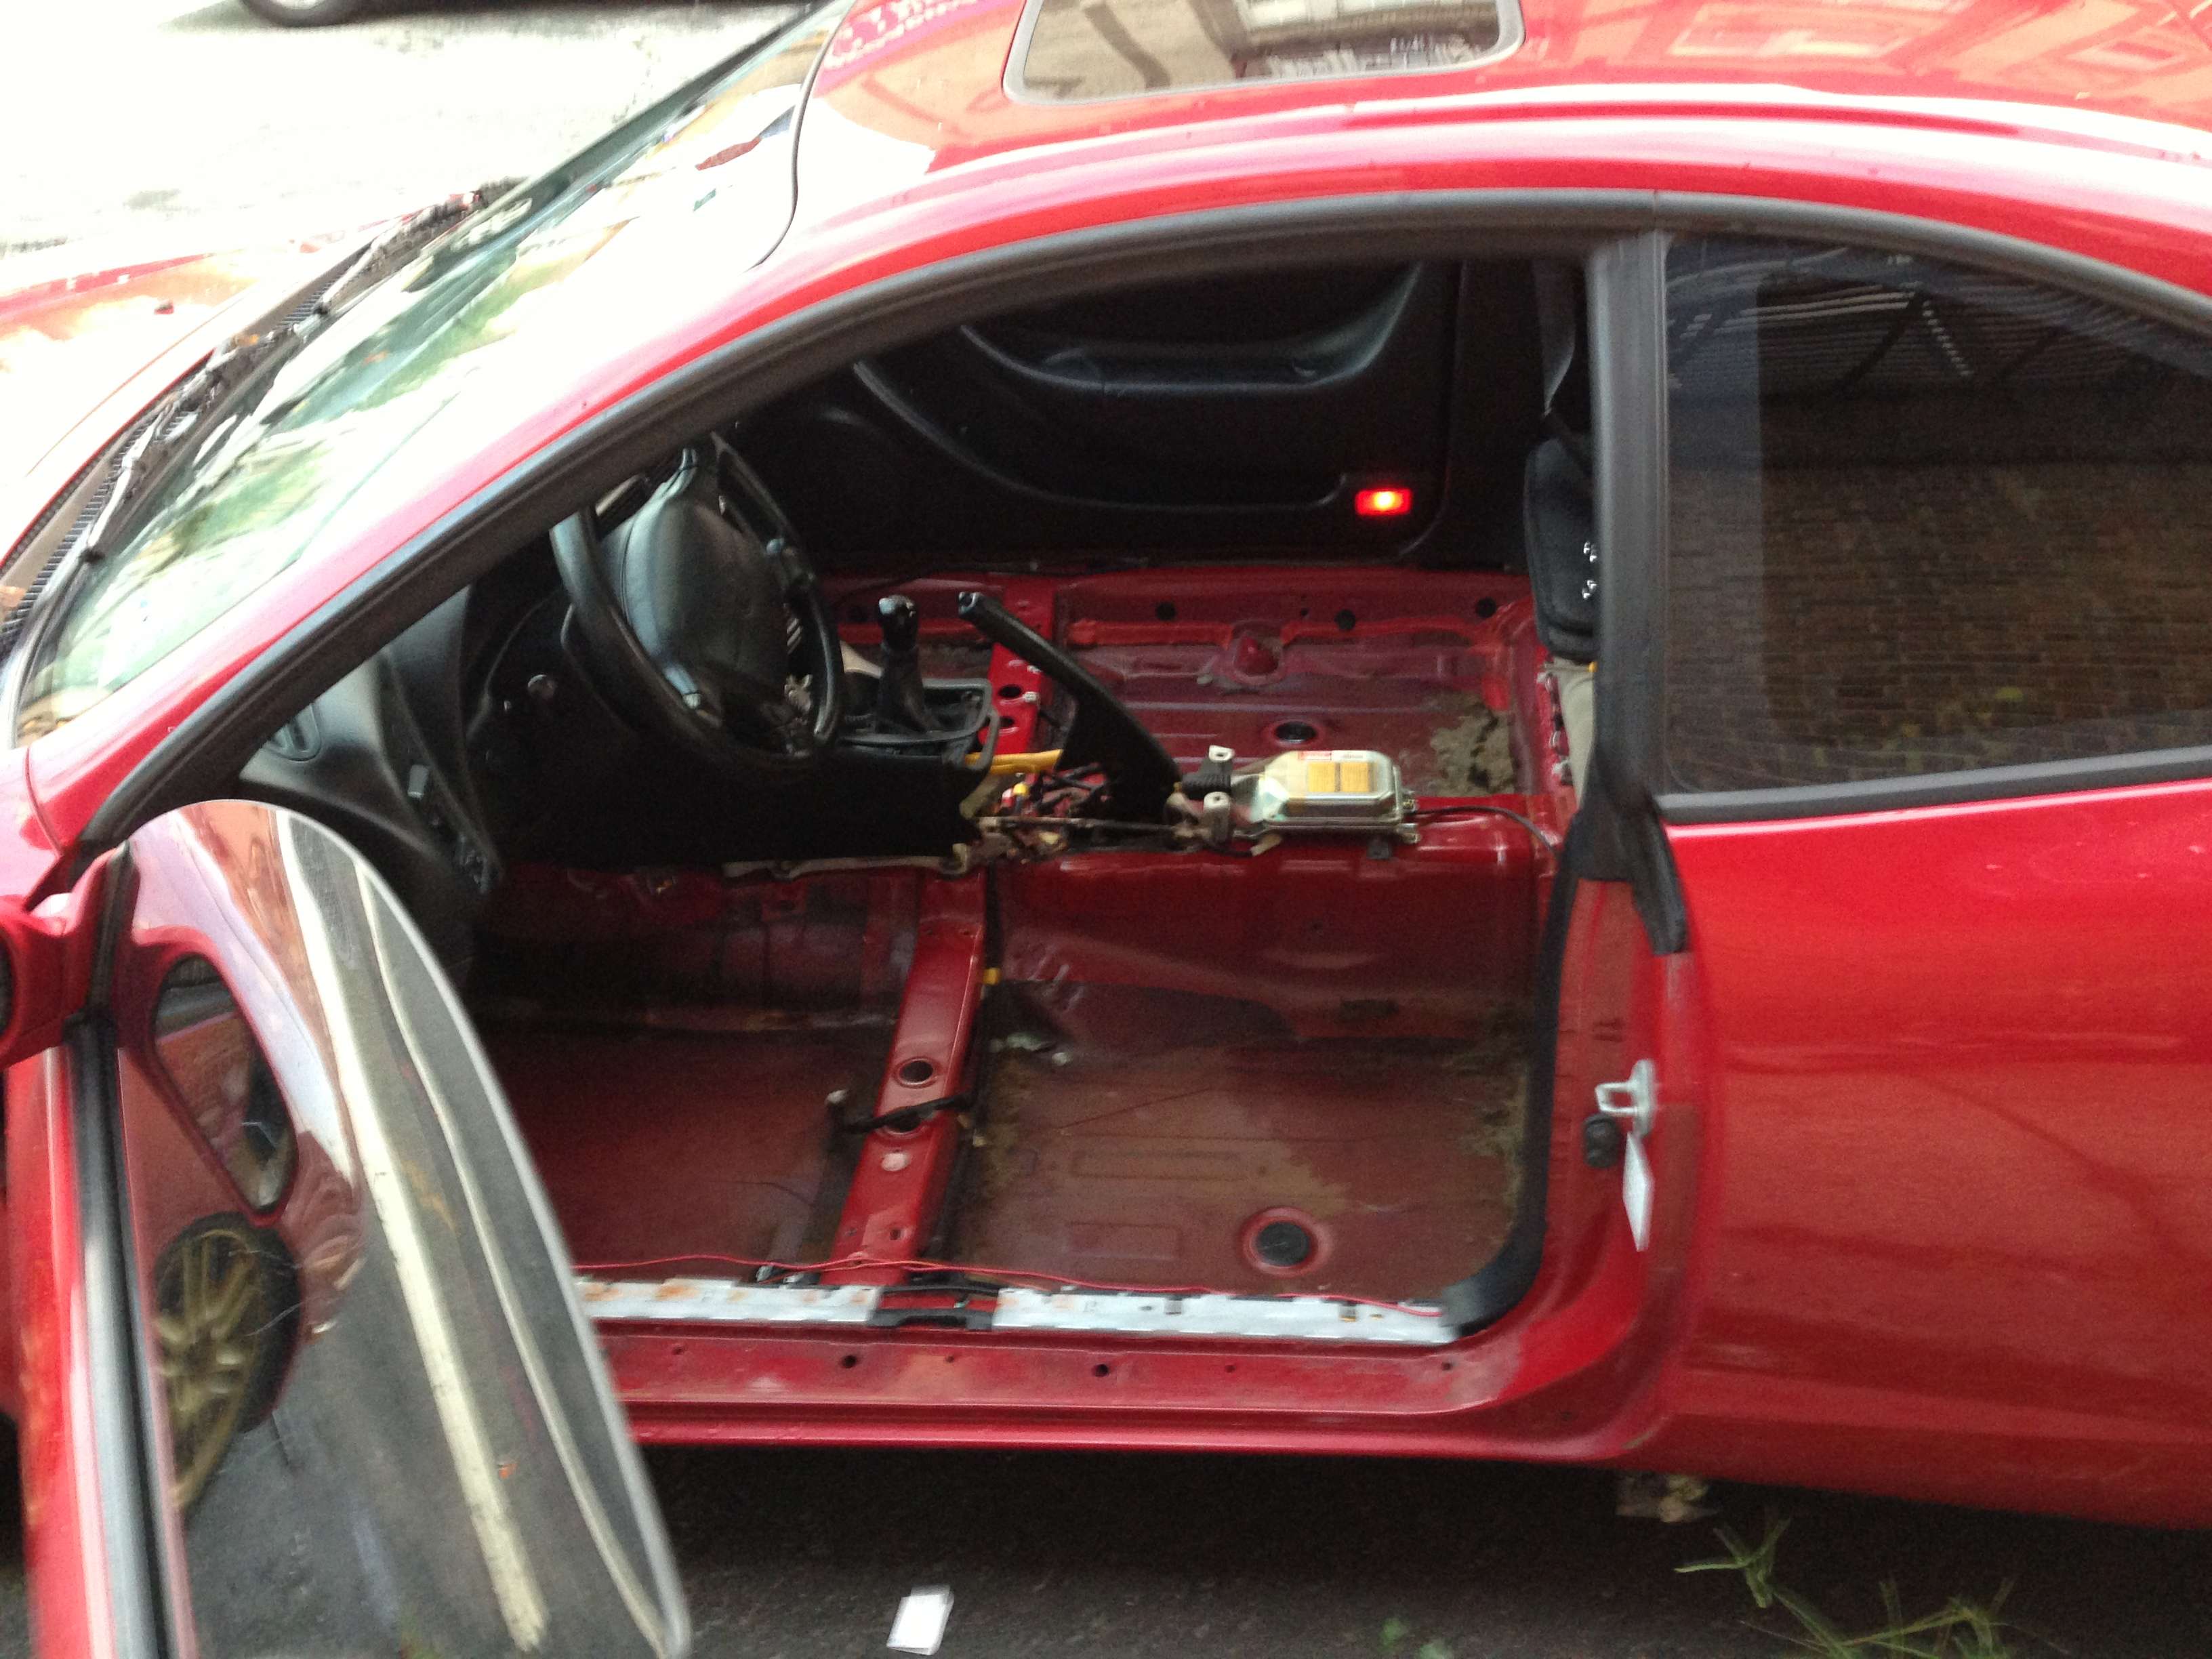
Red 95 celica 1.8st
Pretty much stock everything except:

Headers, some tinted windows, and a decent sound system.

Last week i was able to get my hands on some TC wheels for a very cheap price because they were filled with curb rashes, and only had 3 tires.
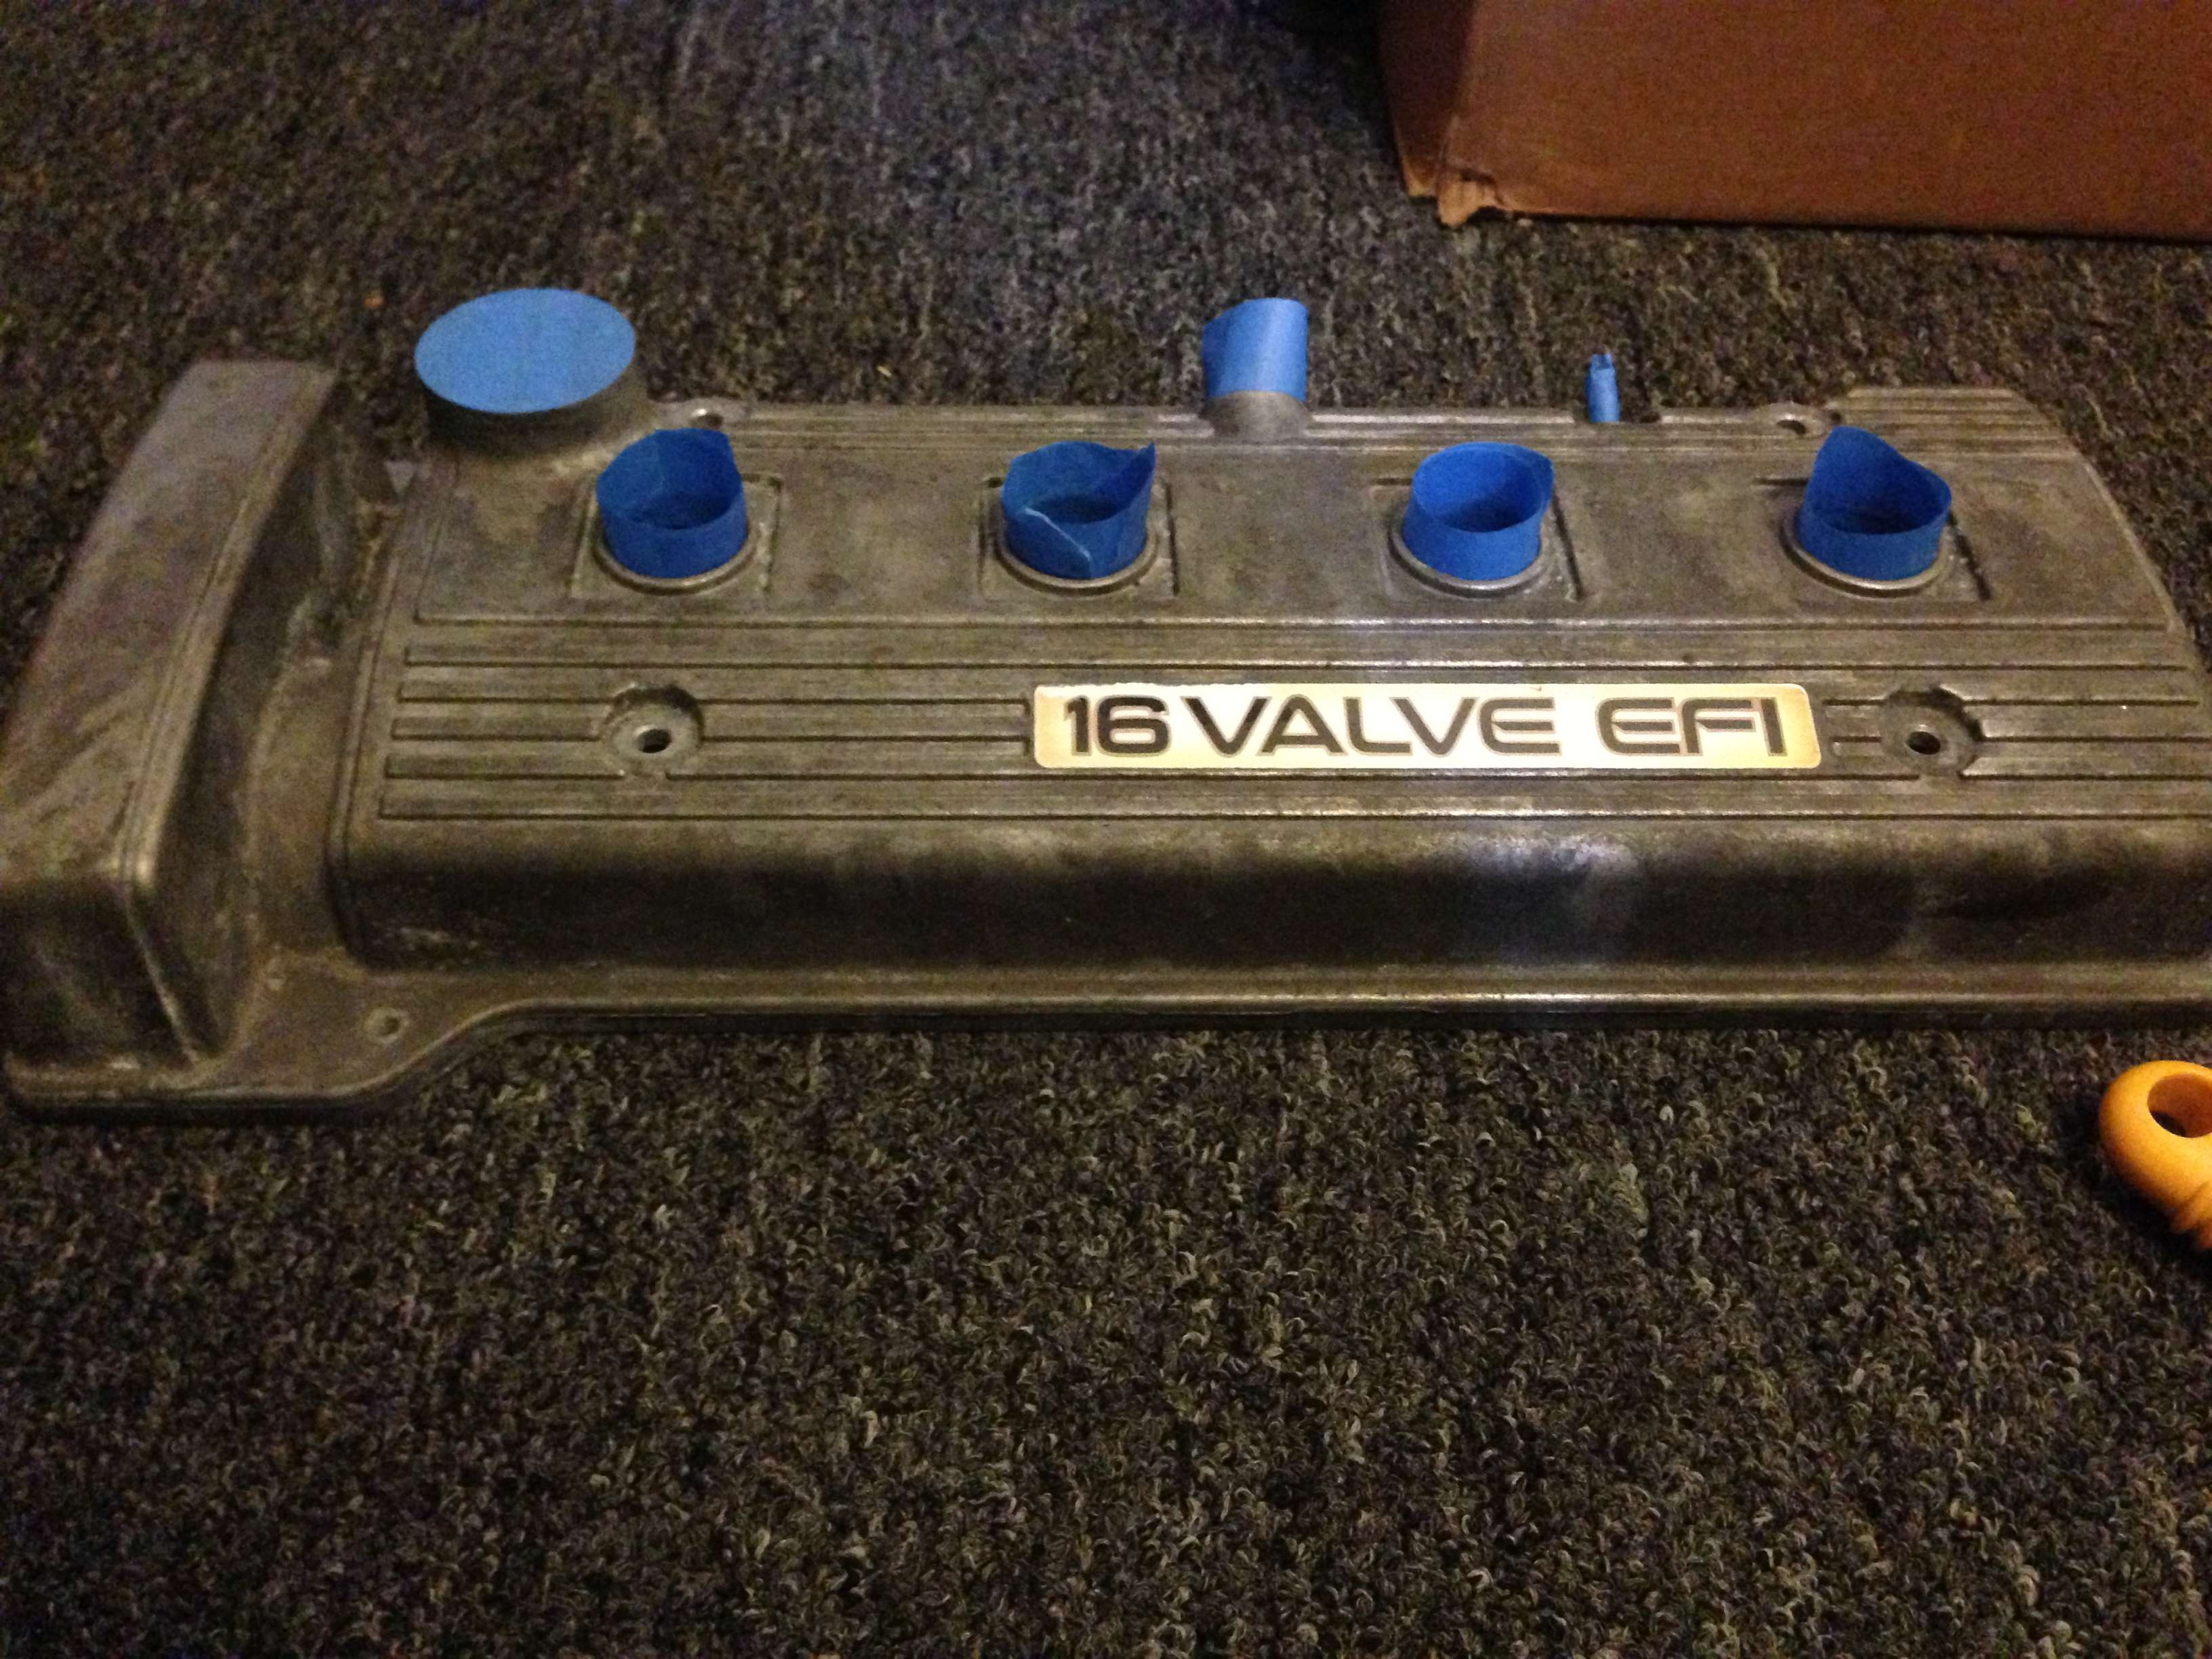
Over the weekend went to my local ACE Harware and bought some beauty supplies...

FOA: sorry for bad quality pics:

they were all like this:


and this:


since i dont have a garage to work, i carried them up to the roof and started working there !

i JB Weld all 4 rims and sanded them down...


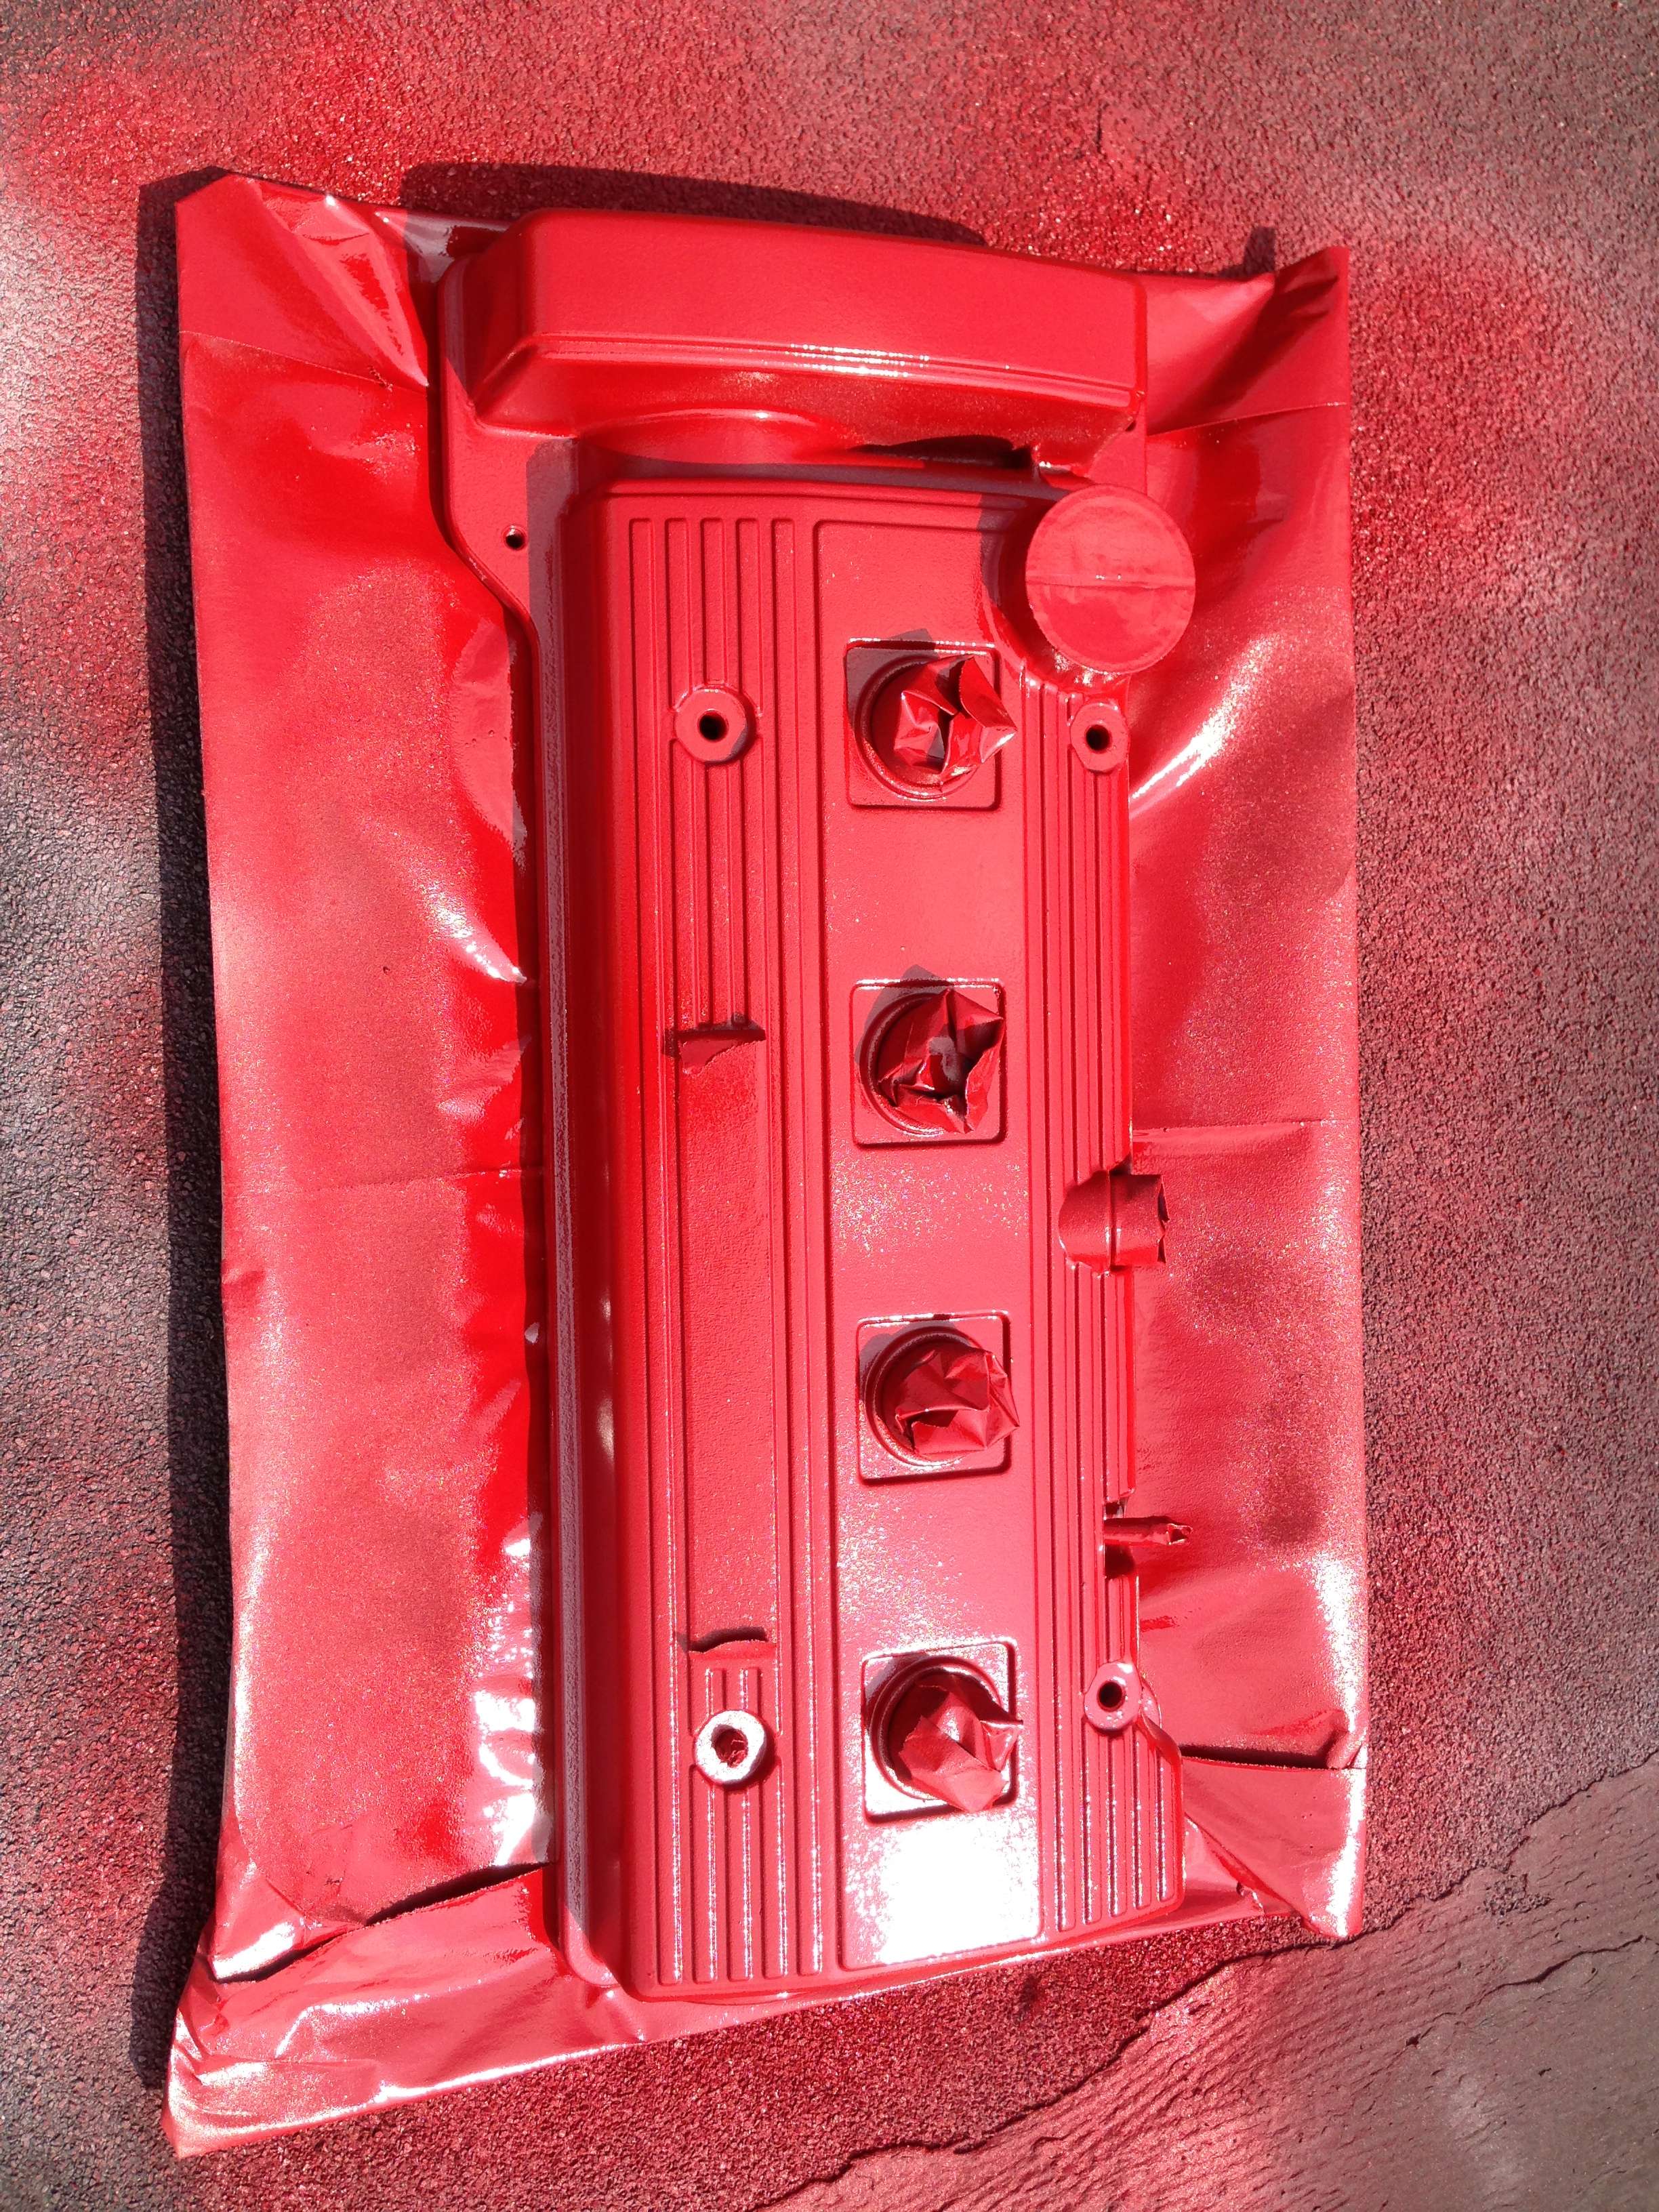
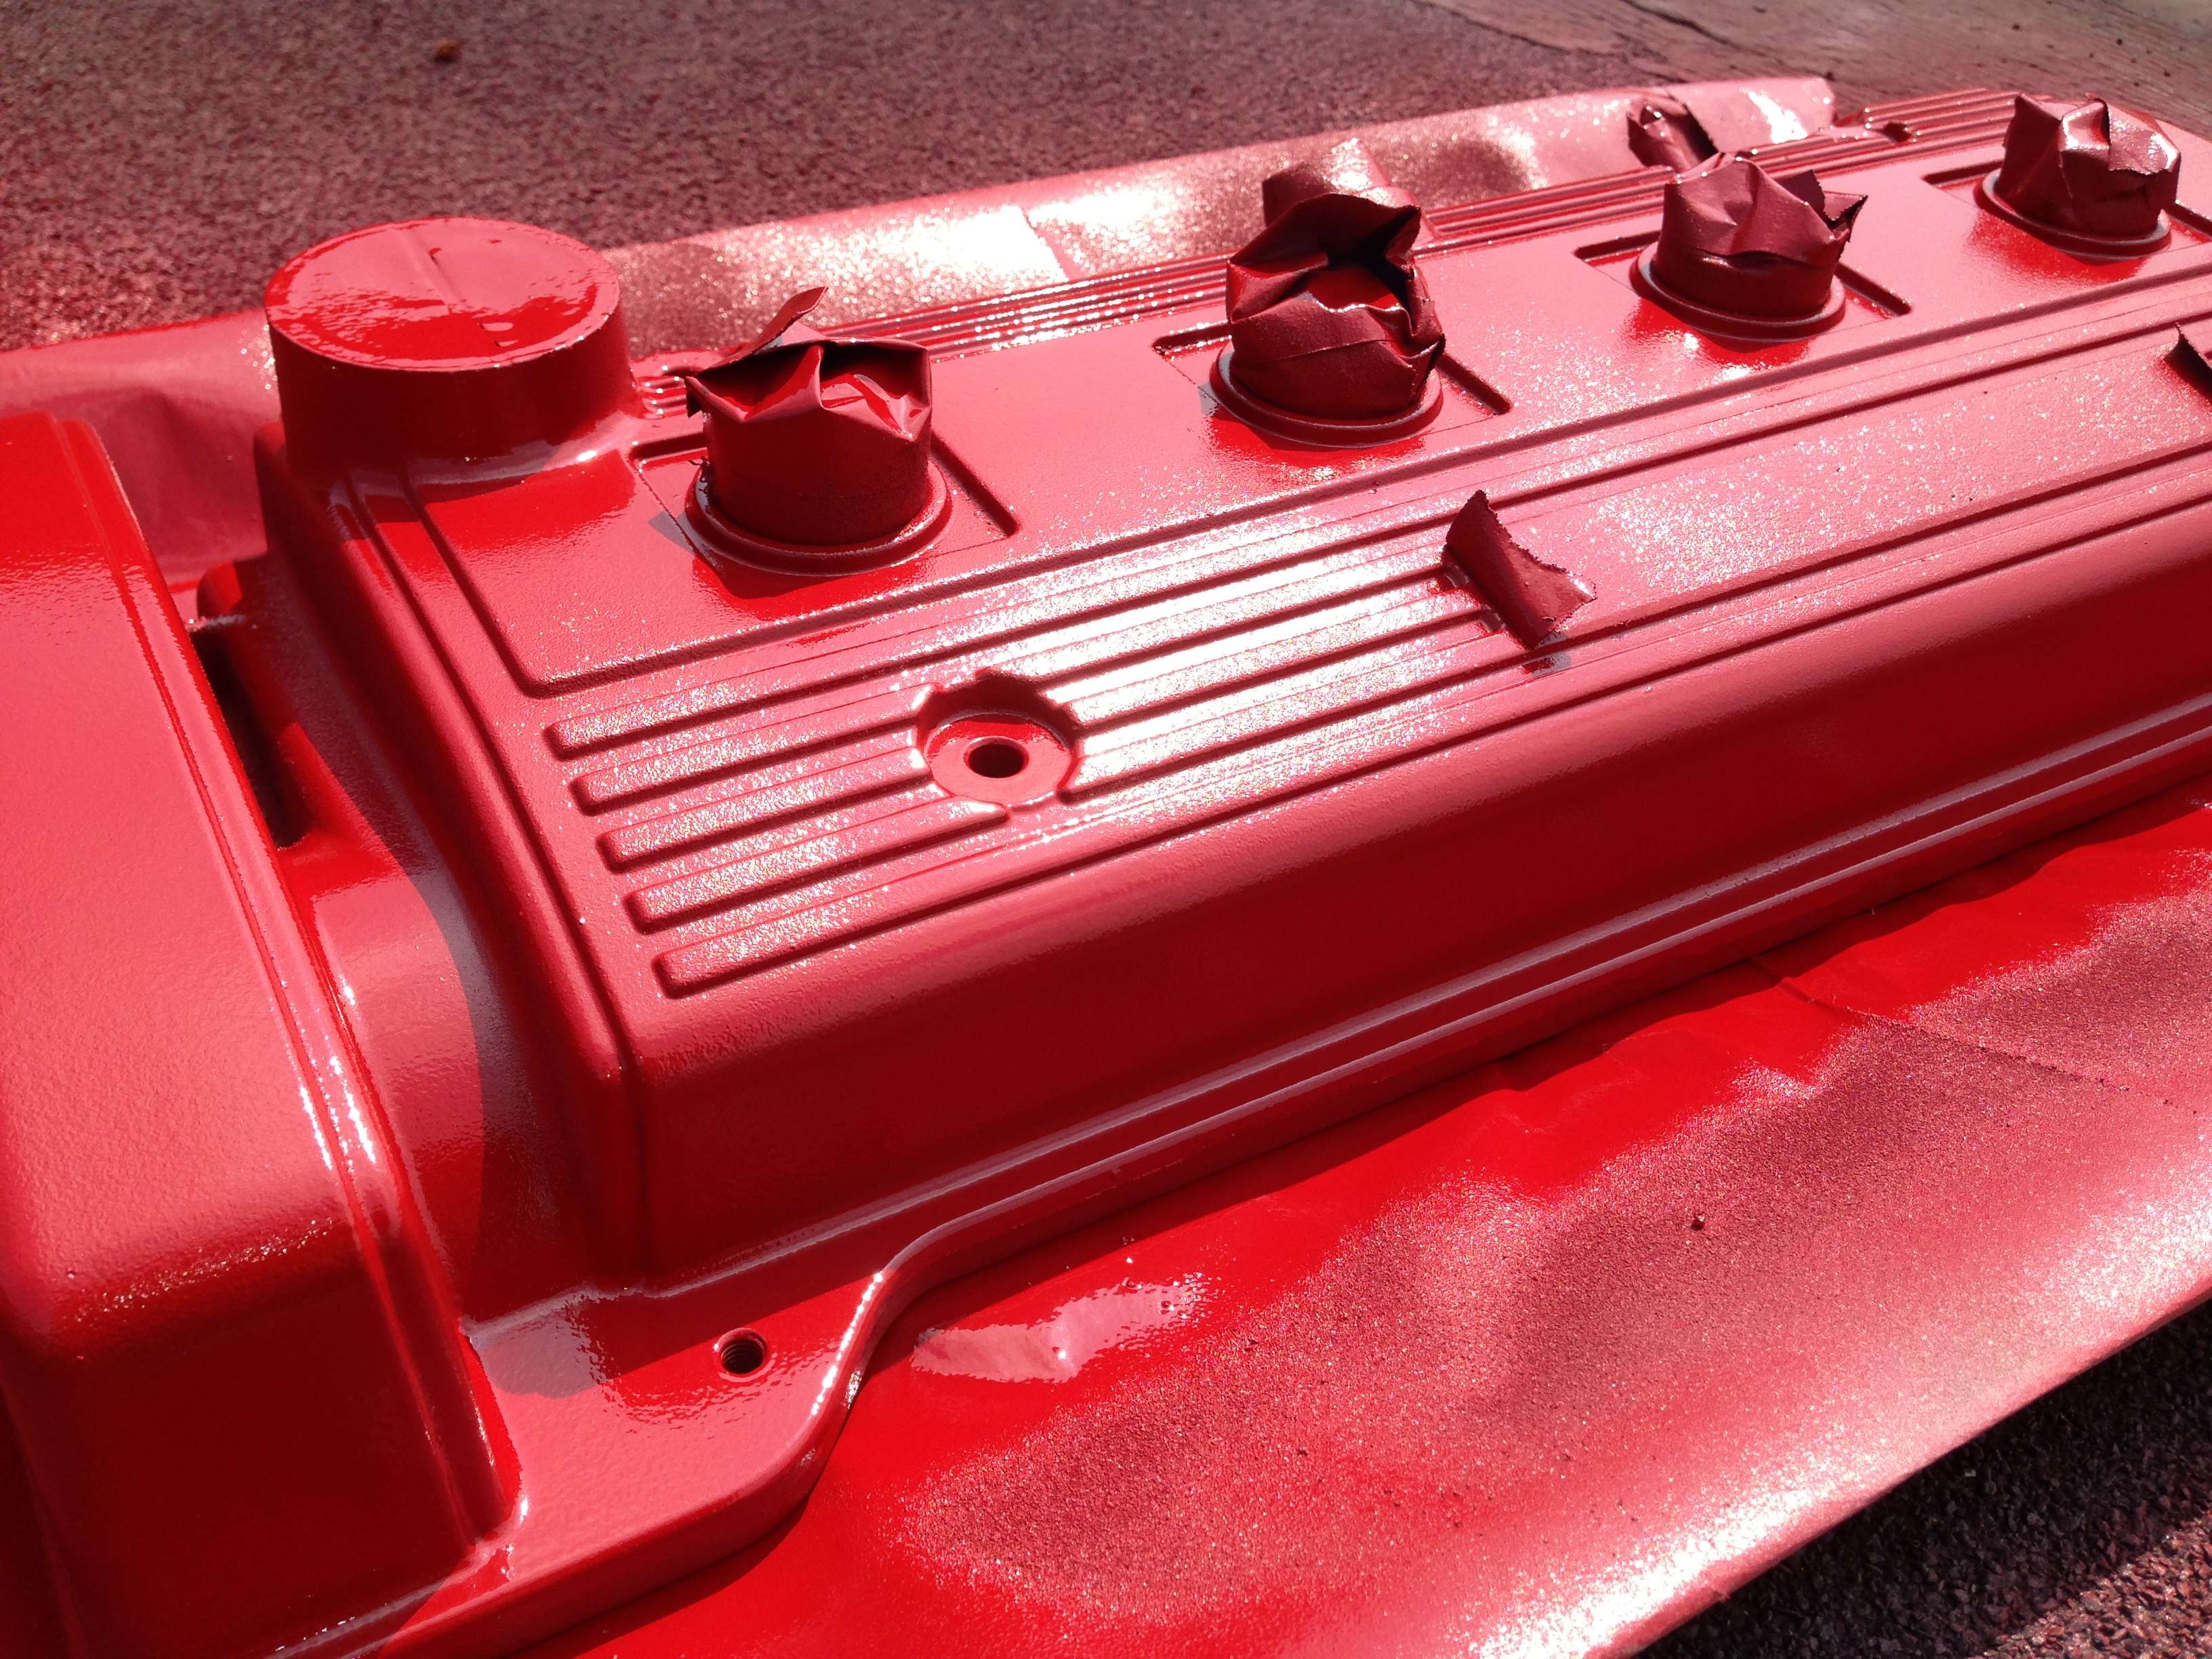
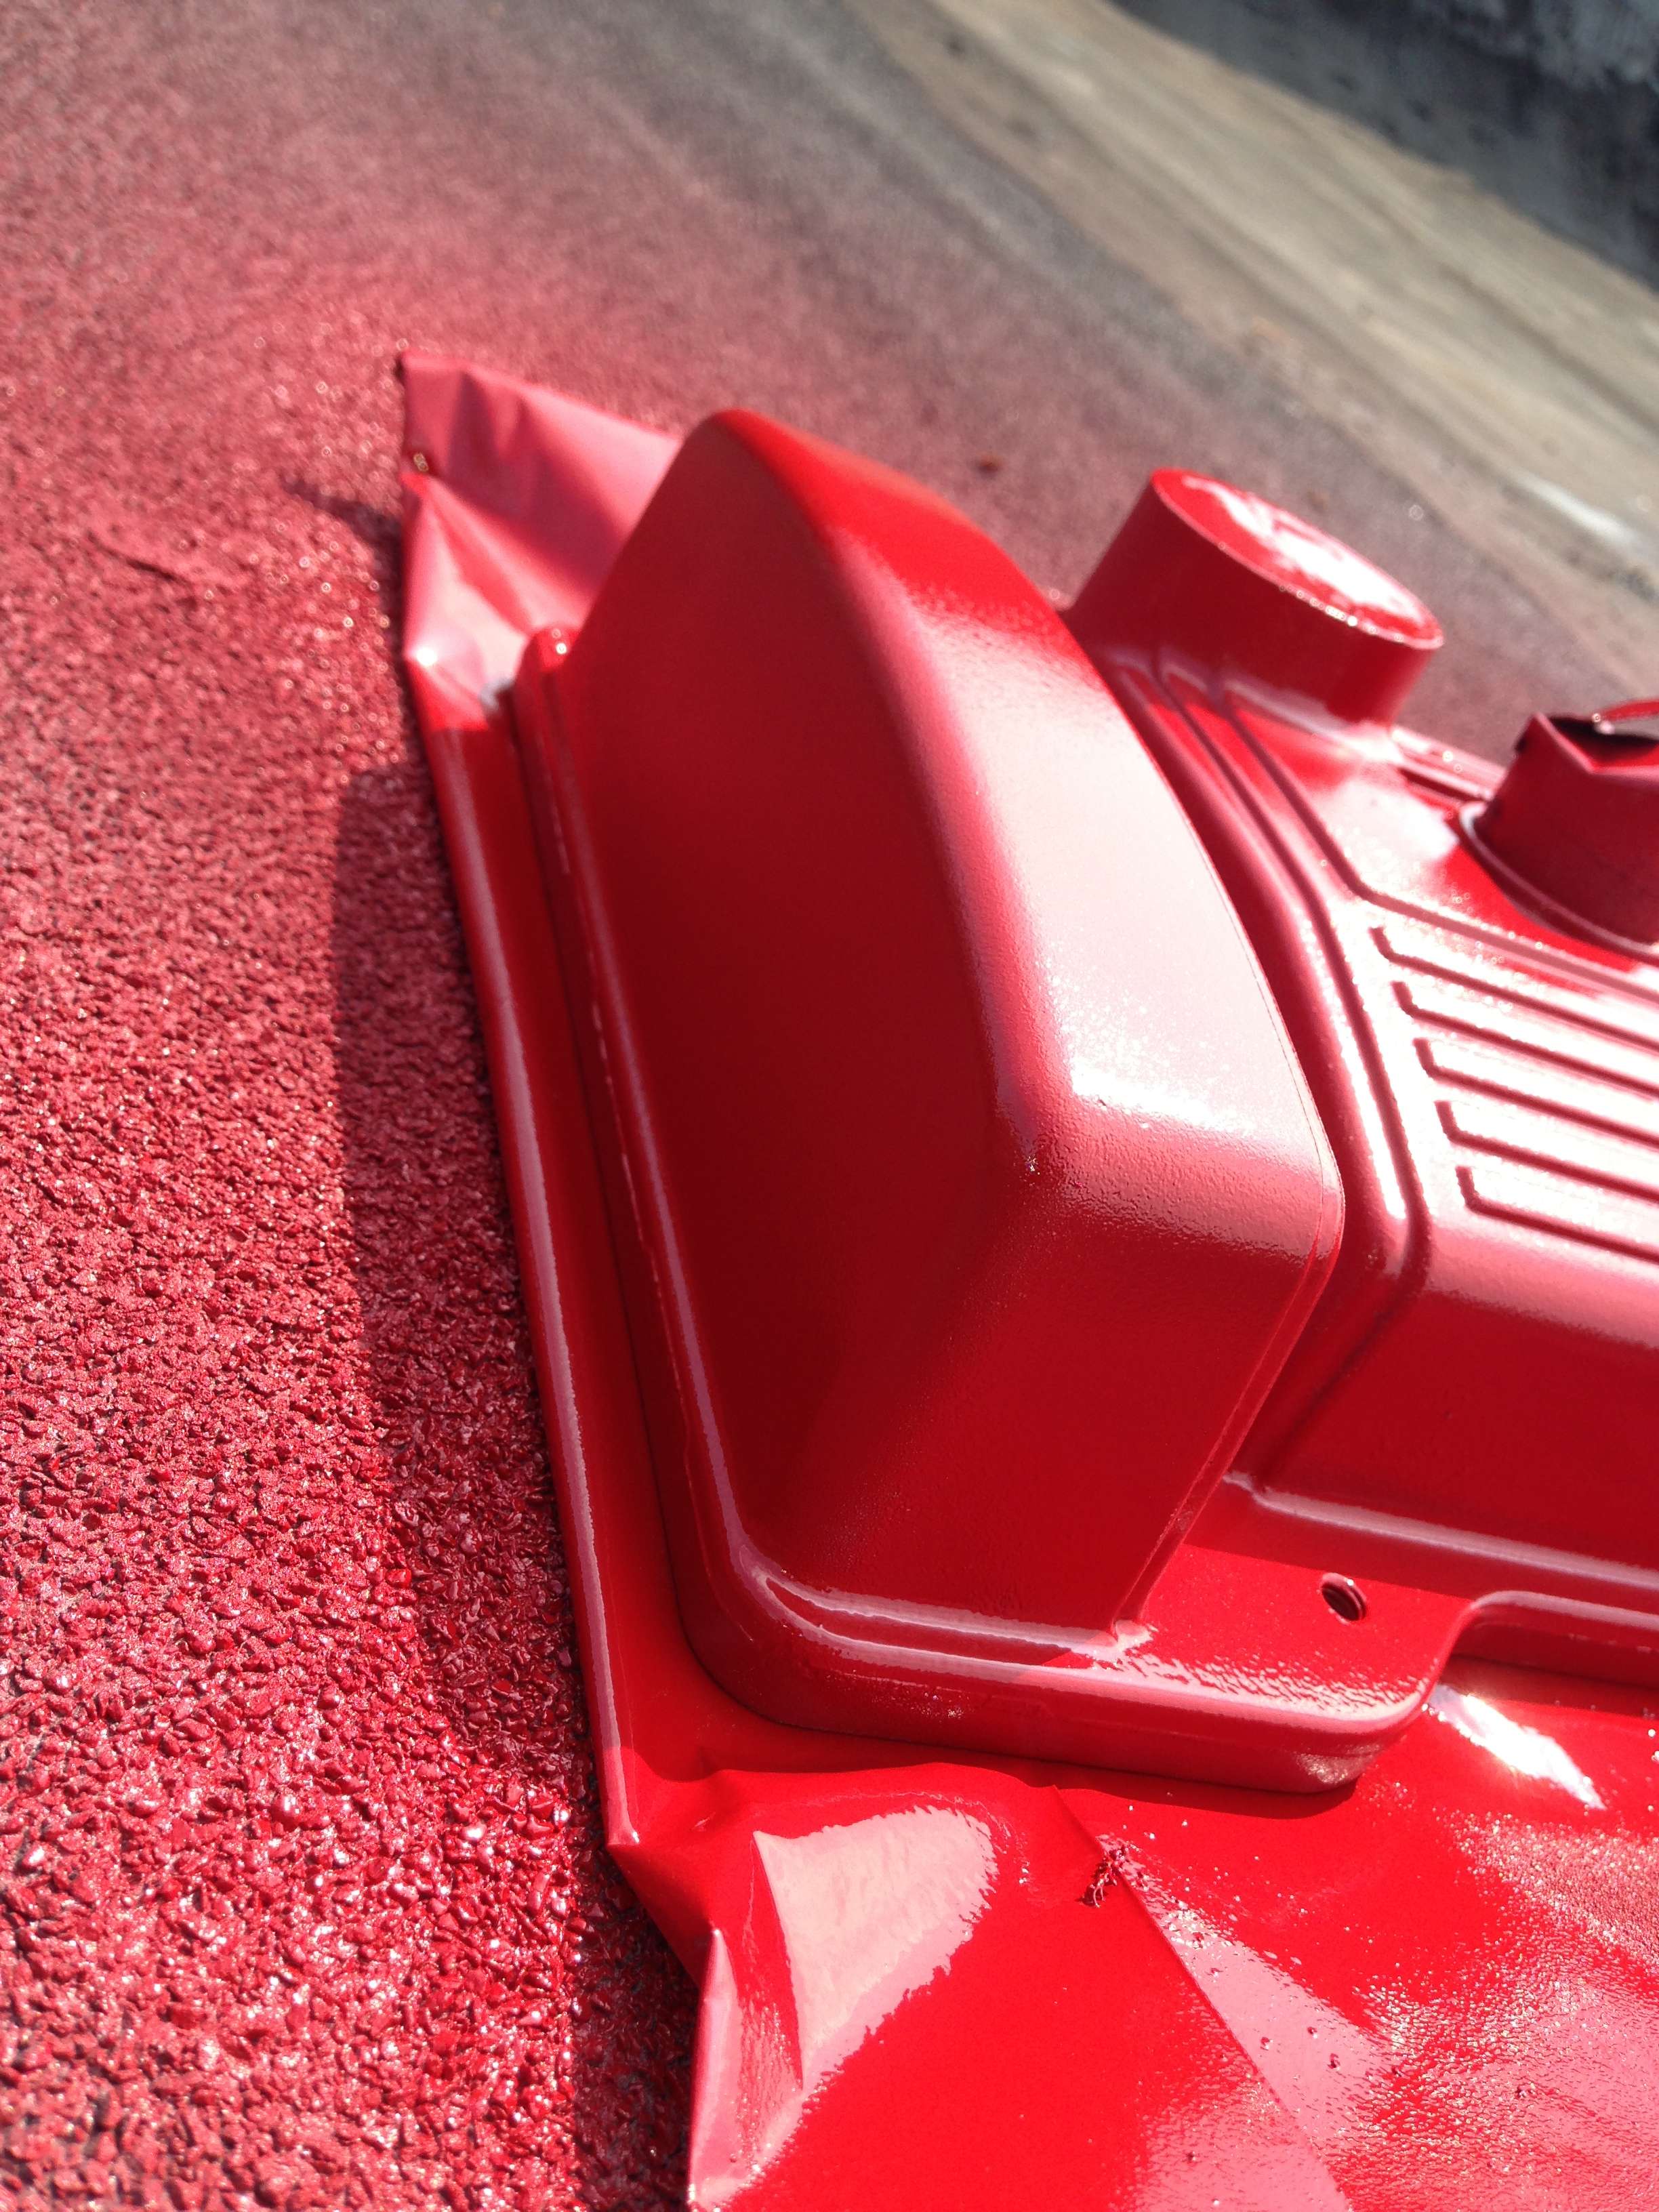
after that process was done, the next day was finally the more fun day,
i primer n paint n clear..

*3 coats of primer:
if u look closely i didnt do the greatest job applying and sanding the jb weld
but i am 100% more happy with how they look now than b4.


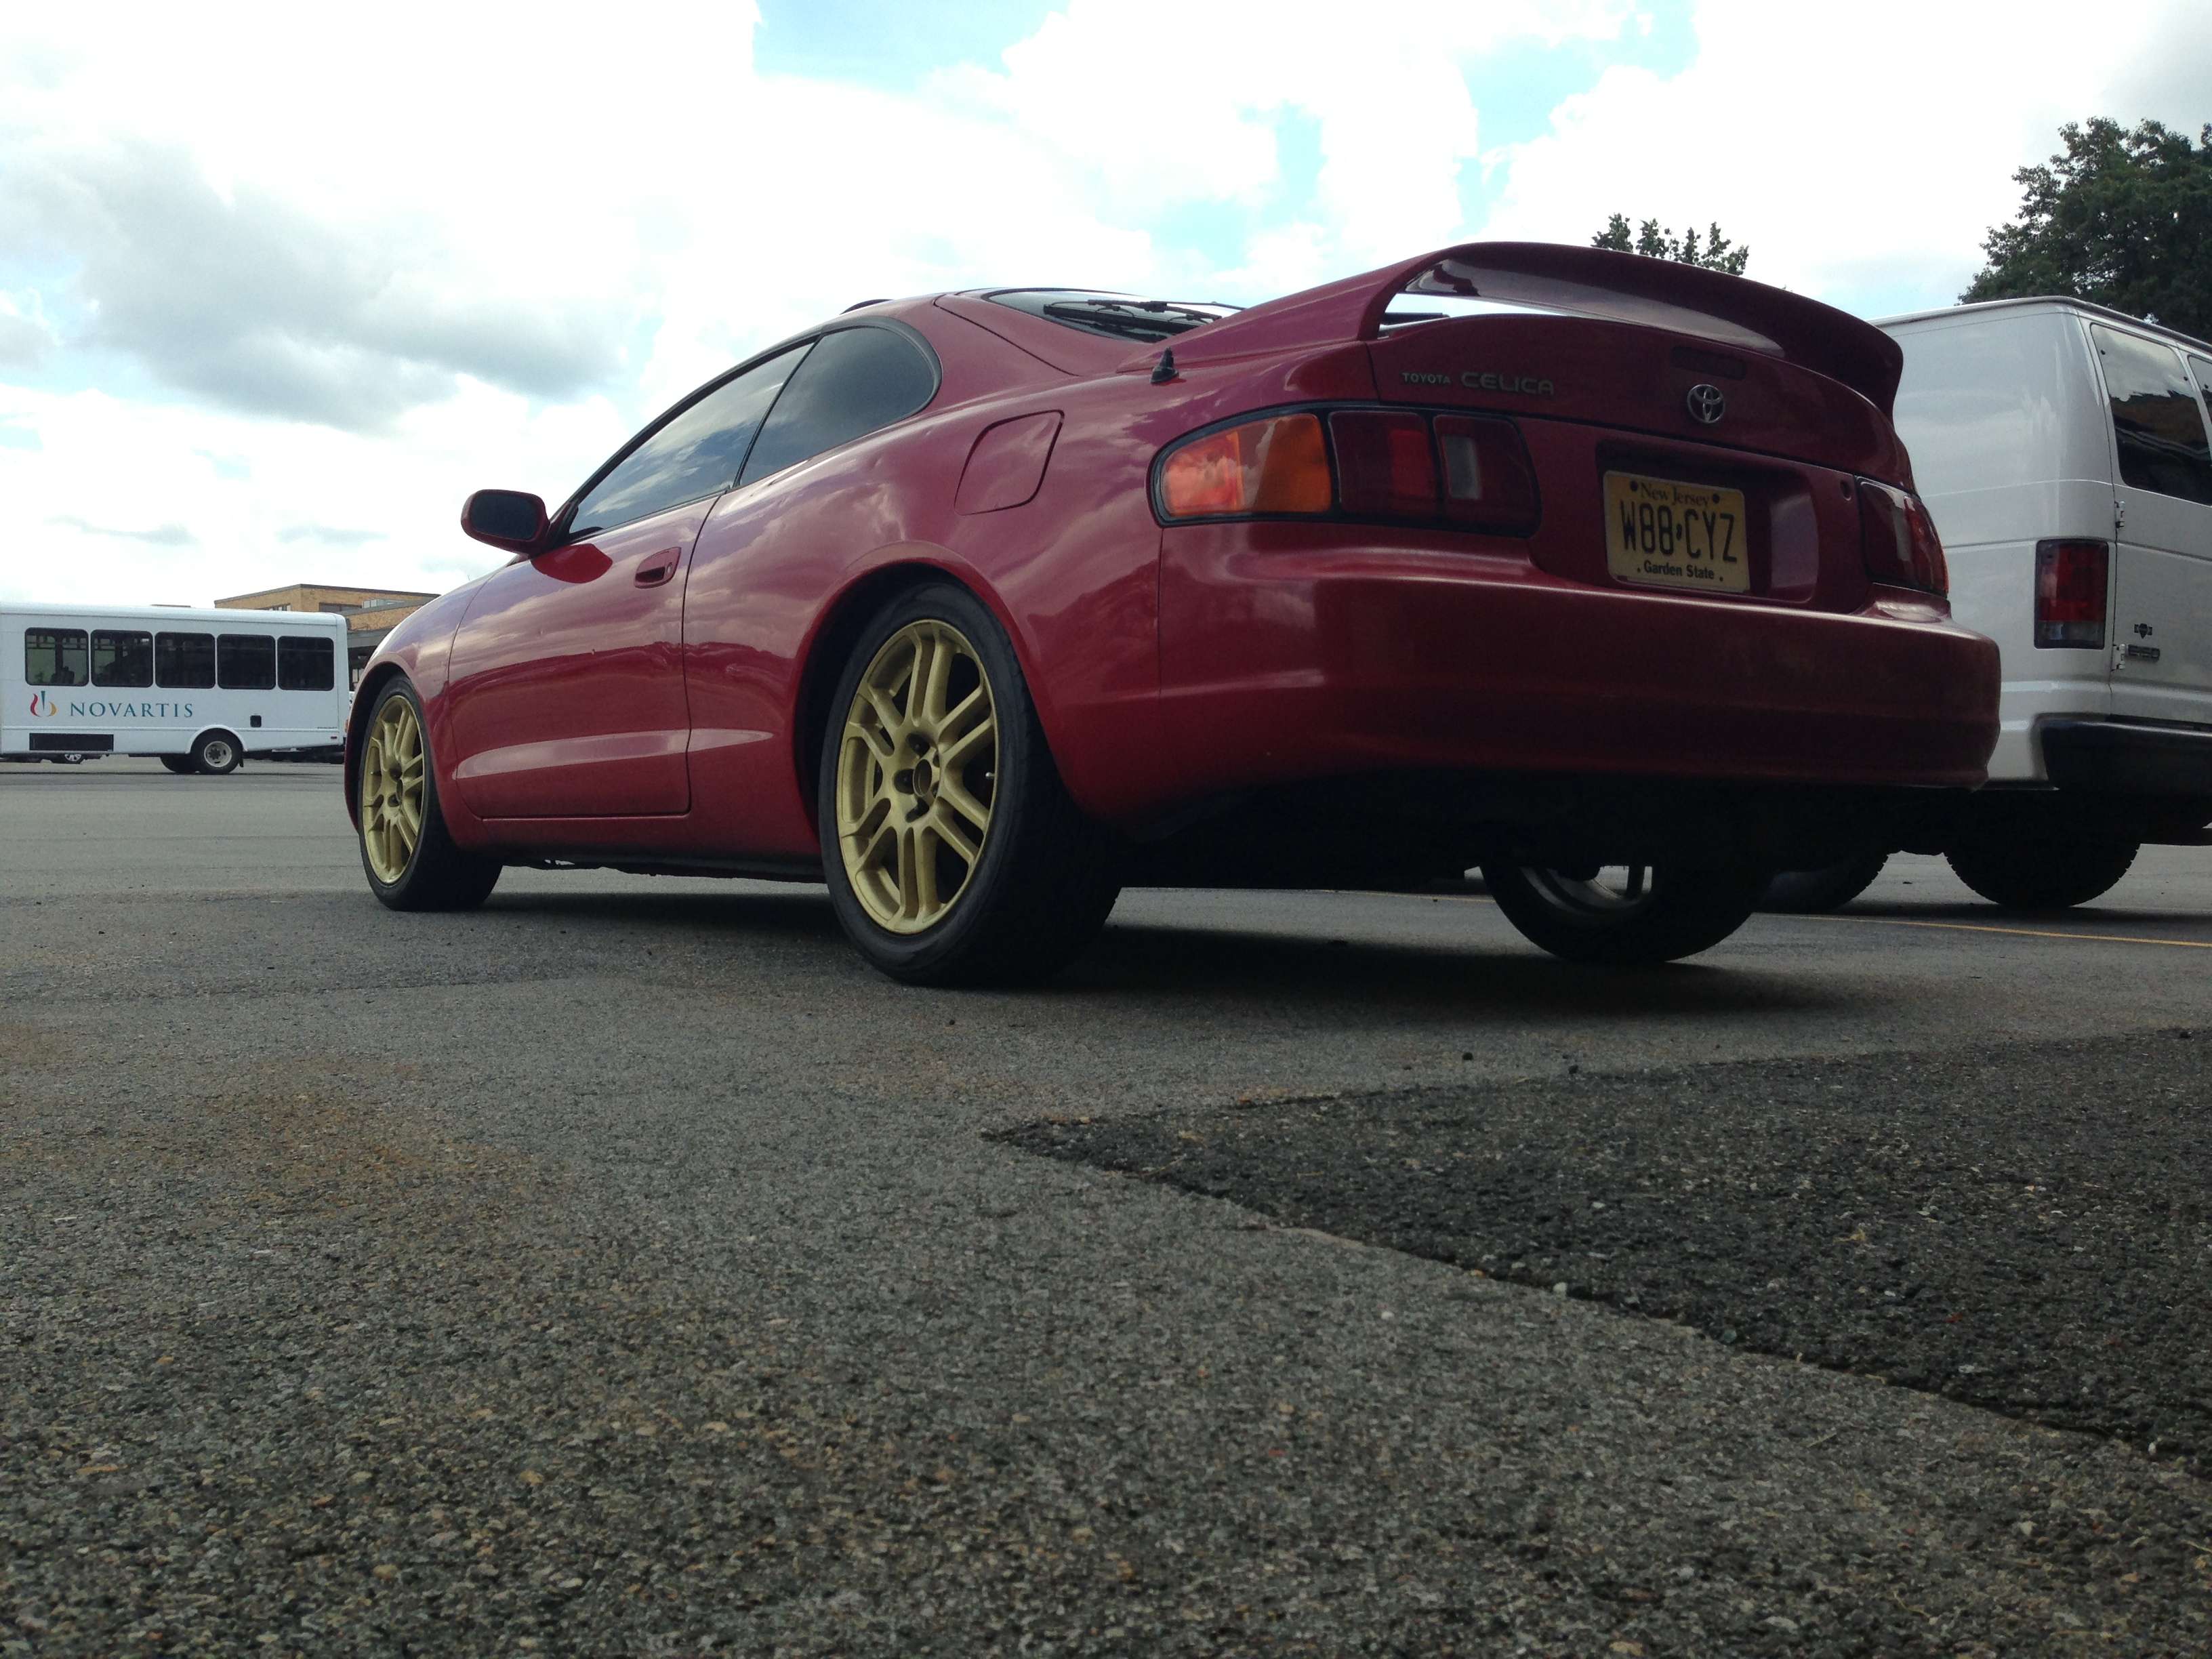
and here they are after *3 coats of gold


im totally unexperience with this stuff, and if i can go back i would definitely prep alot better before painting.
sanding really makes a huge defferent but its such a B****!

i was very happy with this color, i wanted a bit darker but i can roll wit it.
the 3 tires are in fair conditions, i would say about 75% thread on there,
need to buy a fourth.

Also: Ordered me some Megans Coils which i should be recieving in the mail tomorrow..
can possibly do an unboxing video or just snap some pics to show u how they come and look.
i was reading up on the HOW TO: threads and was really tempted on installing these myself,.
Any recommendations would help..

This post has been edited by CrossCudi: Apr 7, 2014 - 2:04 PM

94' Celica GT Manual
looks good for a DIY job, interested to see the pics when these are sitting on the car smile.gif
Cross that gold looks stellar! I think you did a great job for the amount of prep before primer and painting; can't wait to see them mounted. thumbsup.gif

Has no more Celicas
I was gonna say, damn you only spent one day sanding. I sanded for 16 hours in total. The end result on yours looks nice though.

As for the coilover installation, read up and do it yourself, not much harm in it. Do not attempt without a breaker bar and PB blaster.

This post has been edited by SwissFerdi: Jun 10, 2013 - 5:18 PM

'97 ST\ Eibach \ KYB \ Kenwood \ Alpine \ Cusco \ OEM+[sold 10/18]'93 MX-5LE
Adding to Ferdi's advice I'd also look into having replacement rear endlinks on hand when the coilovers are installed; also, installing them yourself (the coilovers) should take less than a day with the proper tools and will be much cheaper than paying a shop.

Has no more Celicas
All you really need are a couple sockets (12, 14 and 19?mm) and some ratcheting wrenches to install coilovers. 3 nuts on top of the struts on all 4 corners and 2 big bolts on each strut, the 1 nut for each endlink on the back and they're off. You don't have to remove the springs from the struts or anything so it isn't that complicated.

1993 Celica GT Coupe - sold1994 Celica GT Liftback
If you wanted darker, you'd use a grey primer or a red primer before hand. You can also use a black primer for a more "bronze" look. (red will also make a copperish/bronze look) White makes it a "brilliant gold," which IMO looks better.

1994 Toyota Celica GT-S 5S-FE 190k Miles. Project car1992 Toyota Celica GT 5S-FE 170k Miles. Daily driver/beater1999 Toyota Camry LE 5S-FE 216K Miles. RIP You will be missed.*ASECertifiedGeneralManager
thanks guys for the compliments smile.gif


>
QUOTE (SwissFerdi @ Jun 10, 2013 - 5:14 PM) *
>I was gonna say, damn you only spent one day sanding. I sanded for 16 hours in total. The end result on yours looks nice though.

As for the coilover installation, read up and do it yourself, not much harm in it. Do not attempt without a breaker bar and PB blaster.


OMG sanding took an entire day and i woke up with a horrible backache.. kindasad.gif and yet it wasnt enough, having the proper grit really matters.

>
QUOTE (Keiri @ Jun 10, 2013 - 5:47 PM) *
>Adding to Ferdi's advice I'd also look into having replacement rear endlinks on hand when the coilovers are installed; also, installing them yourself (the coilovers) should take less than a day with the proper tools and will be much cheaper than paying a shop.


my links were replaced last summer, because i was told that this was the cause to my rattle sound over bumpy roads, and they werent. should i still get a set ?
what is a pb blaster, i did some googling but i still dont understand its purpose ? already did some searching, and know where to get it.

>
QUOTE (Syaoran @ Jun 10, 2013 - 6:59 PM) *
>All you really need are a couple sockets (12, 14 and 19?mm) and some ratcheting wrenches to install coilovers. 3 nuts on top of the struts on all 4 corners and 2 big bolts on each strut, the 1 nut for each endlink on the back and they're off. You don't have to remove the springs from the struts or anything so it isn't that complicated.


doesnt sound to complicated, i will most likely take the car to my friends garage super early and work on it this weekend.


>
QUOTE (RabidTRD @ Jun 10, 2013 - 10:38 PM) *
>If you wanted darker, you'd use a grey primer or a red primer before hand. You can also use a black primer for a more "bronze" look. (red will also make a copperish/bronze look) White makes it a "brilliant gold," which IMO looks better.


yes your right, a darker primer would have gave me the darker color, now i know for next time .

94' Celica GT Manual
If your links were replaced last year then no, don't get another set - the ones you have shouldn't be hard to remove and put back on. Usually, when people do automotive work it's on old, rusty bolts/nuts that haven't been moved/touched in years so they use PB blaster to lubricate and loosen the rusty metal making it easier to be wrenched off. A can of PB blaster is a must have when working on an older car.

Has no more Celicas
>
QUOTE (Keiri @ Jun 11, 2013 - 10:04 AM) *
>If your links were replaced last year then no, don't get another set - the ones you have shouldn't be hard to remove and put back on. Usually, when people do automotive work it's on old, rusty bolts/nuts that haven't been moved/touched in years so they use PB blaster to lubricate and loosen the rusty metal making it easier to be wrenched off. A can of PB blaster is a must have when working on an older car.


Thanks a lot, I will definitely get a can today!

As I mention before, I need a 4th tire. The current size are 215/45/17
I wanted a more beefy look coming from the back, almost as if it was a rear wheel drive car.
Would it be bad if I ran 225 in the rear and 215 in the front ?

94' Celica GT Manual
update on rims*

rear 225/45
front 215/45

here is a before and after shot without the suspension in yet. frown.gif

Before...


Now...


94' Celica GT Manual
a very exciting update wink.gif


finally got the right coils in the mail over the weekend and quickly brought out my tools.

I MUST SAY, THANK U SOOO MUCH ON THE PB BLASTER IDEA !
i would have never got the hub off, that thing was soooooo tight ! but i managed
with a rachet and a 5 feet extension metal pole came off like butter.

and this is how i sit now with no adjustment to the coils, stock manufacturer presets.
i must say, these thing make such a HUGE difference in ride.. thumbsup.gif

as u will see in the below pic, now that im a bit lowered, my sunken is much noticeable frown.gif
and rear were set with some neg camber which made it worst....
i will probably will leave it like this until i find out where i would want to go

i dont know if to go with new rims or some spacing...


94' Celica GT Manual
Looking good, man. Especially, if you get rid of that sunken in look.
Would like to hear your input about them after few weeks of driving.

FS thread :Custom Celica partsmade to order + moreClick the image to visit my FB page
Space them out. You'll need larger spacers on the rear than in the front obviously, but it'll make the wheels look a LOT neater on there.

I think 25mm will be enough in the front ones, and 30mm on the back ones will do the trick. You need to make that rear camber a little bit more positive though.

Just for reference, from what I could gather you need 8" wide wheels on the front with +25 offset for them to be near flush, and 9" with the same offset for the rear.

Your wheels are 7" wide +45 offset, so with a 25mm spacer it would be like having a 8" wide wheel with 45 offset (still 20mm away from being fully flush)

on the rear with a 30mm spacer it'd be like having a 8" wide wheel with 40 offset, so they'd be a little bit more outside than the fronts, but the fronts will look much more flush than the rears.

I wouldn't run a gigantic spacer such as 45 or 50mm though.

In your case maybe getting 15mm fronts and 30mm rears will make it look a bit more flush and not seem like the fronts are way more flush compared to the rears.

This post has been edited by Syaoran: Jul 2, 2013 - 10:37 PM

1993 Celica GT Coupe - sold1994 Celica GT Liftback
Don't know if it matters for your driving style but on a FWD car, having a smaller width front tire increases tendency to understeer. Otherwise, looks good.

This post has been edited by SwissFerdi: Jul 3, 2013 - 7:50 AM

'97 ST\ Eibach \ KYB \ Kenwood \ Alpine \ Cusco \ OEM+[sold 10/18]'93 MX-5LE
>
QUOTE (Syaoran @ Jul 2, 2013 - 10:30 PM) *
>


thanks, im looking into spacers now, just brought out a MM ruler and looks like front 20mm and rear 30mm.
i would go 35 rear but there not rolled, (*have no idea how to do this) and my tires on the rear are far from stretched

>
QUOTE (SwissFerdi @ Jul 3, 2013 - 7:50 AM) *
>


to be honest, as a daily driver with highways and your avg traffic, turns are pretty awesome. well now they are due to upgrade on suspension
but i can imagine how much better a wider tire and rim would feel.. uuurgh *Decisions*..

94' Celica GT Manual
Looking good
Love the goal scion rims thought about doing that myself

95 gt coupe, v6 swap weekend toy99 gt hatch beams swapped wife's94 st hatch my daily driverhttp://www.6gc.net/forums/index.php?showtopic=82235n
>
QUOTE (CrossCudi @ Jul 3, 2013 - 9:27 AM) *
>but i can imagine how much better a wider tire and rim would feel.. uuurgh *Decisions*..


It's not about the width of the tire, necessarily, it's that a staggered setup (meaning narrower front tire than rear) tends to make FWD cars understeer, reportedly. But if it works well for you then...

'97 ST\ Eibach \ KYB \ Kenwood \ Alpine \ Cusco \ OEM+[sold 10/18]'93 MX-5LE
I can finally post this UPDATE smile.gif

So after a small lil struggle with my projectors and having fuse blown due to
some interference of an extra piece of loose welding they are finally in and disco'ing away wink.gif


PS. Not too fonder with the black rubber being loose on fitment.. kindasad.gif

94' Celica GT Manual
:also i been thinking very hard about my spacers, but after all the hard work put into these rims
i am considering looking for wider ones to avoid huge spacers..

94' Celica GT Manual
Congratulations on the projectors. Per the wheels, I'd go for a light 17x8, or an even lighter 16x7.

'97 ST\ Eibach \ KYB \ Kenwood \ Alpine \ Cusco \ OEM+[sold 10/18]'93 MX-5LE
I could never get a pretty box from HonkKong !

just recieved at work biggrin.gif


94' Celica GT Manual
http://youtu.be/85clSij--iI

1995 GT::::Diffusing the Situationエキサイティングカーレーシングチーム!march2010 COTM:6GCfeature2014:january2015-2016-2018 COTM
LMAAAAAAAO ! laugh.gif ^^^

I was very similar to this !


TAILS =)

now to find out how to install..
hopefully its not like my projectors where the entire bumper must come off ?

94' Celica GT Manual
WHAT DO WANT FROM ME!?

2001 Miata LS 5-speed
Lmaaaaoooo sorry box didn't mean to shout you out like that !!

True or false ? Usdm lights has an extra bulb ??? Or am I losing it ??

94' Celica GT Manual
True. If you didn't get the JDM harness, just unplug the extra bulb from your USDM harness and tuck the extra plug out of the way.

"Employ your time in improving yourself by other men's writings, so that you shall gain easily what others labored hard for." -Socrates. Even Socrates told us touse the search button!2006 Aston Martin V8 Vantage.1998 Celica GT-BEAMSSwapped.2022 4Runner TRD Off Road Prenium.2021 GMC Sierra AT4.
It's for the side-marker light you're legally required to have.

2001 Miata LS 5-speed
So as we wine down to nearly 3 weeks left
for which has been for me the most anticipating
6gc reunion event, ive decided to do some cleaning
and work on some simple and quick projects. smile.gif

1: Now that i have jdm heads n tails i feel like my car has went from a 95" to a 2007" biggrin.gif
heres a pic, dont mind the horrible rear camber settings.


2: So i realized how insecure i was with the interior
of my car because the main rug was so dirty and stain and BEIGE thumbsdown.gif but luckily
no tears or rips in it, i decided to pull it out and power wash the
hell out of it. After rinsing it, it was clean but still stained...
Now What....? OK, Lets paint this thing black ! biggrin.gif


as u can see this thing was YUCKIEEEE !


Pulled:


Before:


progress:


and after it was all done with the use of 4 cans and i shouldve went with 5
this was the result:


3: If u guys remember i was having problems with my 7a,...
so in case you are about to reach 200k
like i was and have a rattling sounds while driving, i would get it
fixed ASAP before it gets worst and dies like mine ! so yes,
my 7a finally gave on me... and in 2 weeks i put so many miles
in my frs just debating on this 1mz swap
(thanks to : kurt95gt, smaay, mkernz22 and box for helpful info)
knowing i would have to fight a war with time to complete it just in time
for R.I ! i knew i didnt have the right ANYTHING to make this happen
so soon. So i had to go out and quickly buy another 7a for a quick
and easy job to get my DD back on the road. and so i succesfully
got it replaced and it driving better and stronger than ever with a
7a at 78K miles.
Sooooooo, having an extra valve cover i decided to continue to rely
on spray bottle for a solution in style ! lol
Lets paint this baby RED !

here it is all power washed and just lightly sanded:


sorry forgot to take a primer pics,
but here it is with 4 light coats.
no clear coat, a few tutorial i viewed
didnt use clear for prolly safety issues, idk.


i will post pics as soon as i put this baby in tongue.gif

4. i have one more little interior project im currently working on
and hopefully its done befor the meet. i want to surprise u guys with it,
prolly isnt so exciting for some but i cant wait to finish! biggrin.gif


Hope u guys enjoyed the upgrades ! smile.gif

94' Celica GT Manual