Reconsolidating Thread!
Pics from beginning to present
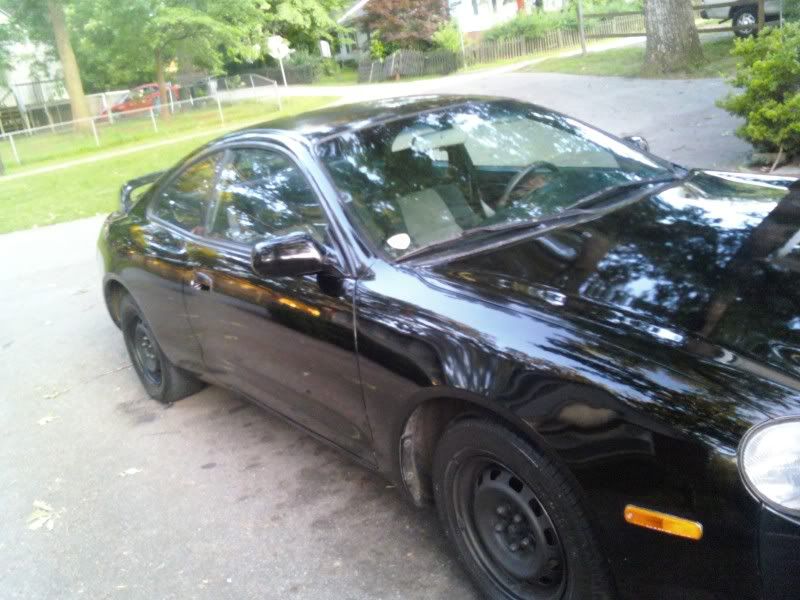
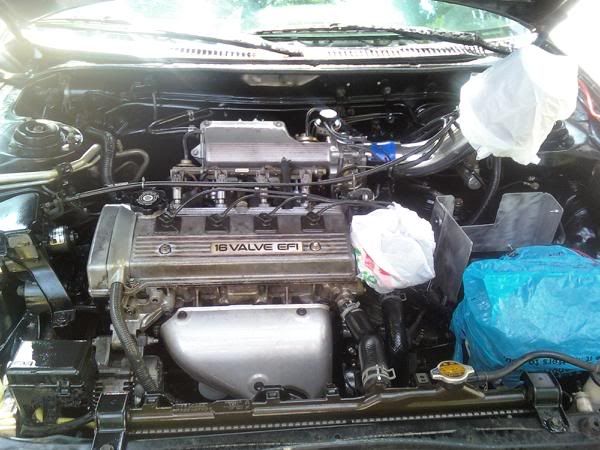
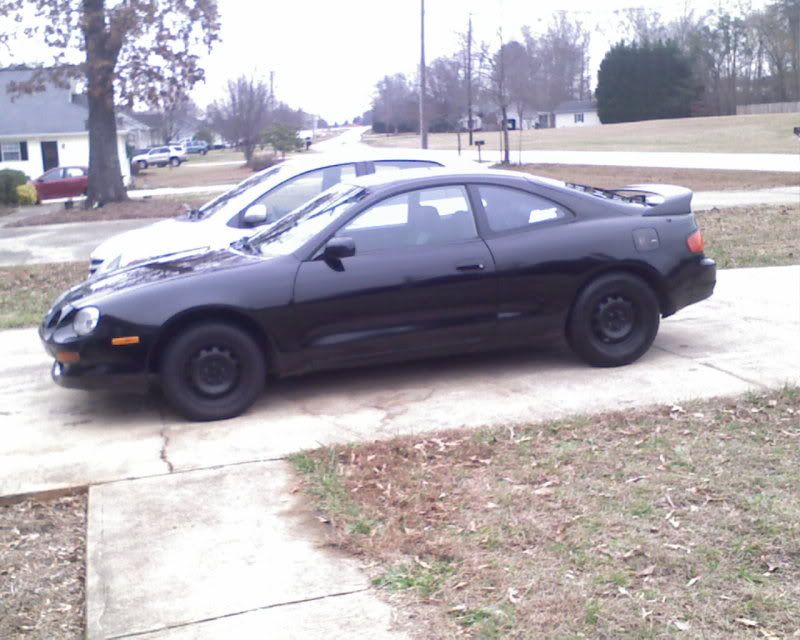
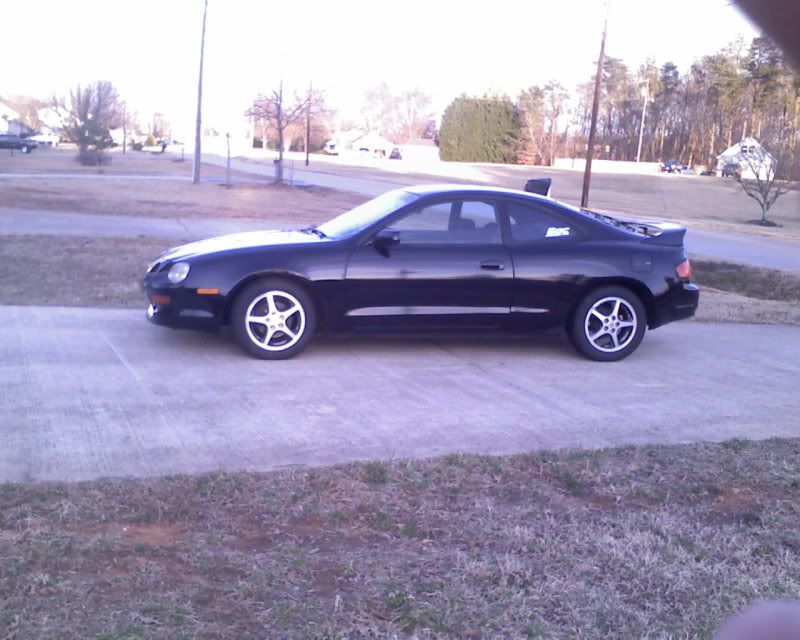
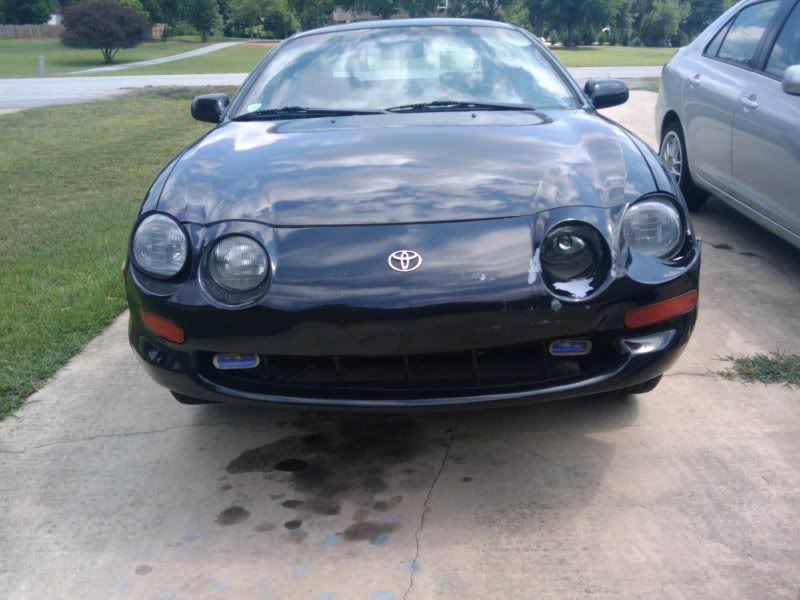
When purchased
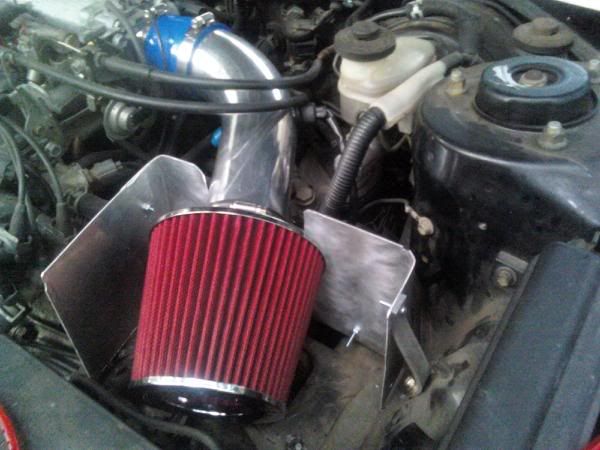
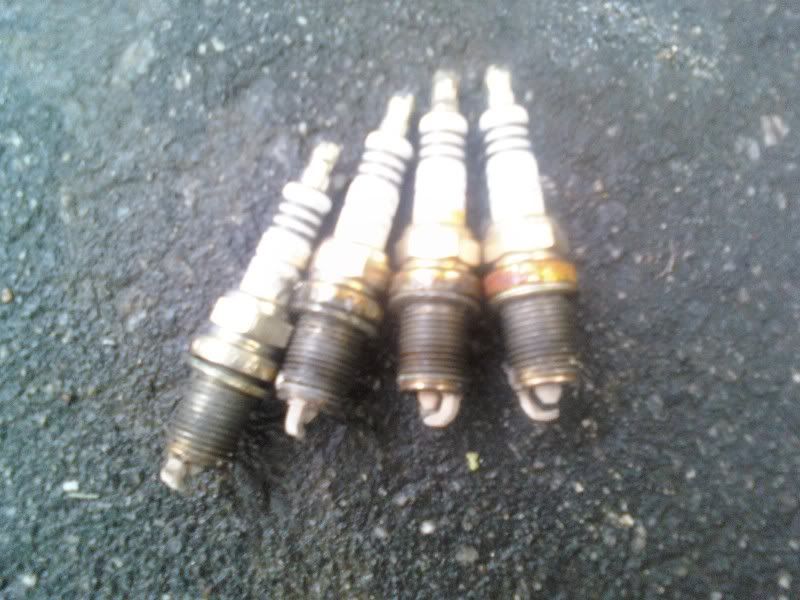
First Mod - Feels like yesterday
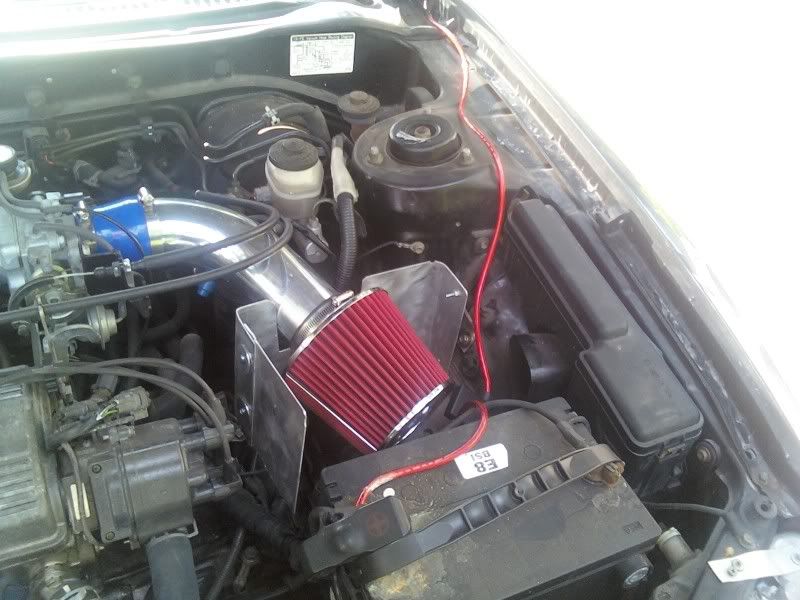
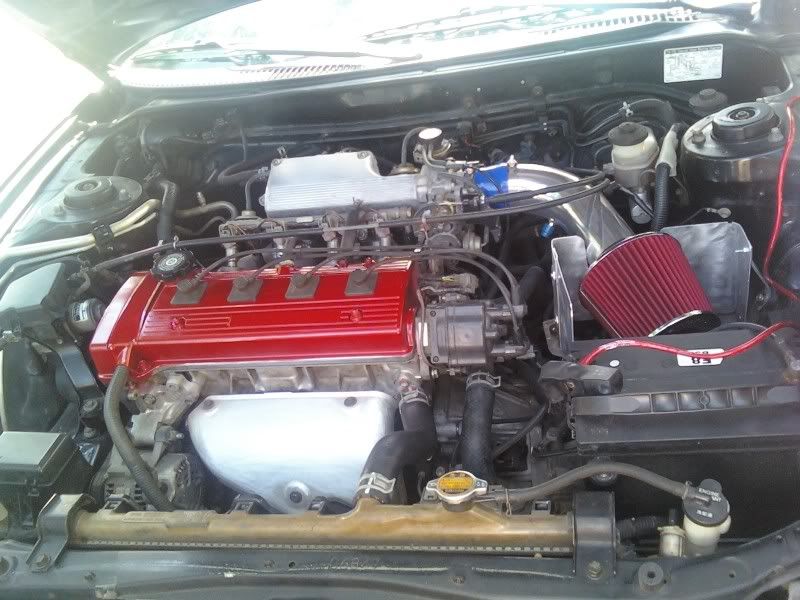
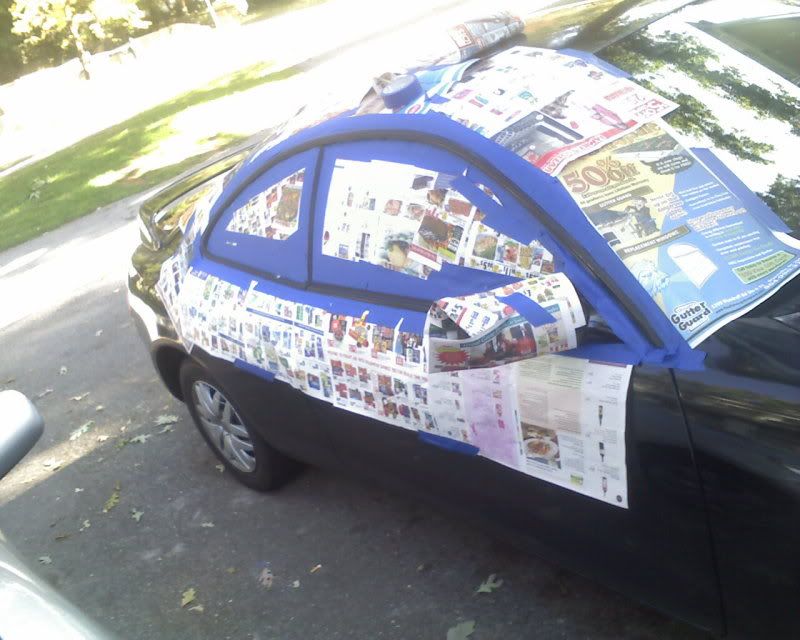
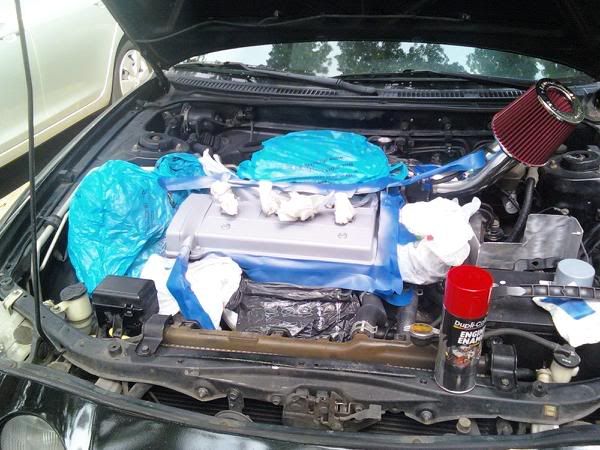
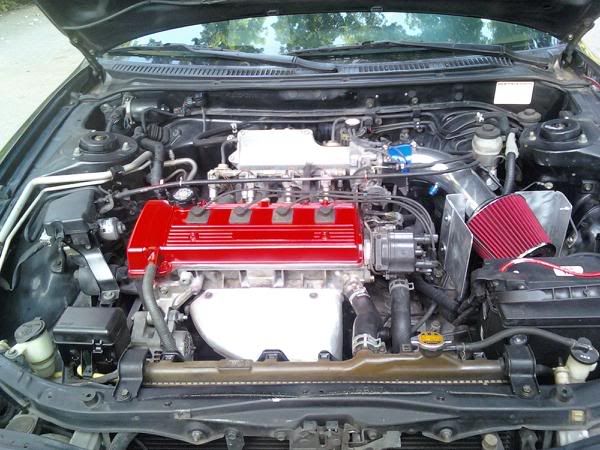
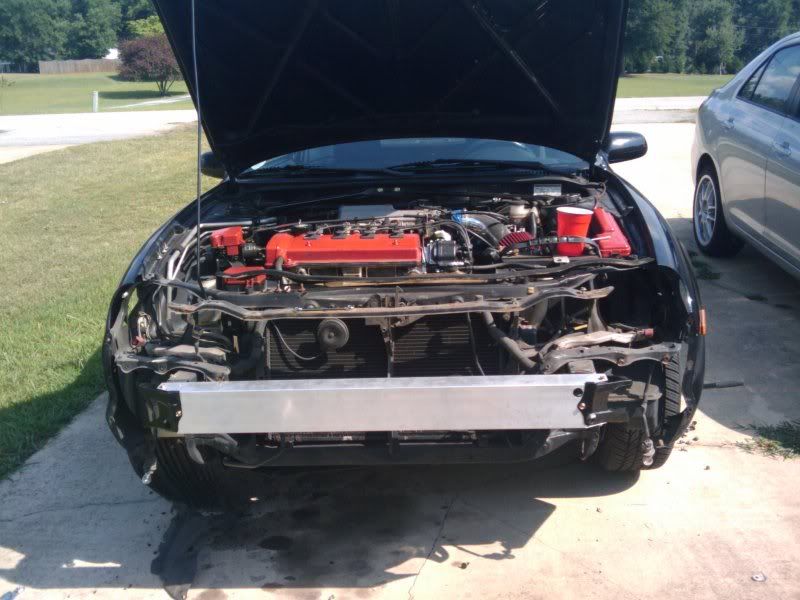
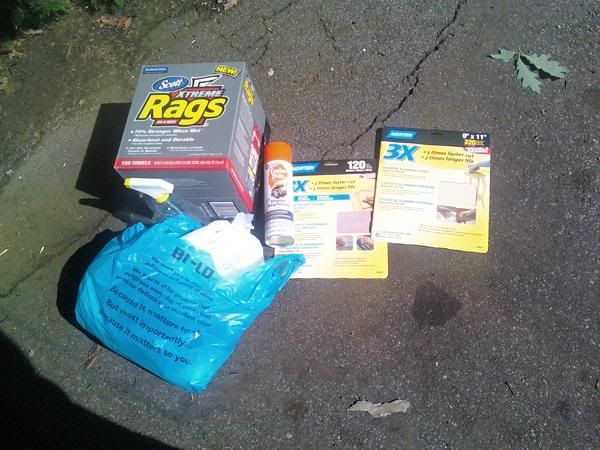
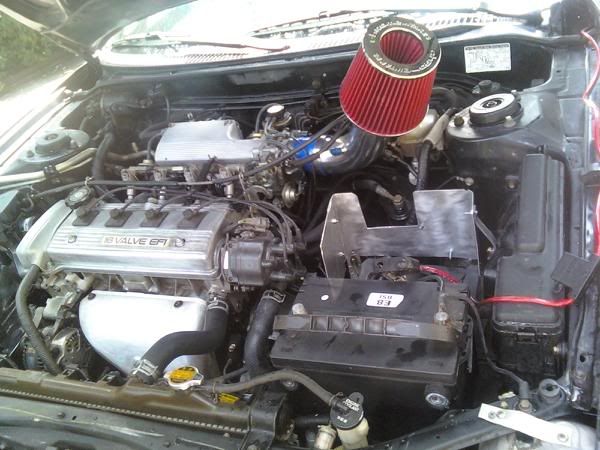
Cleaning and Painting engine bay
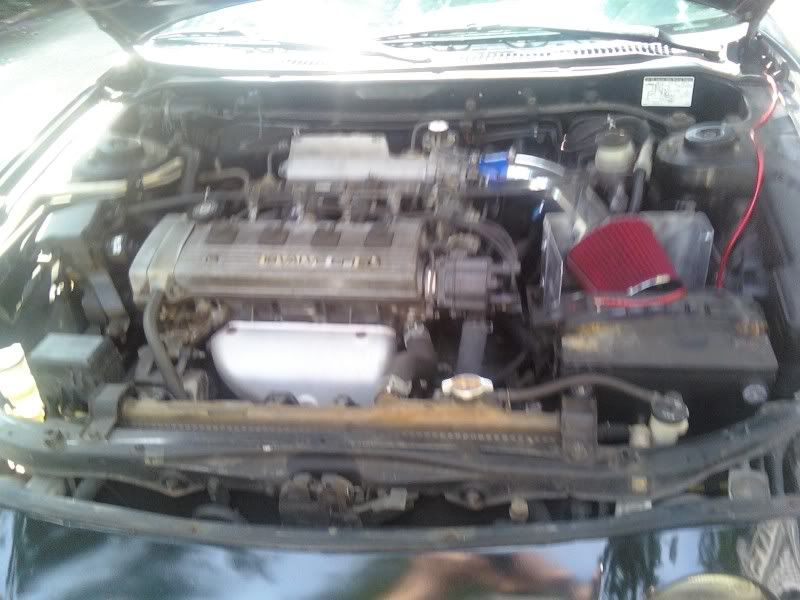
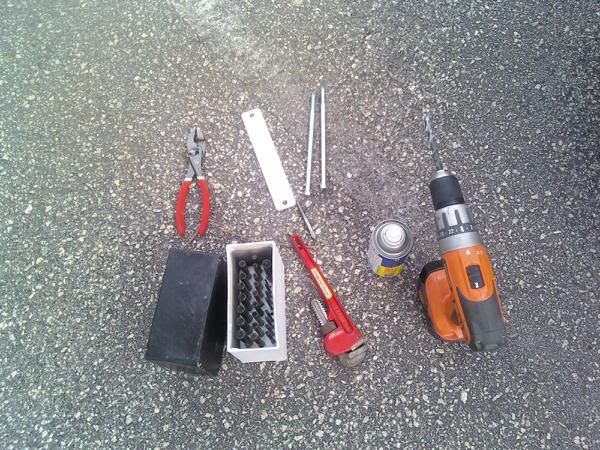
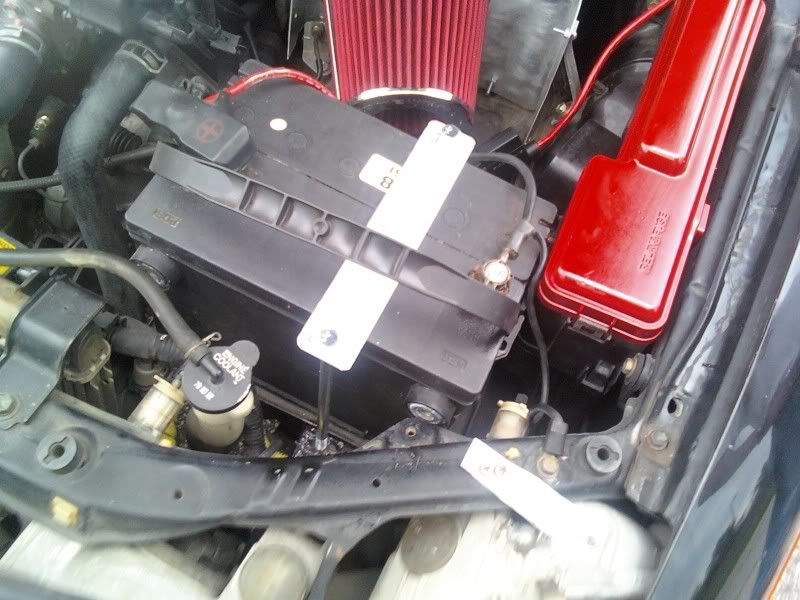
Battery Tie down
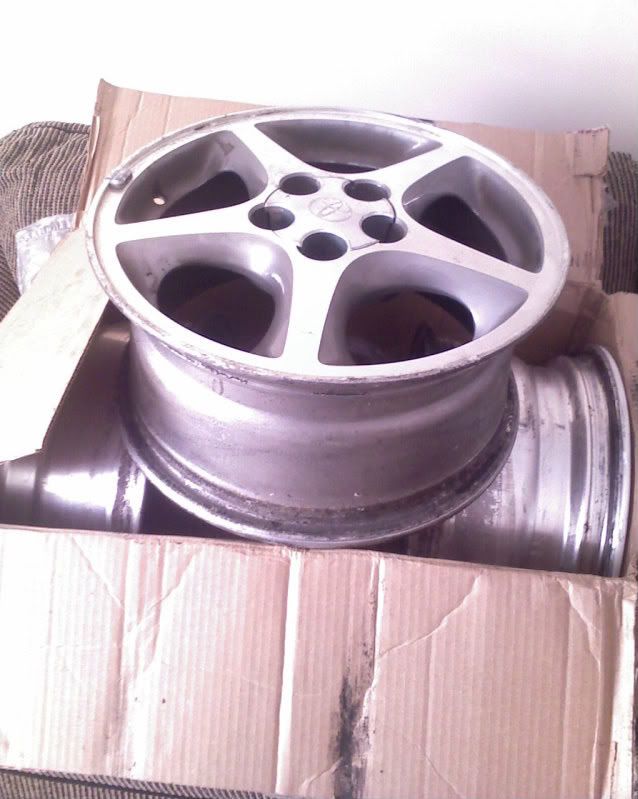
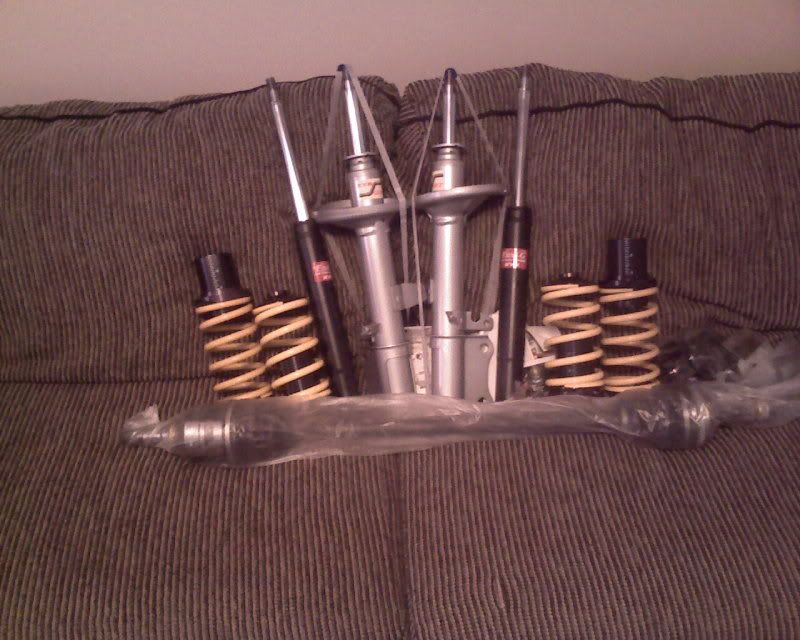
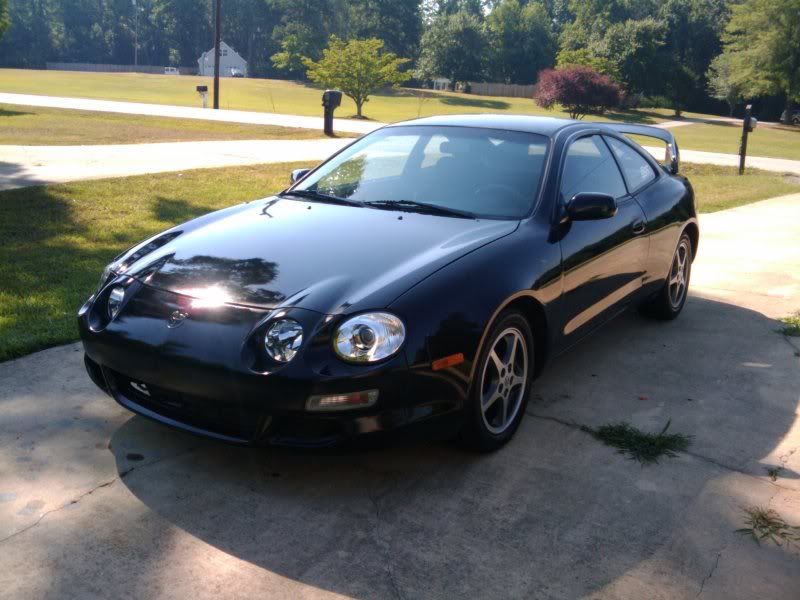
Wheels & Springs
Before:
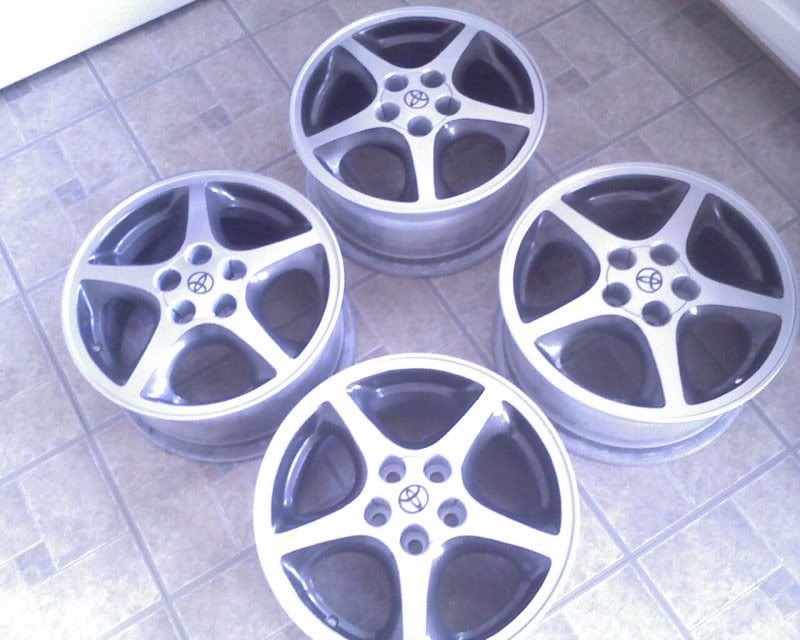
After:
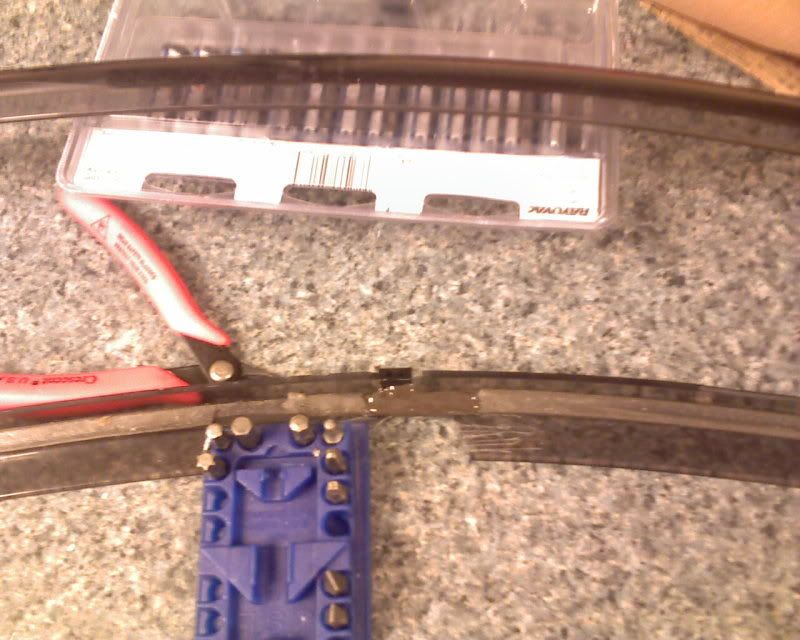
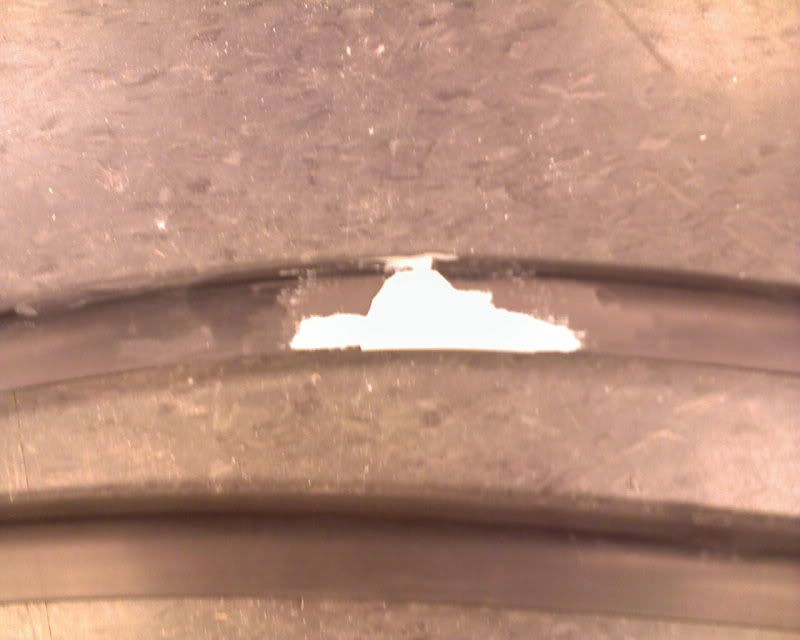
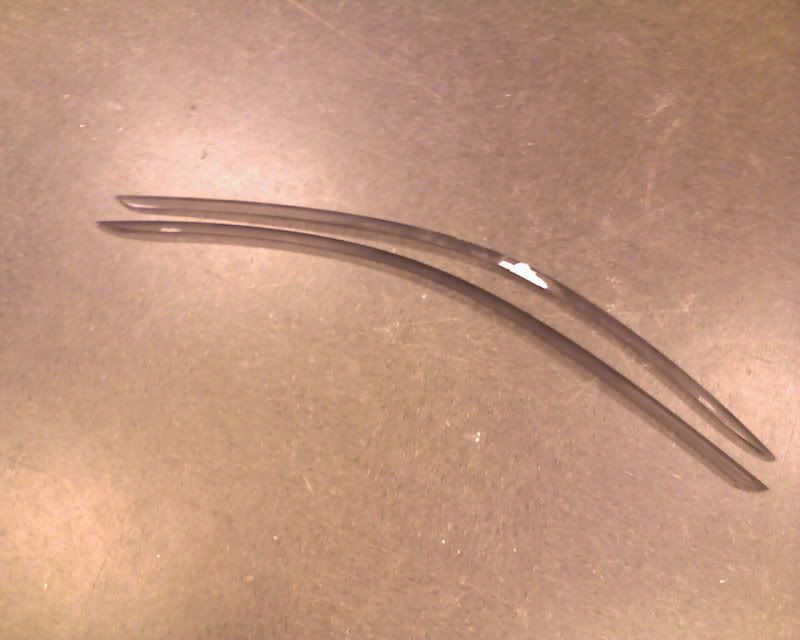
Rainguards:
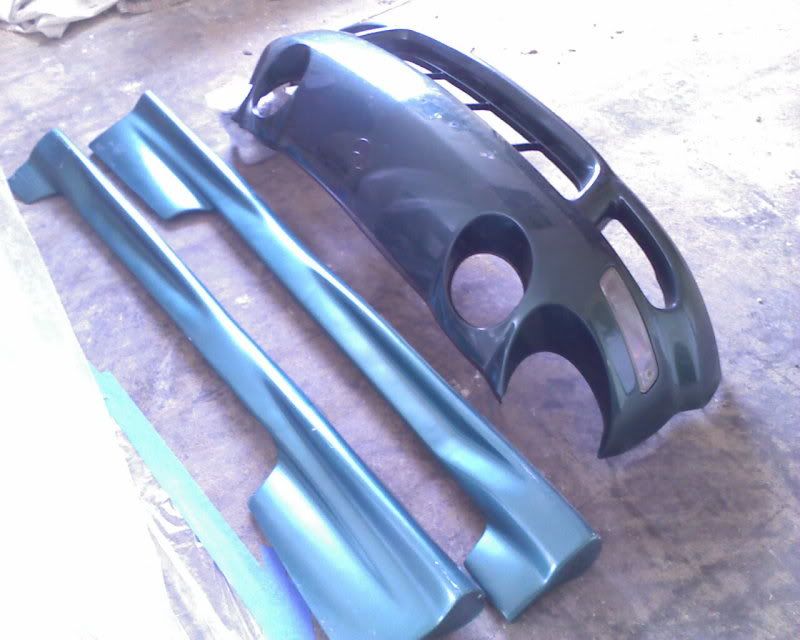
Facelift & Projector/Clear Highs:


Well all in all, to this point i think progress is great. I've learned alot, spent tons of money I didn't think I had. Purchased many tools never expected needing, and of course, recieved tons of help and goodies from 6gc.net. My thanks to the community once agian, I couldn't have come this far without ya guys!
This post has been edited by rave2n: Nov 22, 2011 - 1:38 PM
Pics from beginning to present
When purchased
First Mod - Feels like yesterday
Cleaning and Painting engine bay
Battery Tie down
Wheels & Springs
Before:
After:
Rainguards:
Facelift & Projector/Clear Highs:
Well all in all, to this point i think progress is great. I've learned alot, spent tons of money I didn't think I had. Purchased many tools never expected needing, and of course, recieved tons of help and goodies from 6gc.net. My thanks to the community once agian, I couldn't have come this far without ya guys!
This post has been edited by rave2n: Nov 22, 2011 - 1:38 PM


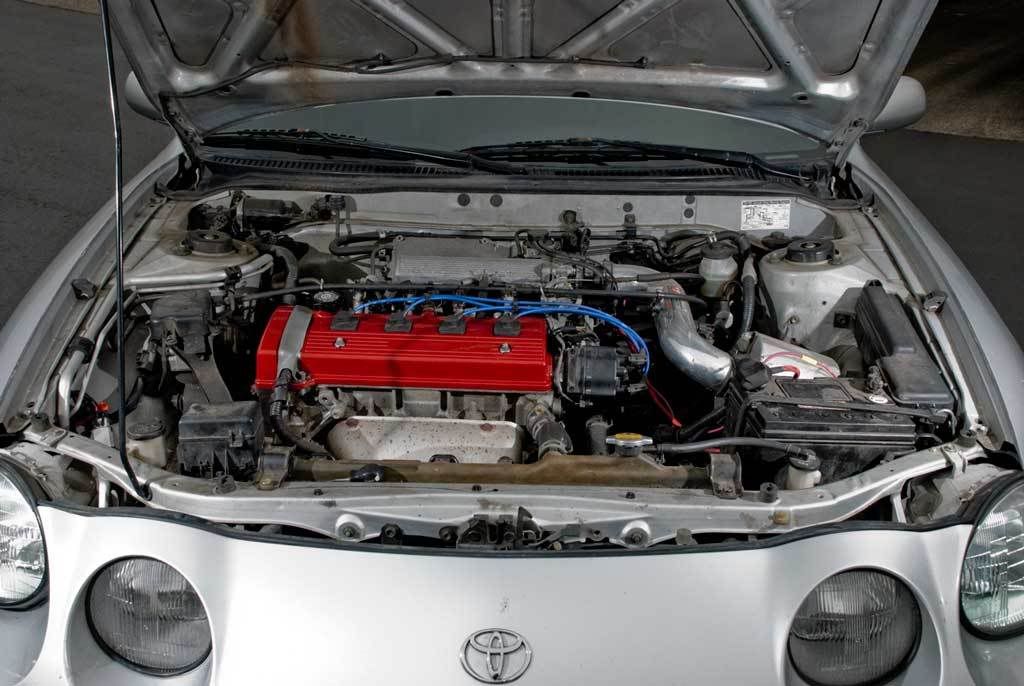
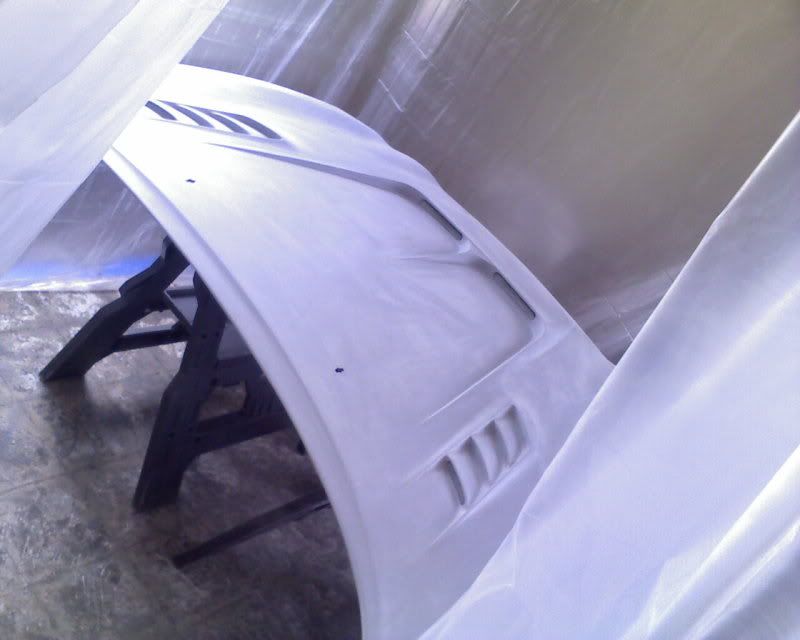
 - Hopefully mine will darken out like that a little more. That pic wasn't even with the sun on it. All in all, a good base coat for whatever my indicisive mind chooses.