
a spring is good for bending brake lines, the kind you put on a spring door thats got tightly wound coils. ive also used metal round stock or wooden dowels to bend around, but i think ive used my own 2 hands the most.
a friend of mine is looking to get a 6th gen celica and is thinking about going the same way you've gone with the ITB, hes the one whos REALLY interested in a video.
a friend of mine is looking to get a 6th gen celica and is thinking about going the same way you've gone with the ITB, hes the one whos REALLY interested in a video.
2000 Celica GTS 'slowest gts evar'1998 Mazda 626 FS-DE/CD4-E
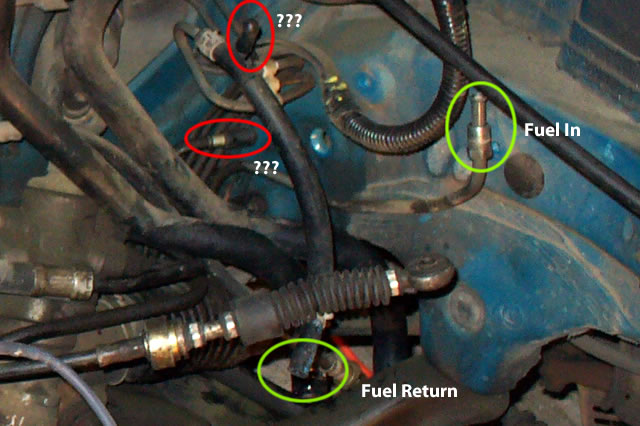
 its cheaper if you buy it by the roll from napa, a 20ft roll costs about $12 and you can run a continuous line instead of splicing sections together.

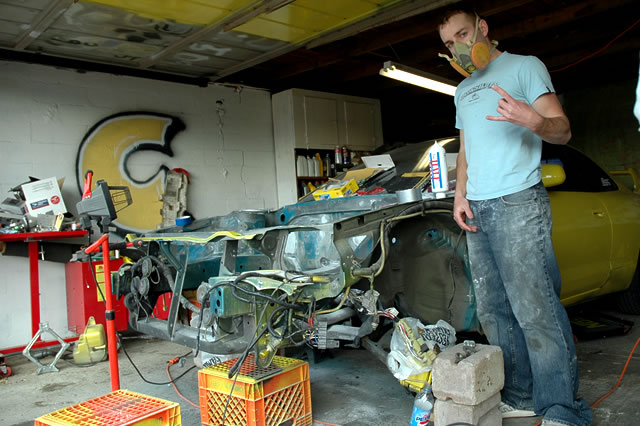
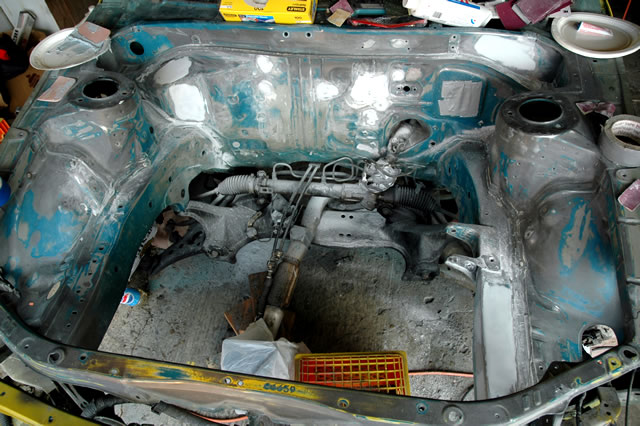
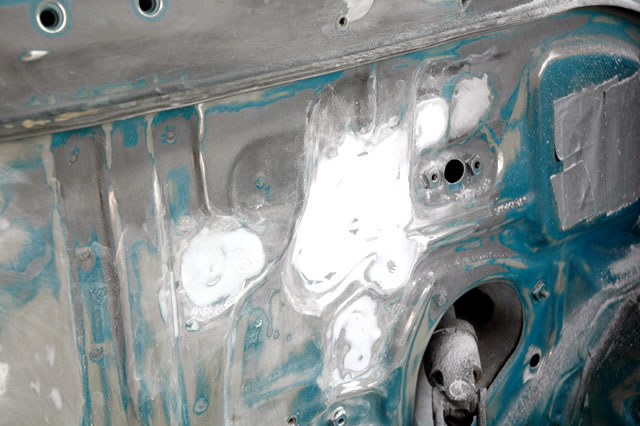
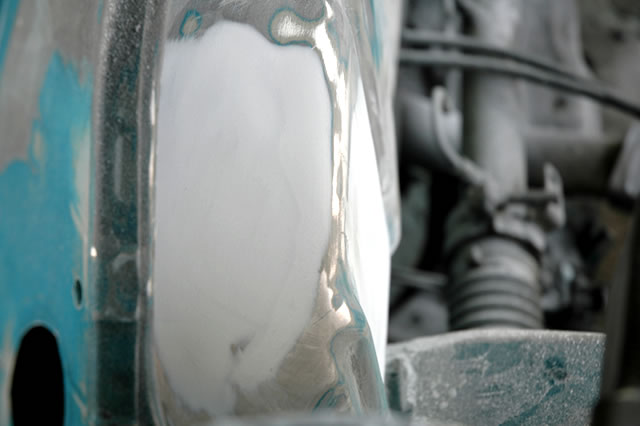
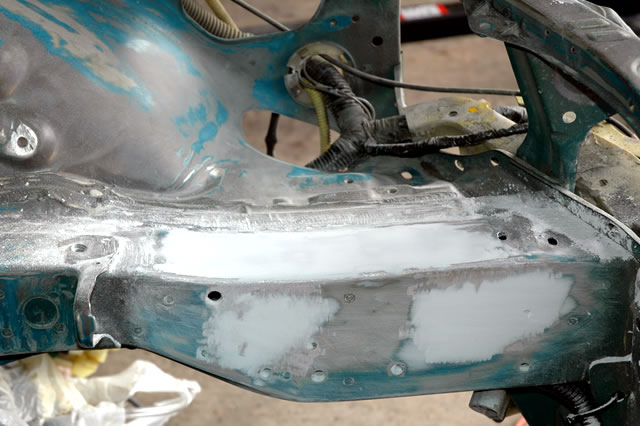
 I had the same thing going under my SSIII hood... But instead of paitning everything car color - i had no time and did everything as it has to be on stock... Now after i get my car from body shop - will be doing the same as you are Chris
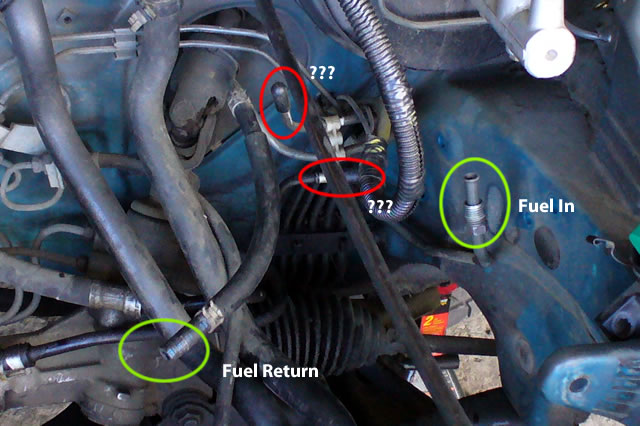


 Both of my SR20DE powered cars have sucked as far as hesitation and idling goes...you push in the clutch, hit the brakes, and the RPMs drop way down (sometimes stalling the car,) then shoot back up...sooooo annoying. Also, sometimes the car hesitates, sometimes it hesitates and jerks violently, sometimes it drives perfectly...at completely random times. And I'm not about to buy a new MAF sensor ($$$) which is what I suspect the problem is on the G20. Anyway, enough ranting...hopefully soon I'll have the Celica done and I can get rid of the G20.