Over 1M Posts • 84K Topics • 9K Authors

Stef's 7A-FE Rebuild - 6G Celicas Forums

Topic #51960 186 posts Started by hurley97
This is amazing steff, keep it up! I'm sure you will be getting phone calls when i start tearing down the 3s smile.gif
>
QUOTE(hurley97 @ Sep 23, 2007 - 8:05 PM) [snapback]598432[/snapback]
>

double check to make sure the right piston is going into the right cylinder using the stamped numbers on them...
IPB Image


confused.gif all 4 of my rods have a 2 on them. they are the stock rods too so its not like someone gave me all 4 #2 rods. Are you sure thats how you tell what rod goes in which cylinder?

-Brian
is that a 3 stamped sideways in the middle of the two 2's?
>
QUOTE(jcbass7 @ Sep 24, 2007 - 9:47 AM) [snapback]598575[/snapback]
>
is that a 3 stamped sideways in the middle of the two 2's?

It's an M i have 2 rods that have an M and 2 rods that have a U

-Brian
They look like match marks to me, so you don't mix up the rods and rod caps. The rods can go in any hole position when assembling.

This post has been edited by 56willysnut: Sep 24, 2007 - 12:41 PM
>
QUOTE(Celiracer18 @ Sep 24, 2007 - 10:43 AM) [snapback]598573[/snapback]
>
>
QUOTE(hurley97 @ Sep 23, 2007 - 8:05 PM) [snapback]598432[/snapback]
>

double check to make sure the right piston is going into the right cylinder using the stamped numbers on them...


confused.gif all 4 of my rods have a 2 on them. they are the stock rods too so its not like someone gave me all 4 #2 rods. Are you sure thats how you tell what rod goes in which cylinder?

sorry, I thought I explained it before but I can't find it so I guess I didn't...

when you take the pistons out there will be a number already stamped on them, that lets you know the size of the piston. so on the block there is the set of 5 numbers that pair with the main bearings and on the opposite end a set of 4 numbers that tell the cylinder bore size. so a number 2 on the piston rod would go to a number 2 bore, I had three #2's and one #3. but unless you are getting new pistons you want to make sure the piston you take out of cylinder 1 goes back into cylinder 1, so as you take them out one by one you want to label them somehow, we stamped the number on the blank side (in a different orientation so we could tell the difference)

and yes, the 'M' is a match line

7A-FTE:It's not about the money.Our Beams Swap.I <3 Dustin---07/16/06
now the fun part... the top end biggrin.gif


we started by taking the intake manifold and fuel rail off and stripping the head of everything else (i.e. EGR, brackets, sensors, valve shims)
at that point to get the valve springs out you have to dislodge the keepers from their seat, there is a special tool for that but we did it a different way.

tools include a hollow tube about 1/2" in diameter with a handle on it and a hammer. you just have to place the tube onto the top of the spring seat and hit the top of it pretty hard until the two little keepers come out and the spring pops up...
IPB Image
(beware of doing this in the car since its really easy for the tiny keepers to pop out and into one of the oil return holes)

here you can see all the springs, seats, keepers, and the little washers under the springs
IPB Image

close up of the spring and seat...
IPB Image

the keepers are extremely small... I can't wait to see how we get them back in...
IPB Image

now the valve seals. there is a special tool for them, just grab and pull... really hard
IPB Image

some of the rubber from the valve seals stayed there and need to be cleaned off so the new ones snap into place properly...
IPB Image

at that point the valves slide right out the bottom. they have to stay in order since they have already seated to the head and if you move them they may not seal properly.
IPB Image

I used a wire wheel to clean the crap off the valves... that was very time consuming
IPB Image

IPB Image

IPB Image


7A-FTE:It's not about the money.Our Beams Swap.I <3 Dustin---07/16/06
going to cut the valves and seats and then lap them?

2000 Celica GTS 'slowest gts evar'1998 Mazda 626 FS-DE/CD4-E
So awesome. Keep it up Steff thumbsup.gif

I will return one day.
women with tools are hot ^^ there is no way of saying it a different way
i think when this is all said and done this should be a sticky it's awesome smile.gif

Buy my Celica $2,500 -http://www.6gc.net/forums/index.php?showtopic=76562&st=0
>
QUOTE(Bitter @ Sep 26, 2007 - 9:02 PM) [snapback]599404[/snapback]
>
going to cut the valves and seats and then lap them?

no. I decided anything I could do to it at this point would cost a lot for very little to almost no gain.
we 'ported and polished' the intake and exhaust ports as best we could and I'm pretty happy with the results.

all the overkill things (boreing out the cylinders, bigger pistons, valve jobs, etc) will be done to the engine that is still in my car since it will probably be bad enough to need the extensive work, plus I'll have a lot more time before the rebuilt one needs replacing so I won't have to spend all the money at one time.


This rebuilt engine probably will not be actually going into the car for a few months. I want my current engine to make it to 200k before I replace it... 8000 miles to go, so probably 5-6 months.

so with that kind of time on my hand now the debate is do I want to get all the turbo stuff and put it on the engine while its out of the car then just drop in the rebuilt motor and turbo setup at once, or do I want to run the stock rebuilt 7A for a while then turbo it ? I think I'm leaning towards doing the turbo setup outside the car... thoughts ?

we did put the valves back in already, I do have more pictures but I'll let you guys look those last ones over first wink.gif

7A-FTE:It's not about the money.Our Beams Swap.I <3 Dustin---07/16/06
outside the car turbo setup is a great idea! heck you could even produce a JDM guy turbo kit ;P

Visit My Automotive & Tech Blog.
so basically you are rebuilding this motor,

putting it in, and taking the current one out.

then you are going to strip/rebuild/upgrade the motor you pull out?

i'm not sure if i get the concept behind that cause having to build two motors instead of one? and doing things twice? is going to just be tossing money if this motor(the currently being rebuilt) is coming back out of the car for the motor (currently in car but going to be built?) is just going back in?

why not just leave the one in there till you finish really building the one you are now, then swap them 1 time and call it done?

maybe i'm miss understanding what you are doing?

This post has been edited by playr158: Sep 28, 2007 - 11:04 AM
U missed the point dan.

shes rebuilding this one, while she runs her current one up to 200k miles. When that happens (8ish or so months) she is gonna drop the rebuilt motor into her car. (turbo or not)

got it?


Steff, if your gonna rebuild the motor, and u have 8 months to do so....build up the motor, turbo it, and put down like 200whp on the 7a. You work at toyota, i bet you can find some kinda deal in 4agze Forged pistons.

KawiLove
>
QUOTE(devilsden97 @ Sep 28, 2007 - 12:36 PM) [snapback]599855[/snapback]
>
U missed the point dan.

shes rebuilding this one, while she runs her current one up to 200k miles. When that happens (8ish or so months) she is gonna drop the rebuilt motor into her car. (turbo or not)

got it?


I got that much read my post..

my point of getting lost is the use of the motor that is going to 200k?

"all the overkill things (boreing out the cylinders, bigger pistons, valve jobs, etc) will be done to the engine that is still in my car since it will probably be bad enough to need the extensive work, plus I'll have a lot more time before the rebuilt one needs replacing so I won't have to spend all the money at one time."

^all that is happening to the motor with 200k? i don't see why she is putting the effort into this one just to use it for a little bit while building the 200k then switching it back.
saving time/money cause things will be done 2 times and motors swapped 2 times

This post has been edited by playr158: Sep 28, 2007 - 12:53 PM
I plan on keeping the car for a long time. the motor coming out of my car will be my backup, I'm planning to beat the crap out if the rebuilt turbo 7A. and the fact that it will be pretty much all stock inside I'm not sure how long it will last.

I'm not rebuilding this one just to keep it for a little while, I'm going to use the rebuilt one until it starts getting tired again.

7A-FTE:It's not about the money.Our Beams Swap.I <3 Dustin---07/16/06
ah word gotcha cool beans!
we cleaned up block and ground out the intake and exhaust ports a little...
IPB Image

IPB Image

IPB Image

also gasket matched the turbo manifold I bought
IPB Image


now to putting the valves back in.
making sure to keep them in order, we did one cylinder at a time (2 intake and 2 exhaust valves)
everything (washers, valves, springs, keepers, seats, etc) were soaked in oil before doing all this...
IPB Image
(in the pic its only half cleaned up)

then placed the valve seals onto the top of the valves
IPB Image

then using a deep 10mm 12pt socket and extension pushed them down until you feel them almost 'snap' into place
IPB Image

now is the time to place the little washer in place in order to seat the valve springs and the top seat of the spring
IPB Image

heres the part you would have to be very careful with if you were to do this in the car. you have to hand place those tiny keepers into the top seats of the valve springs
IPB Image

there is a special tool for this part but I didn't get a picture of it. I'll get a pic of it if anybody really wants to know what it looks like. pushing the springs back down is the pain in the arse part of this, sometimes the keepers snap right onto the top of the valve and sometimes they don't and you have to take them back out and try again. the tech that's doing this with me likes to tap them gently with a little hammer after this part just to make sure they've seated properly.
IPB Image


thats all for now. just more cleaning and putting back together. its like 90% done biggrin.gif

7A-FTE:It's not about the money.Our Beams Swap.I <3 Dustin---07/16/06
that is totally bad a$$ steff. now we need to send you a 5s, and you can say you know how to rebuild BOTH!!!
gaha
great work, keep it up!

Former Team 5SFTE pro member ;)13.6@108MPH, 5SFTE Powered
are the valve seals the same in the exhaust and intake sides? im doing the same job to my head but i recieve 16 valve seals and all are the same...
no, the part numbers are different. the rubber part is where the main difference is.

the exhaust seals will be grayish and actually look cleaner than the intakes, the rubber part will also be darker in color.
the intakes are a sort of dirty-ish metal color with a grayer rubber part.
they are all the same size though.

7A-FTE:It's not about the money.Our Beams Swap.I <3 Dustin---07/16/06
damn cuz i put all the same valve seals in the intake and exahust, do i need to change it? i don't want leaks thats the reason why i take my head of and port and polish it
>
QUOTE(hurley97 @ Sep 28, 2007 - 1:22 PM) [snapback]599885[/snapback]
>
I plan on keeping the car for a long time. the motor coming out of my car will be my backup, I'm planning to beat the crap out if the rebuilt turbo 7A. and the fact that it will be pretty much all stock inside I'm not sure how long it will last.

I'm not rebuilding this one just to keep it for a little while, I'm going to use the rebuilt one until it starts getting tired again.


As much as I hate to admit it, I have to agree with Dan on this one. It seems like alot of unneccesary work. Wouldn't you be better off just preping this motor for forced induction now and then going turbo with the same motor later? The 200,000 mile motor will make a nice door stop...or maybe some modern yard art. biggrin.gif

Kudos to you for undertaking the project.

QUOTE(lagos @ Jul 10, 2006 - 1:55 PM) [snapback]454118[/snapback]i know your trying to do the right thing for your motor, but this is one of those times where you should just trust the guys who have had their swaps for a while and have done a ton of research into this.
Damn kid, looks GOOD. smile.gif

You didn't mention any of this at CSP.... tongue.gif

When Dustin does his we'll let you do all the work while we watch. biggrin.gif

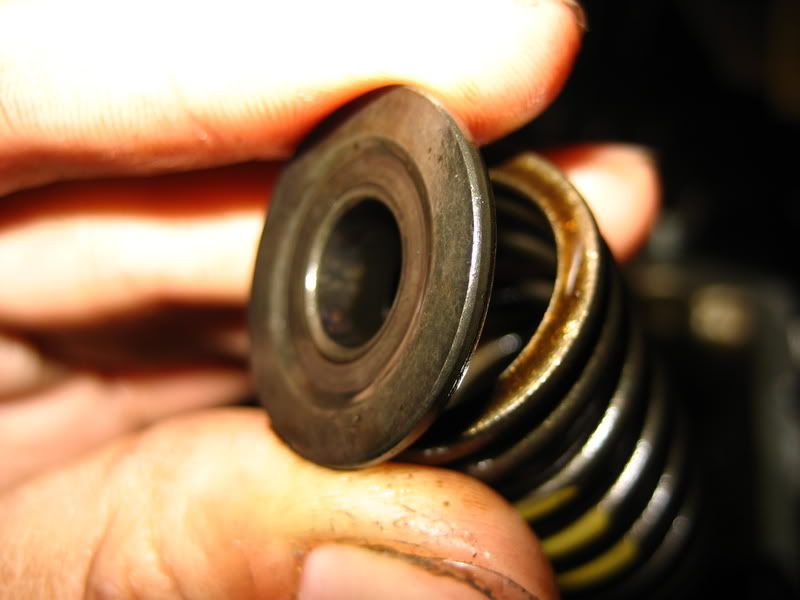
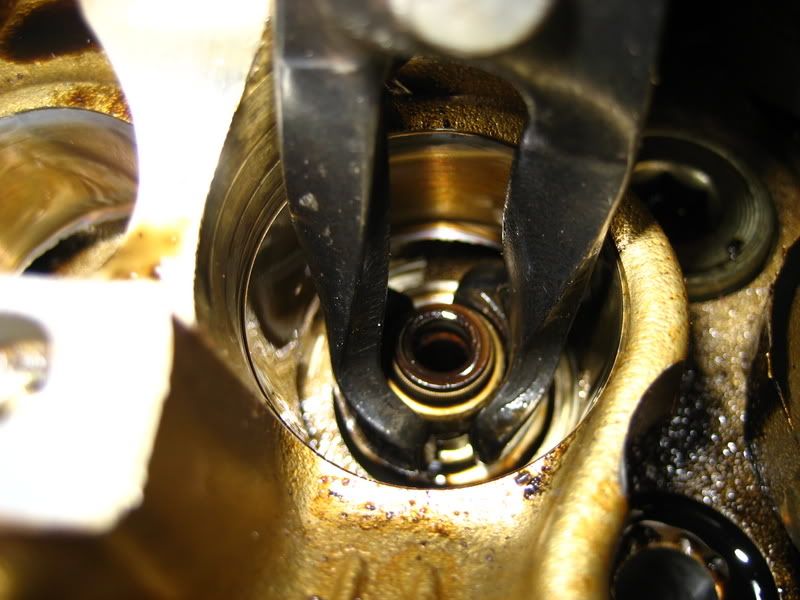
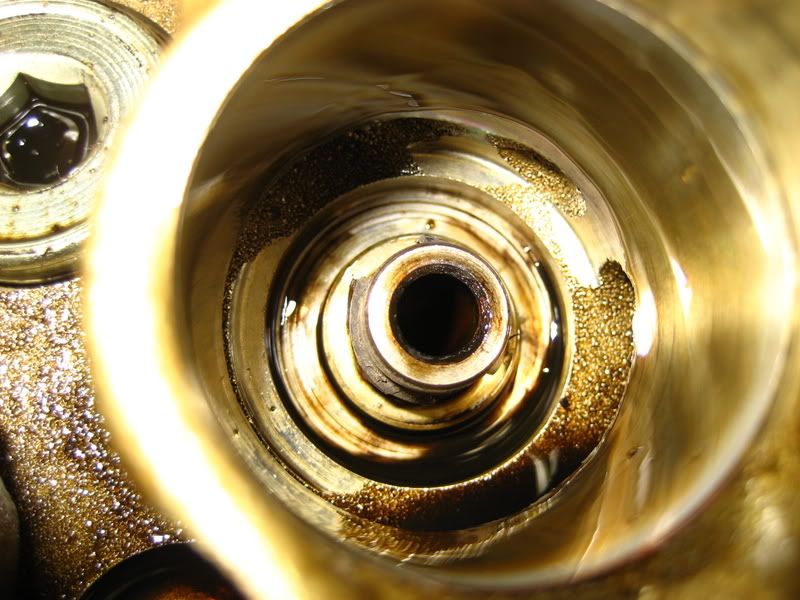
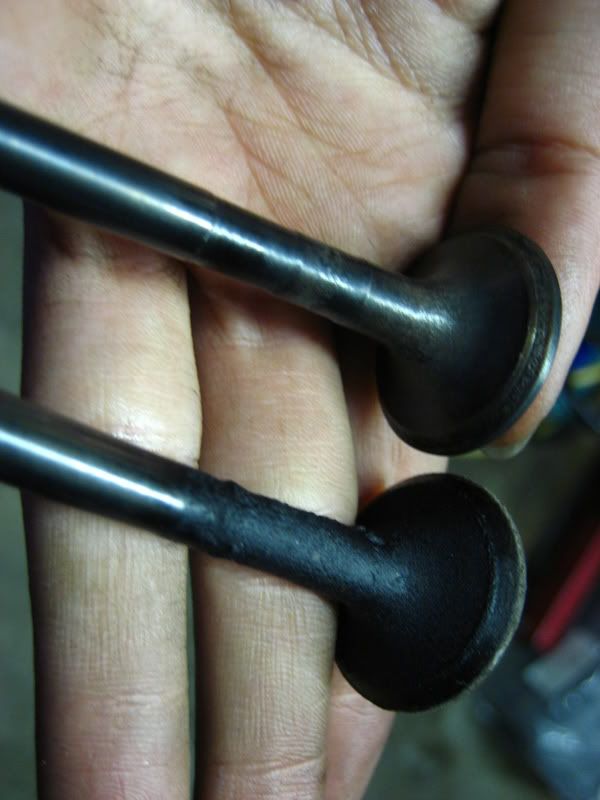
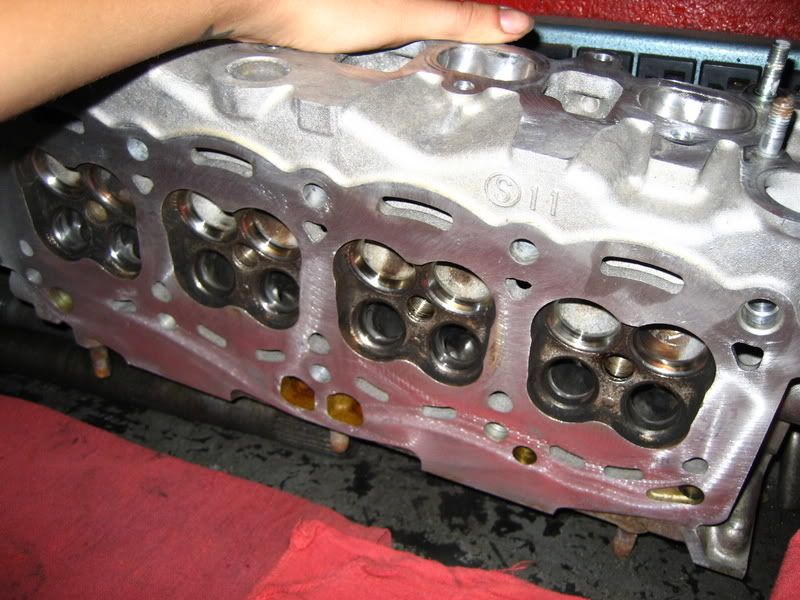
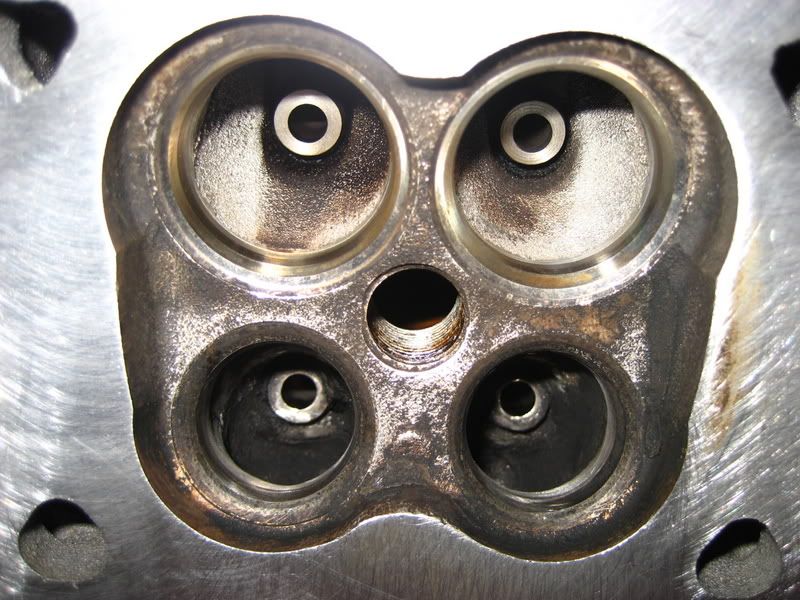
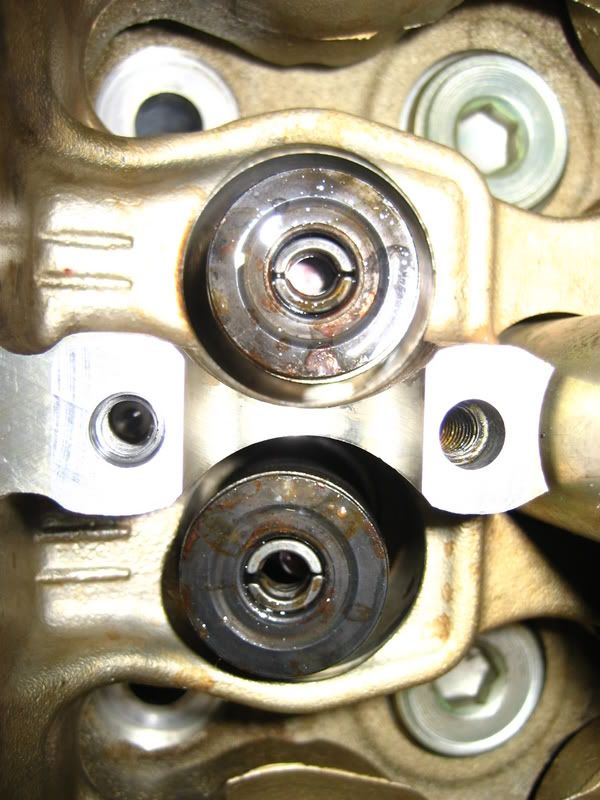
It's probably a good thing you didn't touch the valve seats.
Unless you have the right machine [read: a drill isn't the right way] you can screw it up. If the seat isn't perfectly machined, and the valve ground correctly you can burn the valve and/or have it not seat [won't seal].
Also, normally when the seats are reground the valve tips have to be cut, which is another time consuming PITA that requires ANOTHER special machine.
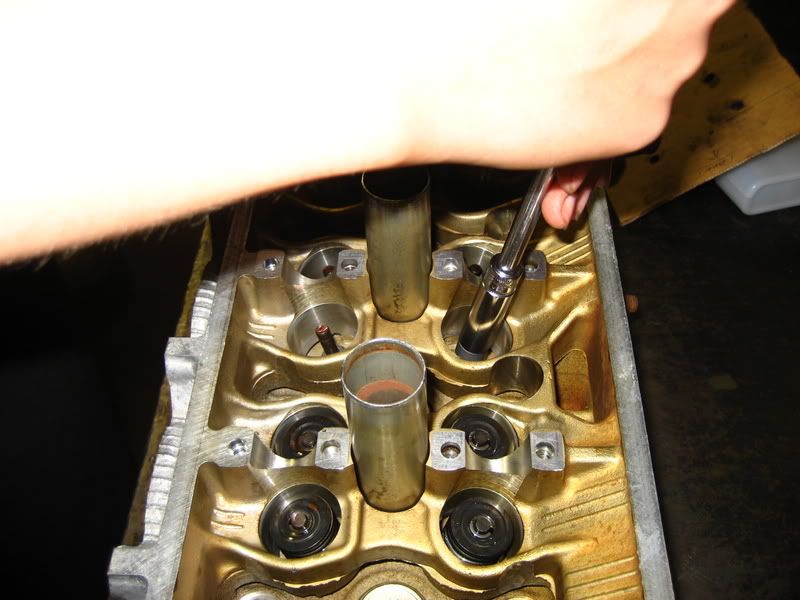
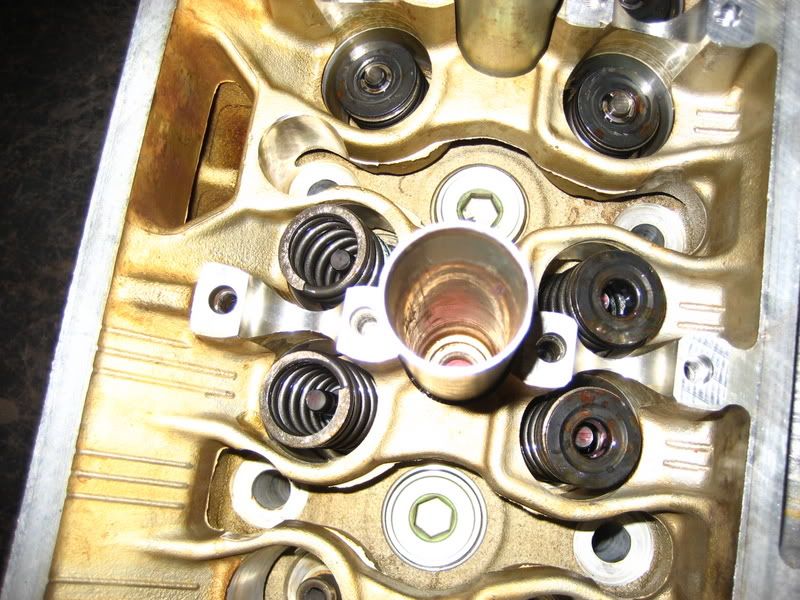
Yay for engines. tongue.gif

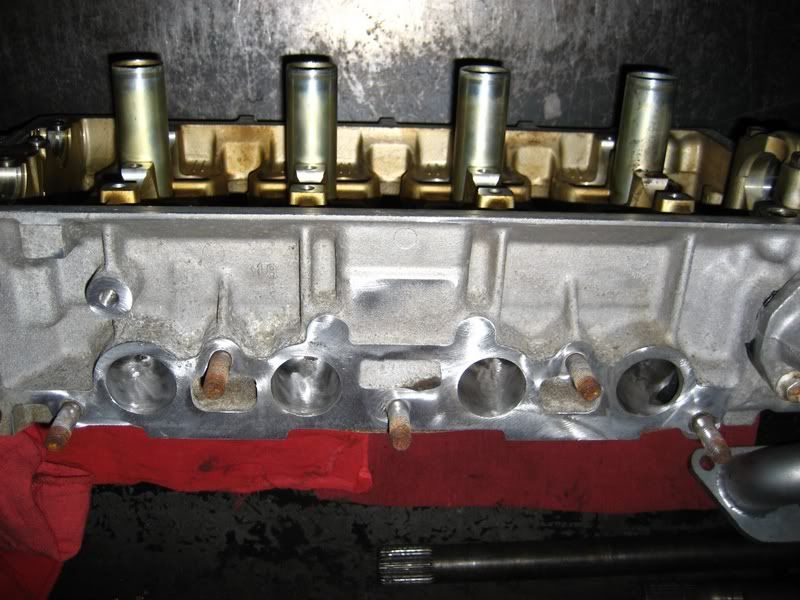
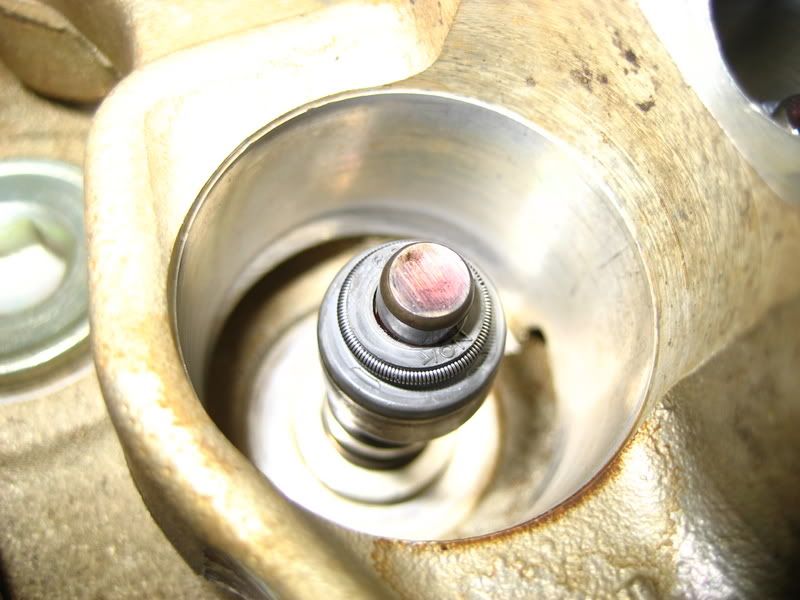
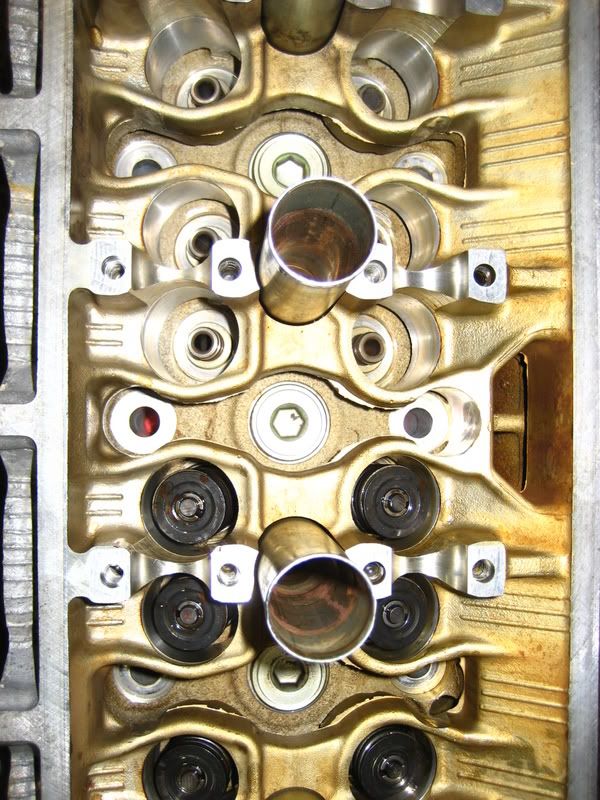
Use assy lube for the cam.
The lobe/shim contact has alot of pressure.
It's not quite as important as if it were a new engine/cams, because they're already broken into each other.
But still a good idea.
Personally, I use it for bearings too.
I don't use it on pistons because it's so thick, and the hone will hold the residue [the rings scrape it all off anyways every time they go up and down].

>
QUOTE(hurley97 @ Sep 12, 2007 - 6:28 PM) [snapback]595549[/snapback]
>
>
QUOTE(ILuvMyCelica95 @ Sep 12, 2007 - 10:49 AM) [snapback]595394[/snapback]
>
Also- did they figure out why his was burning oil?

yes. things that were wrong with the engine:

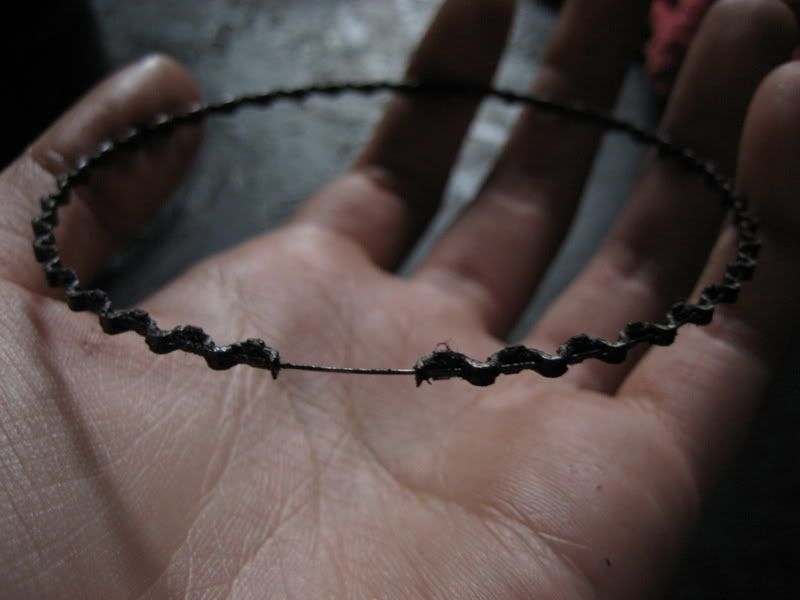
1. the oil control rings were just old and worn and got gummed up with oil so they sunk into the piston and since they didn't sit where they should oil just went right past them and got burned on the cylinder walls.
the oil control rings...
IPB Image

Probably the same reason yours is burning oil. wink.gif
It's the usual cause in Toyota engines, not from worn piston rings as is normally stated.
High RPM driving throws extra oil onto the cylinder walls, which makes it harder for the oil control rings anyways.
And if they're clogged up, they really can't clean it off.
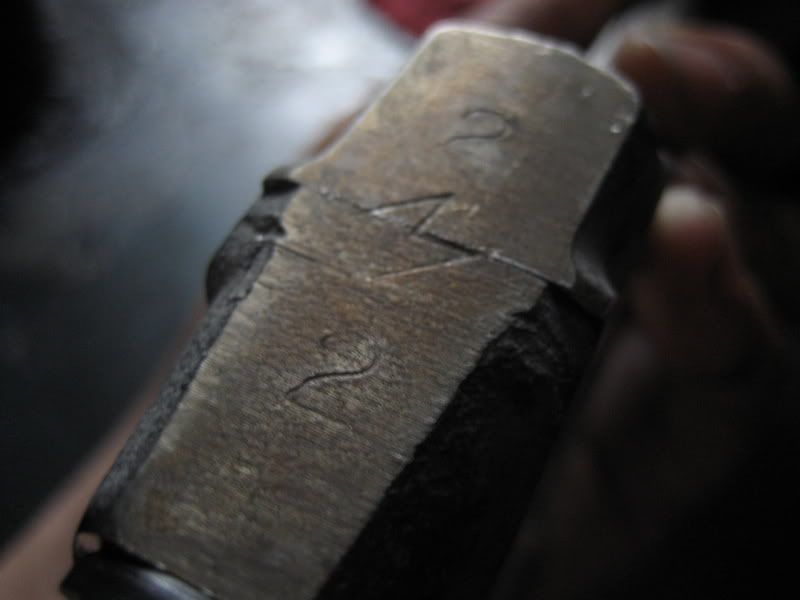
we re-shimmed the valves today. I have no pictures... it was very easy.

I'll take some of the feeler gauge and everything if anyone is interested.

7A-FTE:It's not about the money.Our Beams Swap.I <3 Dustin---07/16/06
i like the port jobs youve done on the head, it looks really good, but if you remember i suggested extrude hone, i just got my head done, and they are shipping it back to me soon, so i will try to take pics and show u what i meant. otherwise everything is amazing, this is a really good post about a rebuild. Keep up the good work. thumbsup.gif

1994 GT Hatchback1994 ST Coupe1988 Corolla Wagon All-Trac1999 Corvette2008 Cobalt SS Turbo
the head is back on the block, headgasket in place, cams in place and ready to be reassembled.

I cleaned up and gasket matched and polished up the intake manifold a little. I don't have pictures since my camera battery died but I'll get some next week.

I ordered my oil return lines and fittings so we can drill and tap a hole for it as high as possible in the cast top part of the oil pan.

7A-FTE:It's not about the money.Our Beams Swap.I <3 Dustin---07/16/06
steph, How much boost are you going to put this practically new 7A through?

Darin H.
probably only about 6-10psi

it should last a pretty long time, be reliable and much quicker

7A-FTE:It's not about the money.Our Beams Swap.I <3 Dustin---07/16/06